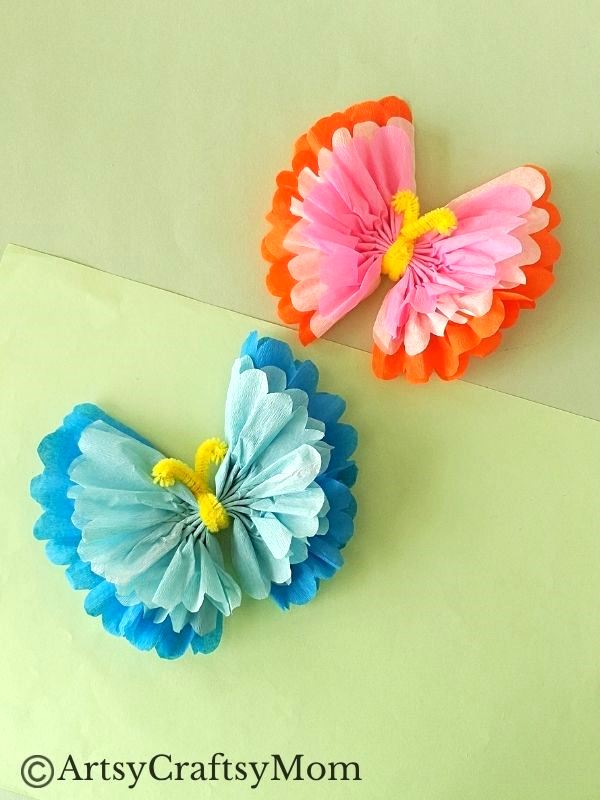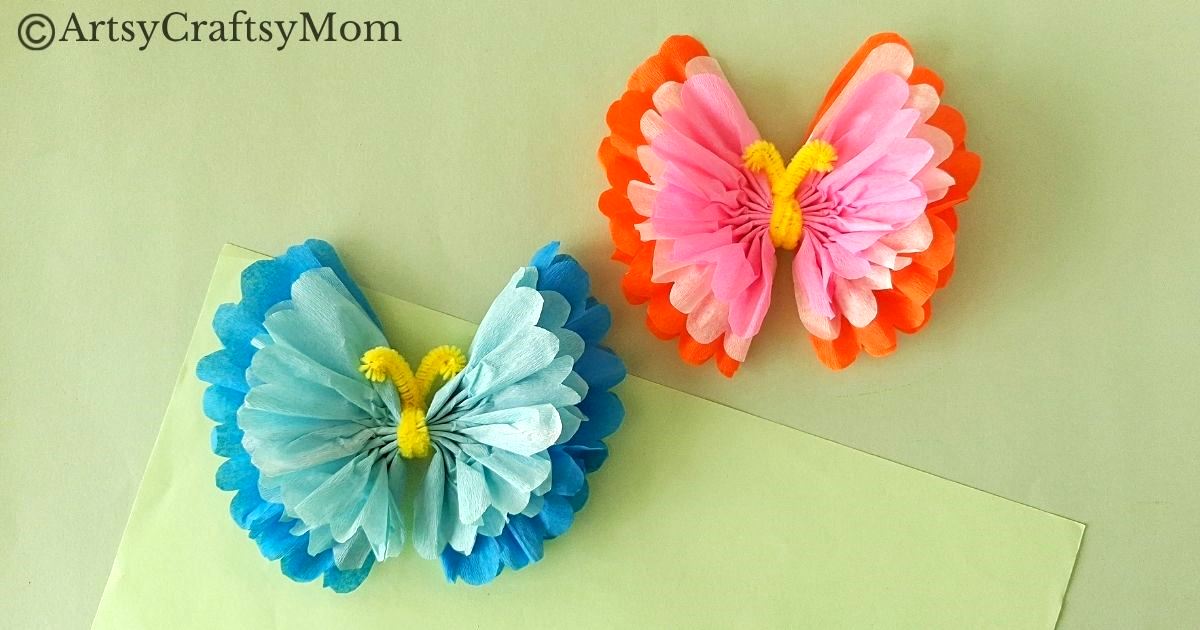
It’s amazing how easily colored tissue paper transforms into a gorgeous tissue paper butterfly craft, with some help from a pipe cleaner!
The story of the Caterpillar and Butterfly is always used to show how things can transform into something beautiful, even if it doesn’t seem so at the moment. That the butterfly is an object of beauty is a universally accepted truth, but have you thought about what makes a butterfly beautiful?
It’s wings, of course! Without them, a butterfly would probably be just another bug!
Fun Facts about Butterfly Wings
- A butterfly has four wings – two forewings and two hindwings
- Butterfly wings aren’t colored; they are covered with tiny scales that reflect light in different ways
- When the butterfly gets old, the scales fall off and the wings become transparent
- Some butterfly wings have patterns that act as camouflage to protect from predators
- Butterflies fly by moving their wings up and down in a figure-eight pattern
- Some butterflies communicate by moving their wings
I’m sure that some of these facts are absolutely new to you! Now that we’ve learned so much, let’s try making butterfly wings out of tissue paper in this beautiful tissue paper butterfly craft!
Tissue Paper Butterfly Craft for Kids
Supplies required:
- Colored craft tissue paper
- Pipecleaner
- Pencil
- A pair of scissors
- Craft glue
Shop the materials on Amazon.com
The links below are affiliate links. As an Amazon Associate I earn from qualifying purchases.
How to make the Tissue Paper Butterfly Craft:
1. Let’s start by gathering tissue paper in a few different colors. You need three sheets of the same length but different widths. Use at least 2 different colors so you can alternate colors on your tissue paper butterfly craft.
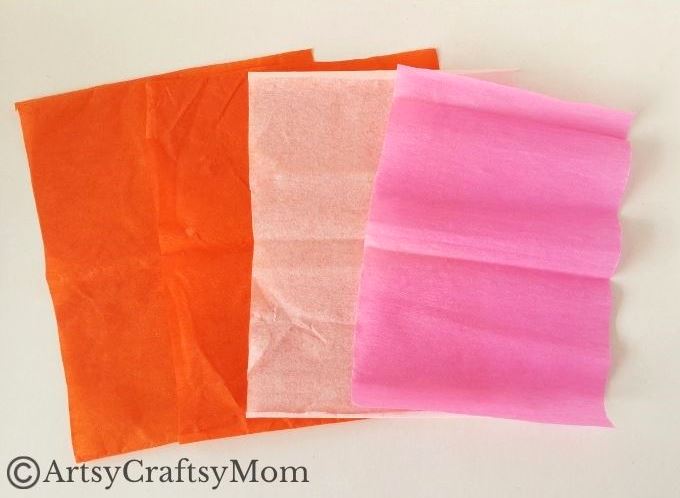
2. Let’s start with the widest tissue paper. Keep the rest away for now.
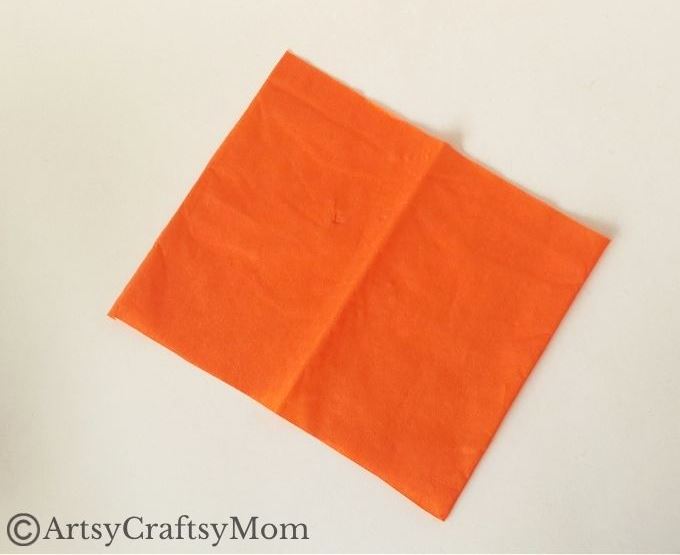
3. Fold the paper in half along the long side. Keep the folded edge down and the open edge up.
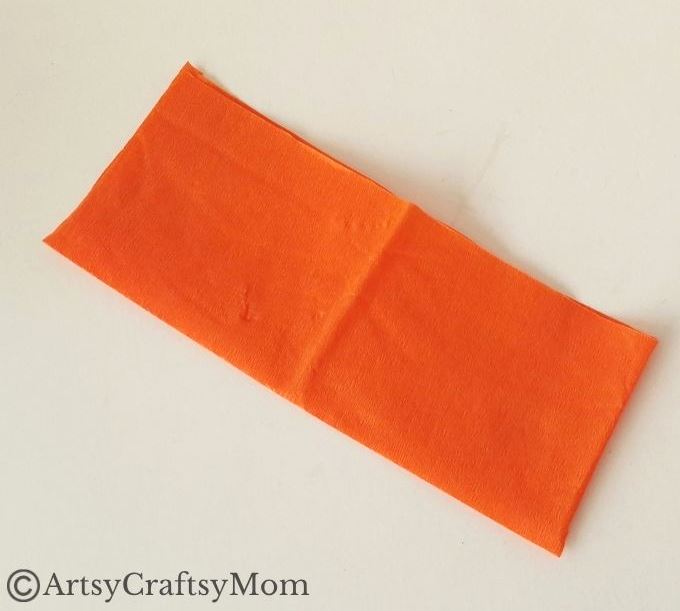
4. From the top right corner (along the open edge), make a mark 1 cm below. From this point, cut diagonally toward the top left corner, as shown below.
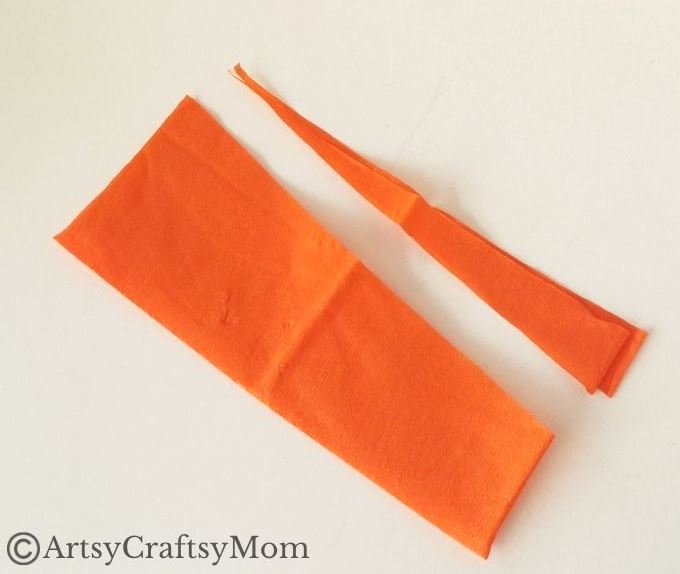
5. Without unfolding, use a pencil to draw a scalloped border along the freshly cut edge. Cut along this border and unfold.
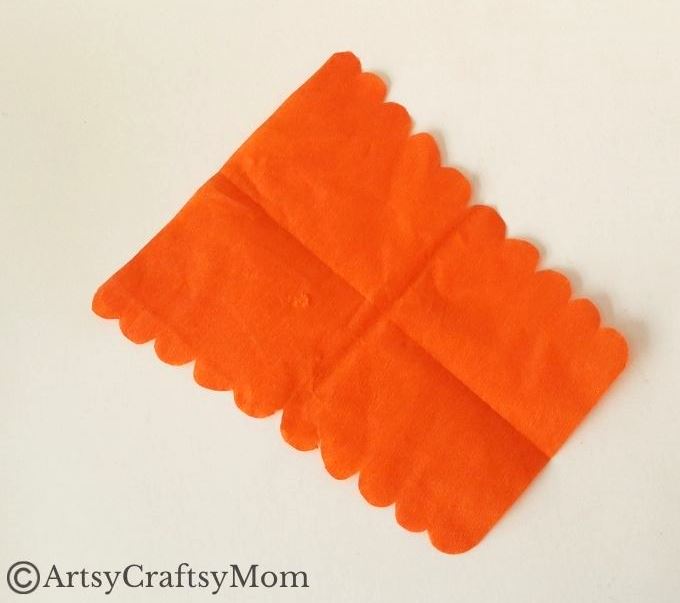
6. Repeat steps 3-5 with the remaining tissue papers.
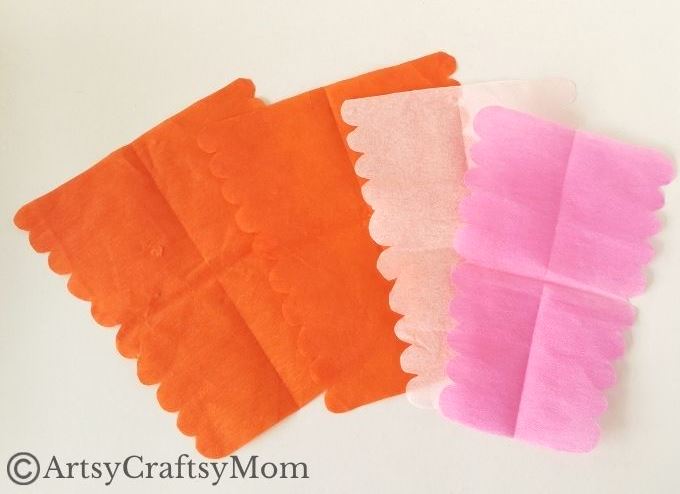
7. Arrange the cut tissue papers so that the widest is at the bottom and the narrowest is at the top. Make sure the top and bottom edges are aligned, and the papers are centered so that the scalloped edges are symmetrical on either side.
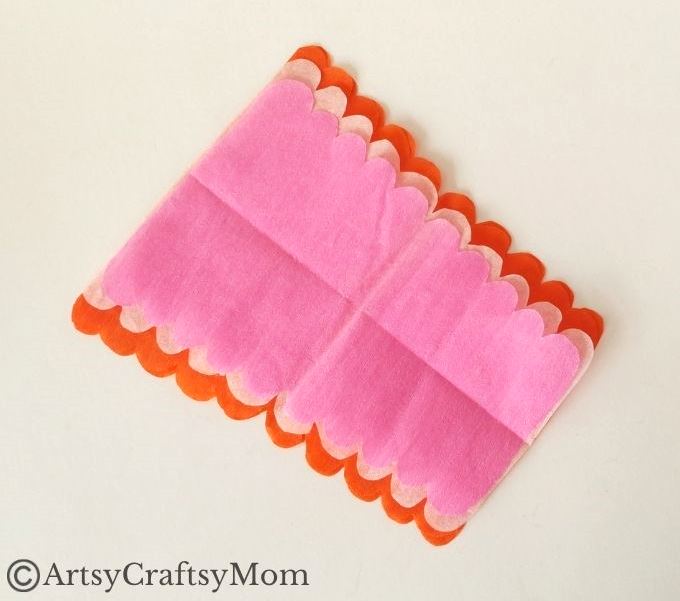
8. Keeping this arrangement in place, start making accordion folds from the bottom edge towards the top.
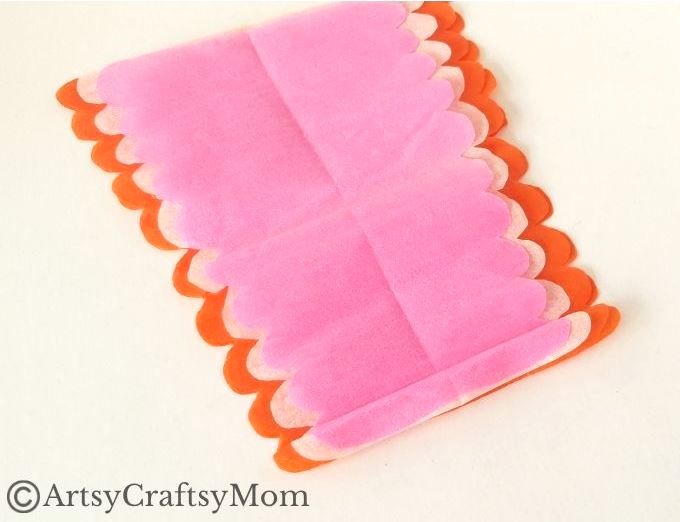
9. Use the scalloped border as a guide when making the accordion folds. Keep folding till you reach the top edge.
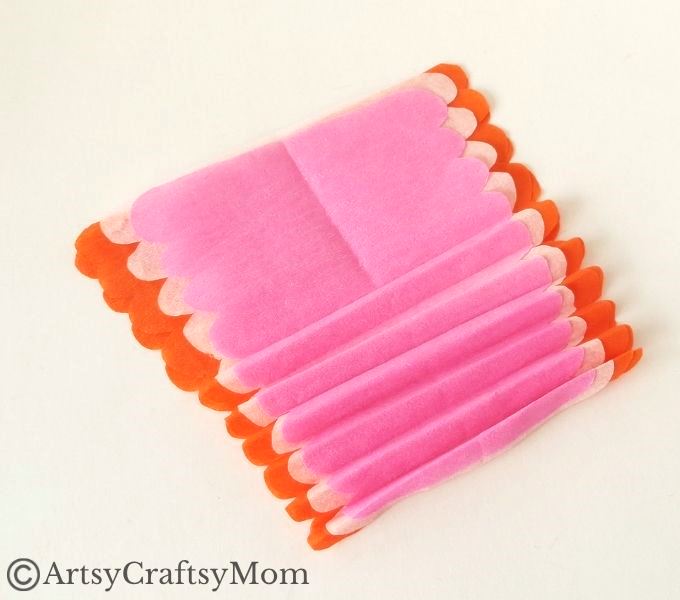
10. Once the folds are complete, hold them together tightly and use a pipe cleaner to tie them in the center.
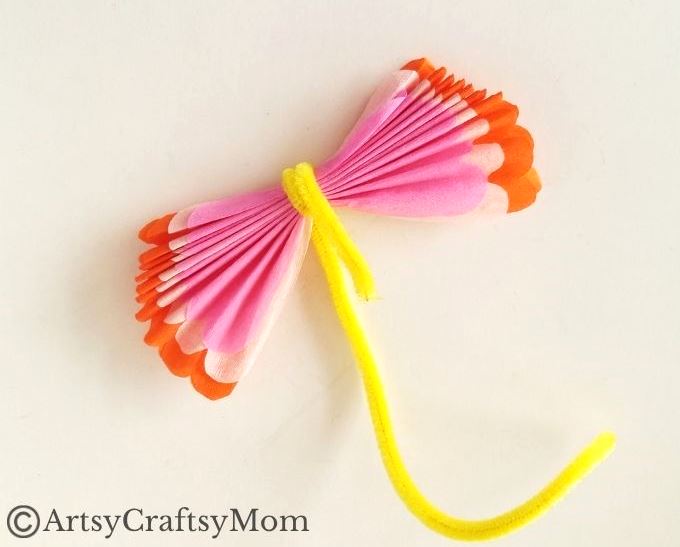
11. Coil the pipe cleaner twice around the middle and bring the open ends to the top, i.e., the wider side. Cut off any excess.
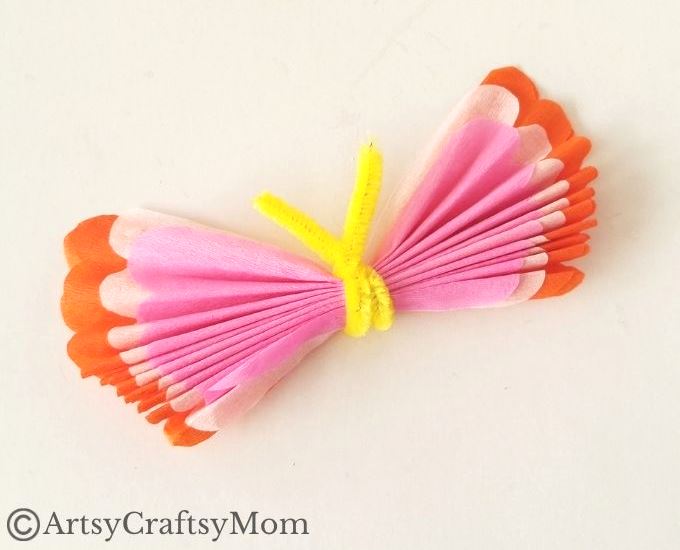
12. Make small twirls at the open ends of the pipe cleaner.
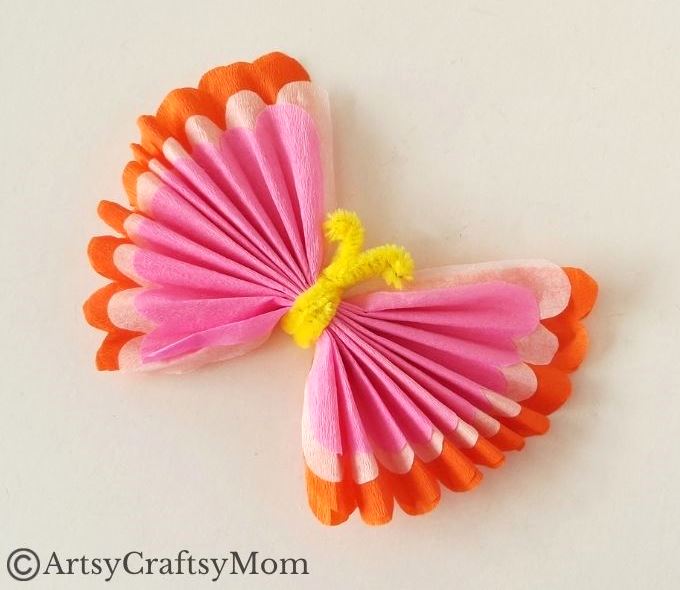
13. Time to start ruffling the wings of our tissue paper butterfly craft! Carefully separate the top layer of the tissue paper wings from the one below.
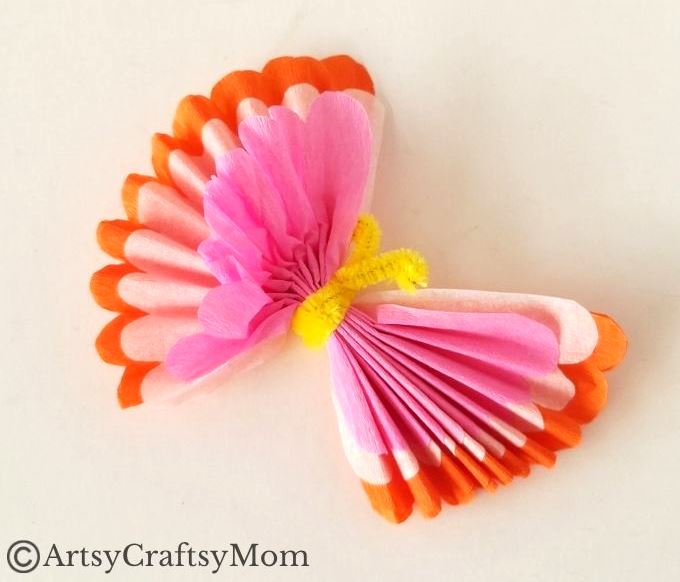
14. Gently unfold the folds of the top layer of the tissue paper wings. This will make it appear ‘fluffier’.
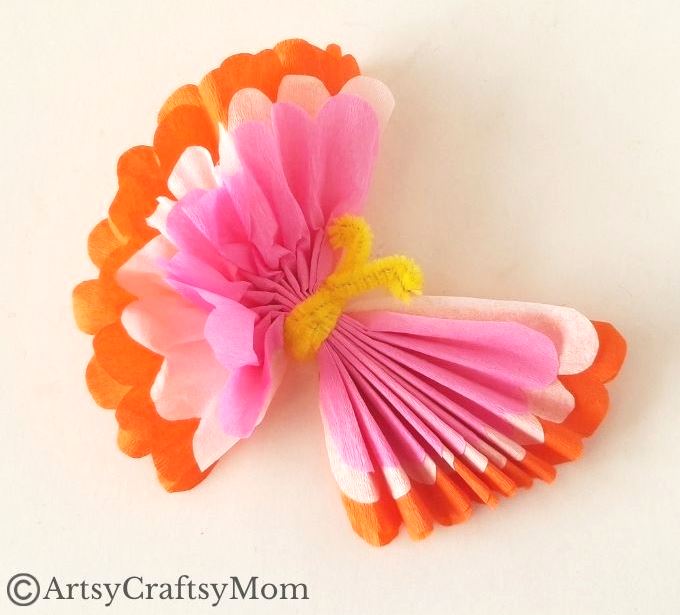
15. Repeat the same steps with the remaining layers of the wings, making sure not to tear anything.
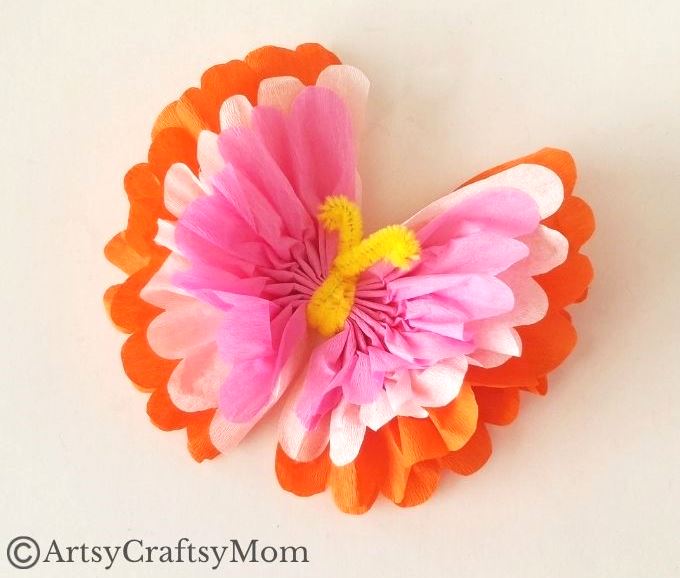
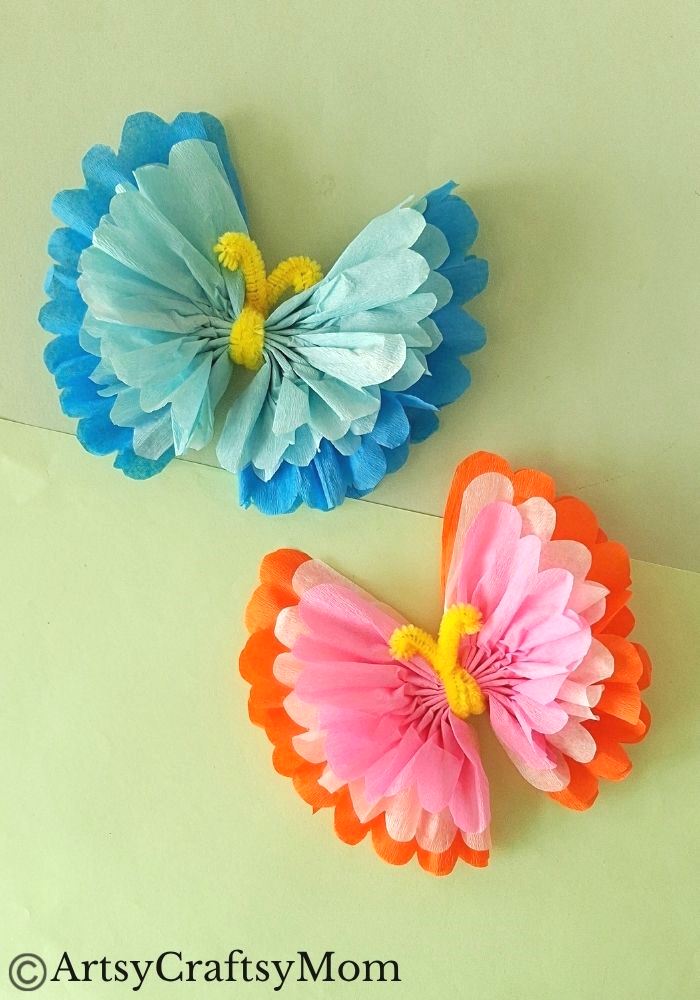
There you go – your tissue paper butterfly craft is ready and it looks gorgeous!
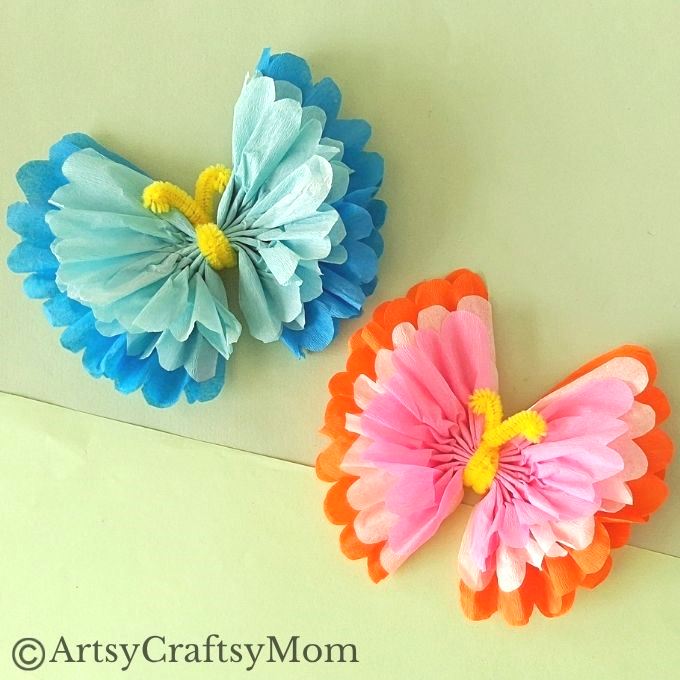
How beautiful are these tissue paper butterflies? We hope this tissue paper butterfly craft has inspired you to learn a little more about butterflies. For instance, do you know that butterflies exist on every continent on the planet except Antarctica? If you’re wondering why that is, it may be time to do some digging!
If you enjoyed this butterfly craft, you may also like these:
- Sea Shell Butterfly Craft for Kids
- Paper Butterfly Craft with Free Template
- Easy Crepe Paper Butterfly Craft
- Stick and Leaf Butterfly Nature Craft
- Gorgeous DIY Clay Butterfly Craft