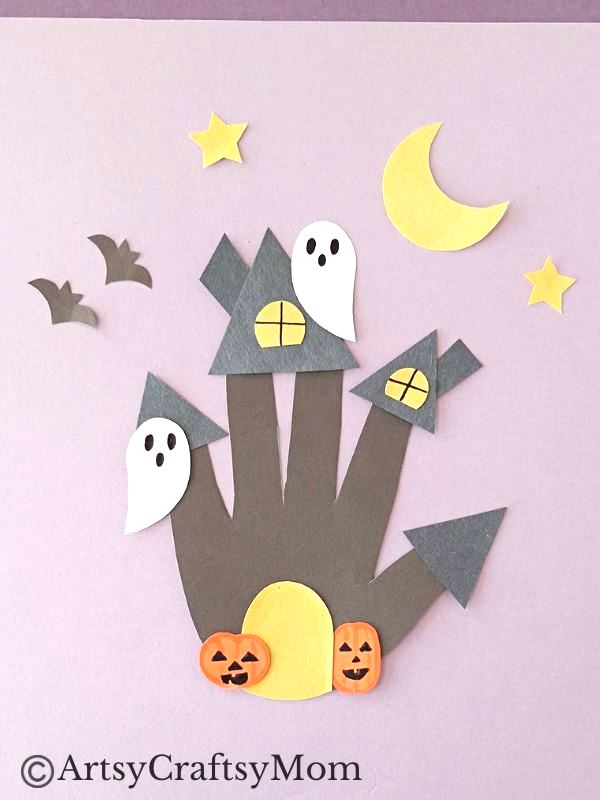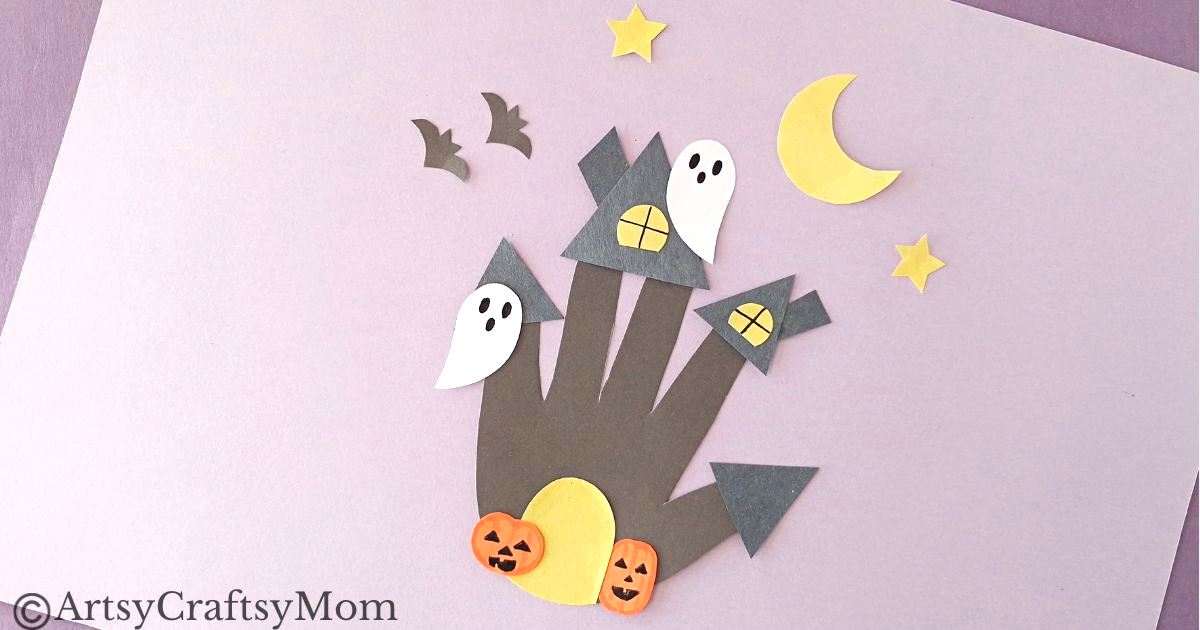
Did you know that you can turn a handprint into a haunted house? Well, that’s exactly what we’ve done in our Handprint Haunted House Craft!
When Christmas season rolls around, you’ll find people decorating gingerbread houses everywhere, making them colorful by using all kinds of materials. Somehow, I find decorating a haunted house far more interesting, maybe because there are more kinds of monsters than gingerbread people!
That’s why one of my favorite Halloween activities is setting up a haunted house diorama, and filling it with handmade creatures. The interesting fact is that you can make a haunted house out of pretty much anything – a cardboard box, craft sticks, or even just paper!
We’re going to prove that last point today – with a handprint haunted house craft made entirely out of paper! Just grab our printable template and you’re ready to go!
Handprint Haunted House Craft for Kids
Supplies required:
- Colored craft paper
- Pencil
- A pair of scissors
- Craft glue
- Markers
Shop the materials on Amazon.com
The links below are affiliate links. As an Amazon Associate I earn from qualifying purchases.
How to make the Handprint Haunted House Craft:
1. Download and print the Handprint Haunted House Craft template. You can see a handprint in the template – you can either use this or make your own handprint by placing your hand on a sheet of plain paper and drawing an outline around it. Besides the handprint, the template has other pieces you need to make a haunted house – roofs, door, windows, ghosts, pumpkins, bats, stars and a moon.
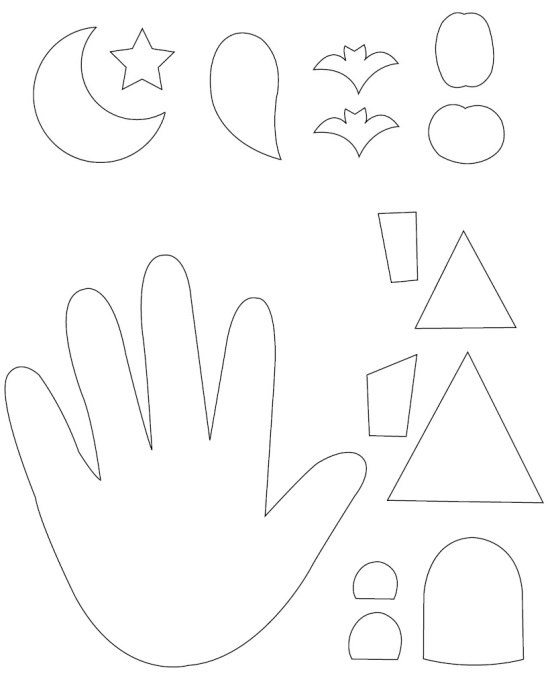
2. Trace the parts of the template on craft paper of the appropriate colors and cut them out. Use black for the basic parts of the haunted house – the handprint base, the roofs and chimneys. Use yellow for the door and windows, orange for the pumpkins and white for the ghosts. Go with black for the bats and yellow for the moon and stars.
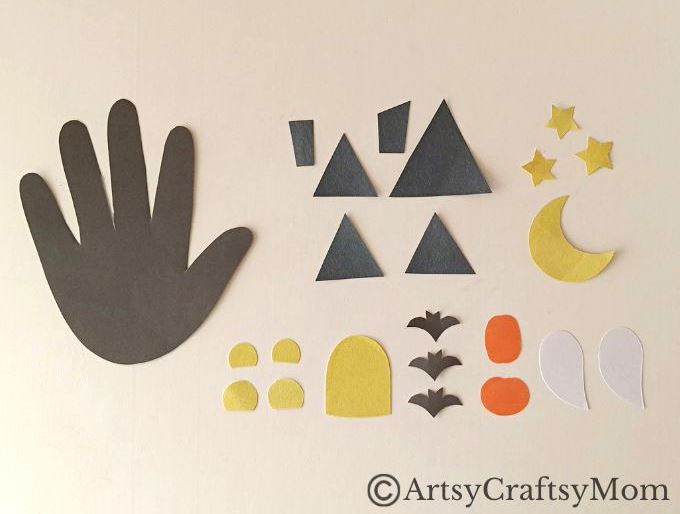
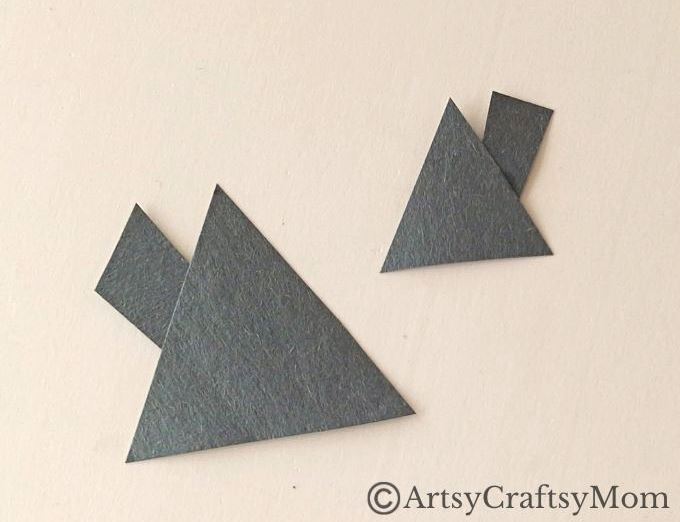
3. Now that we have all the parts to make our handprint haunted house craft, let’s put it all together! Start by sticking the chimney cutouts to the roof pieces.
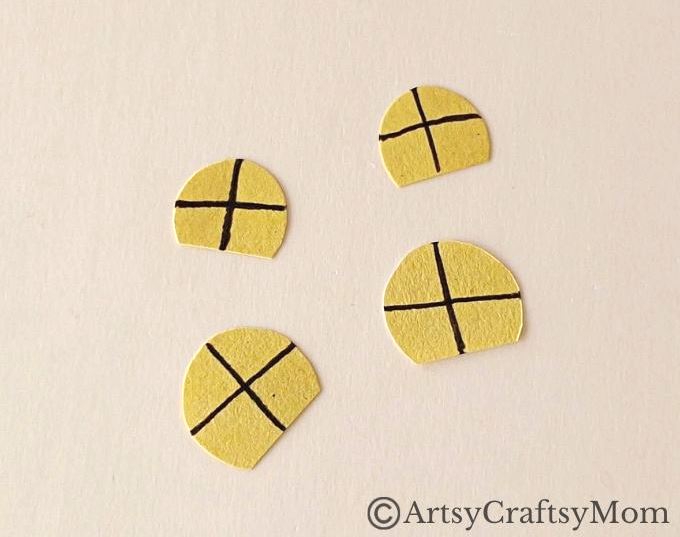
4. Take the window cutouts. Use a black marker to draw window bars in a criss-cross fashion, as shown below.
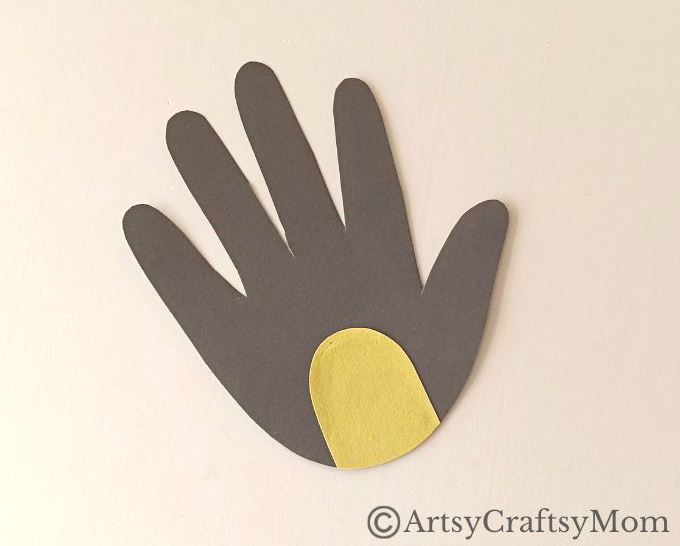
5. Stick the door to the handprint, ensuring the bottom edge of the door aligns perfectly with the bottom edge of the handprint.
6. Let’s assemble everything! Glue the roof patterns to the tips of the fingers on the handprint. You can use as many roofs as you like – one for each finger, or one for two fingers.
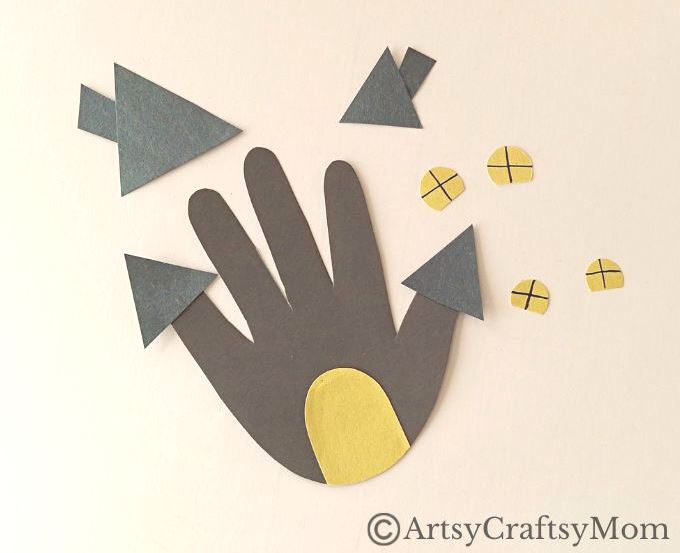
7. Stick the window patterns to a few roof patterns as well.
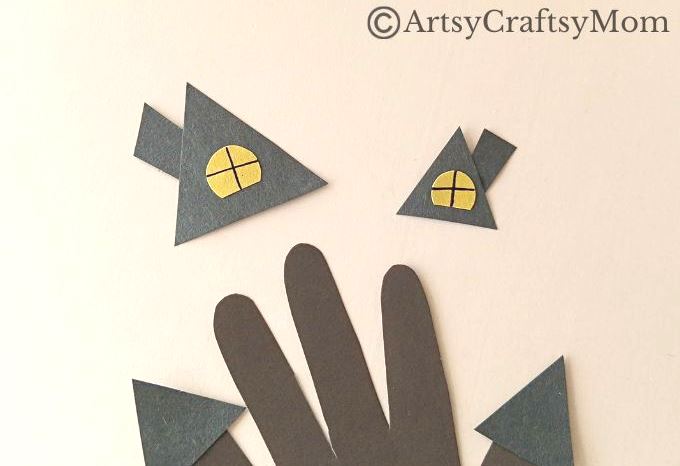
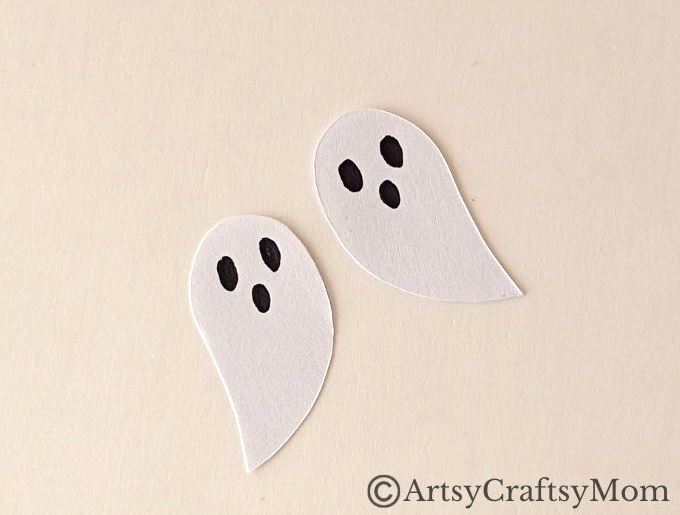
8. Now that the basic structure of our handprint haunted house craft is ready, let’s add some spookiness! Use a black marker to draw faces on the ghosts – all you need are eyes and a mouth!
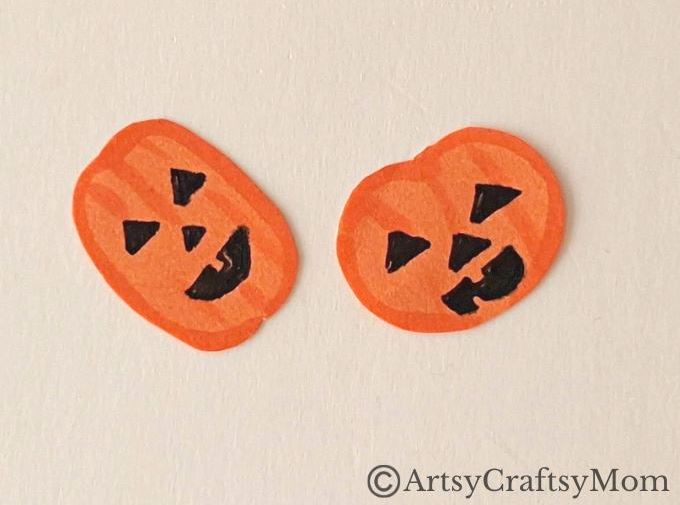
6. Use an orange marker to draw lines on the pumpkin cutouts. Take your black marker to draw Jack-o-Lantern faces, with triangle-shaped eyes and nose as well as a spooky grin.
10. Now all that’s left to do is to arrange the ghosts and pumpkins around the doors and windows of your handprint haunted house. Once you’re done, place your haunted house on a plain background, and add the remaining pieces – flying bats, stars and a moon.
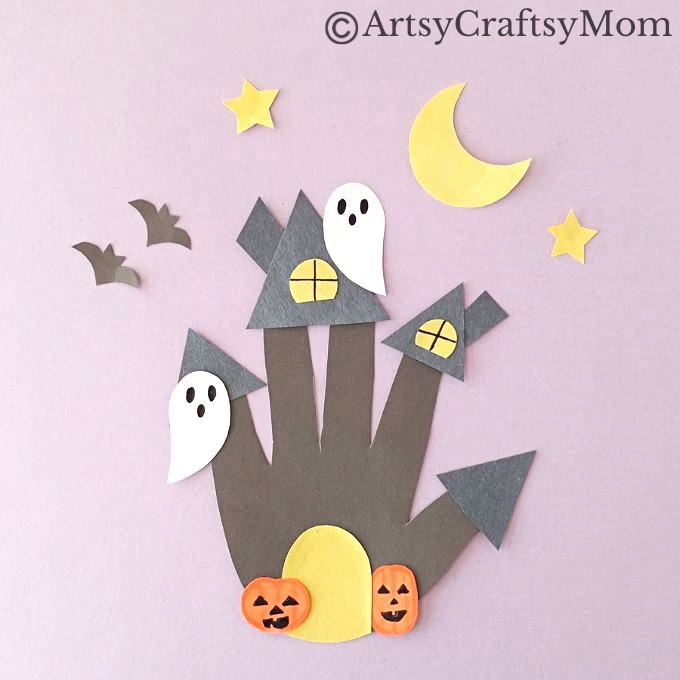
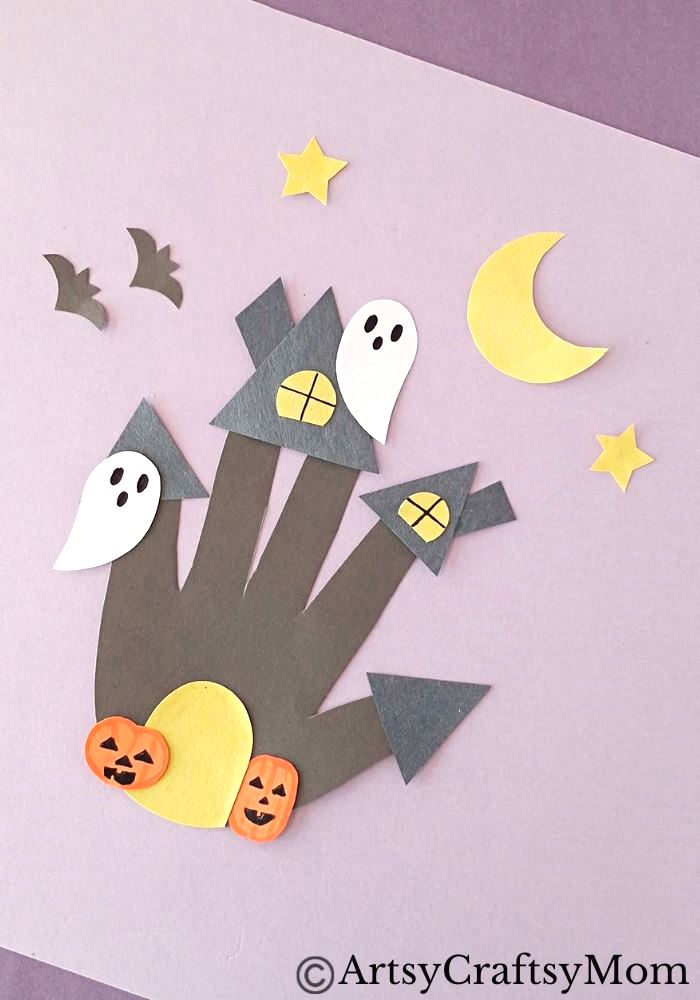
That’s it – your handprint haunted house craft is ready! What we love about this craft is that it gives you a free hand (pun intended) to decorate your haunted house. You can add bats in the attic and let the ghosts fly outside, or you can add a mummy or skeleton if you like. Make your haunted house your own, and fill it with your favorite monsters!
If you’d like to check out more Halloween crafts, we’ve got plenty:
- 15 Colorful Halloween Theme Bookmarks
- 20 Easy Popsicle Stick Crafts for Halloween
- 20 Interesting Halloween Printables for Kids
- 15 Fun Haunted House Crafts for Halloween
- 20 Fun and Frugal Paper Plate Crafts for Halloween