Cute and Non-Scary Felt Ghost Plush Halloween Craft
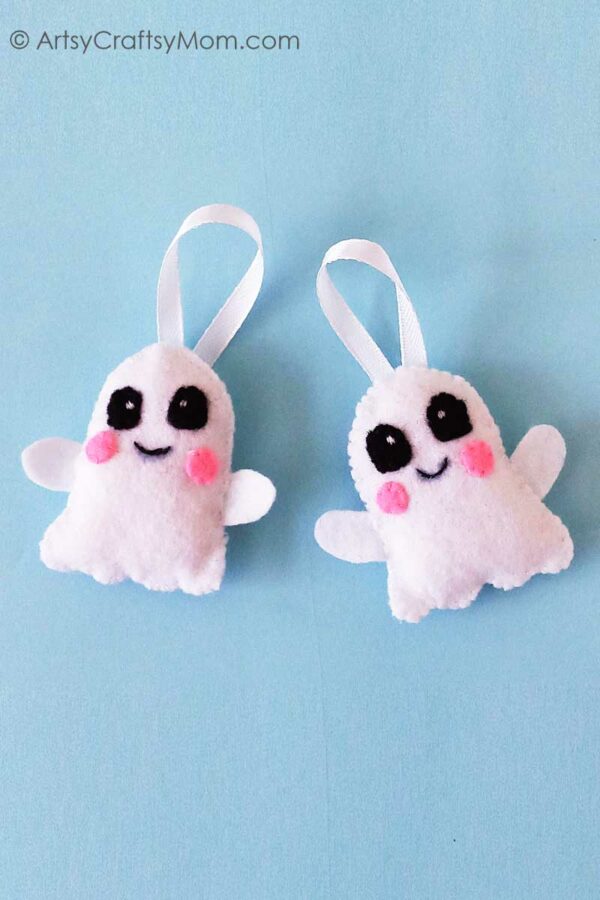
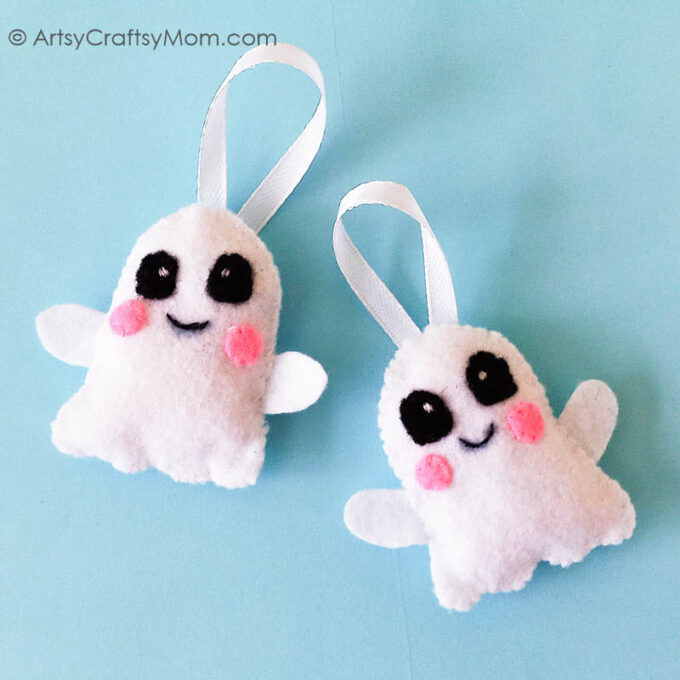
This Felt Ghost Plush Halloween Craft is completely non-scary and perfect for kids of all ages! Makes for a great project for sewing beginners too!
What is the easiest Halloween costume you can think of? Yes, a ghost! All you need is a white sheet and a pair of scissors to cut out eye holes and you’re done! 5 minutes is all you need to perfectly blend in with the trick o’ treating crowd!
Of course, that’s if you want to keep things basic. You can always take it to the next level, adding sleeves or a hoodie to make it more practical, or tulle and sequins to make it fancier. No one says you have to stick to a certain template when you want to look like a ghost!
But if you aren’t in the mood to dress up but still want to have fun for Halloween, we’ve got the perfect thing for you – a super cute felt ghost plush Halloween craft, that’s just adorable and totally non-scary. This is a great project for sewing beginners, and they can even make and gift it to their close friends!
Cute Felt Ghost Plush Halloween Craft
Supplies required:
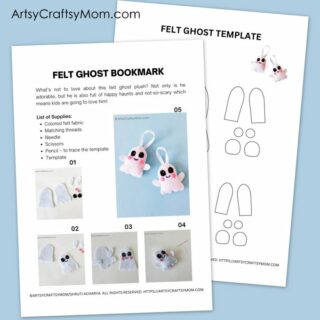
- Printable template for the Felt Ghost Plushie
- Craft felt in white, pink, and black
- White satin ribbon
- Black, pink, and white thread
- Cotton wool or felt scraps
- Needle
- Scissors
How to make the Felt Ghost Plush Halloween Craft:
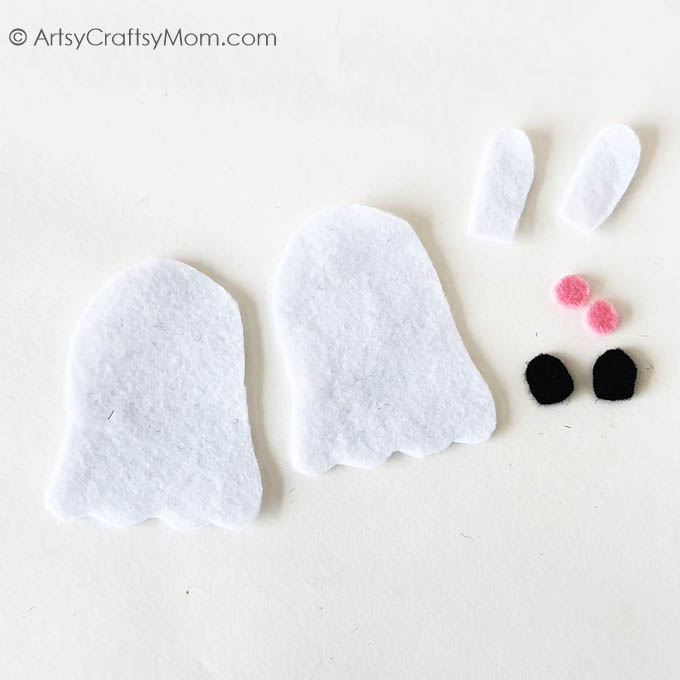
1. Download and print the Printable template for the Felt Ghost Plushie. The template contains parts for the ghost, including the body, arms, eyes, and cheeks. Trace the parts onto felt of appropriate colors and cut them out.
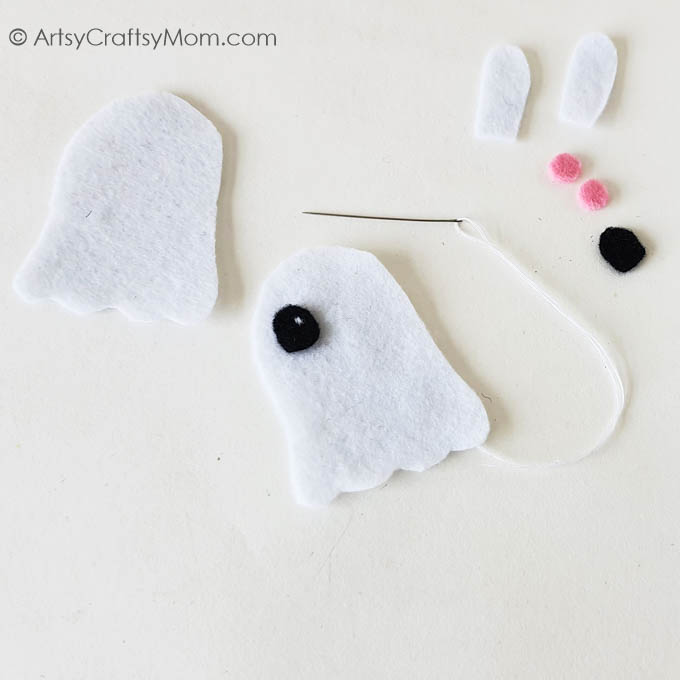
2. Now that you’ve got all the parts, it’s time to start sewing. Pick up one body piece and using white thread and a needle, sew on the black eyes. Sew in such a way that the white stitches are clumped together to look like the pupils of the eyes.
3. Once both eyes are sewn in, use black thread to stitch a mouth. Make your Felt Ghost Plush smile!
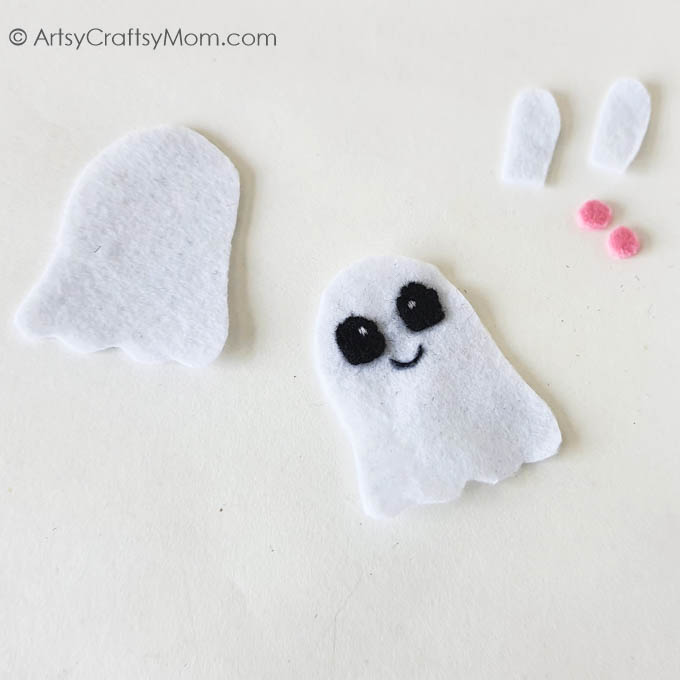
4. Now take the pink thread, and use it to attach the cheeks in place, on either side of the mouth. Stitch around the circles to hold them in place.
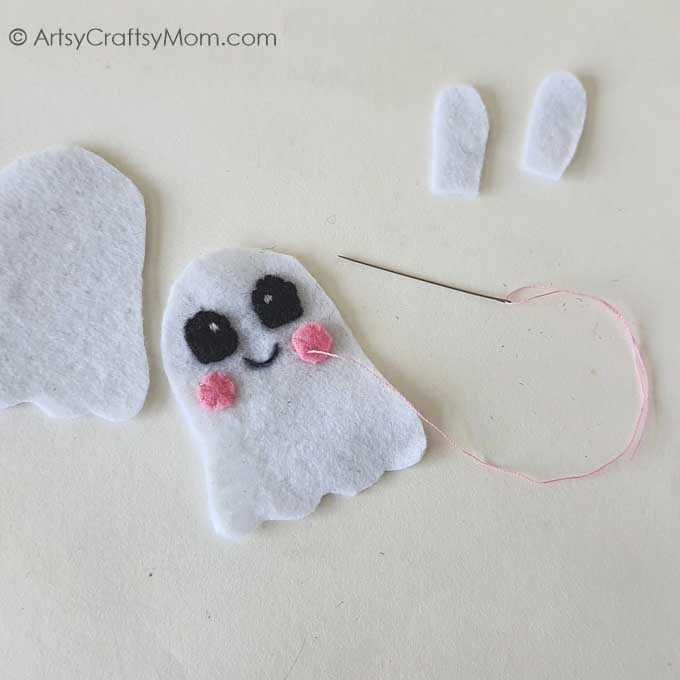
5. The front part of the ghost is ready, now it’s time to put things together. Place the two arms on either side of the back part of the ghost’s body, slanting the arms upwards.
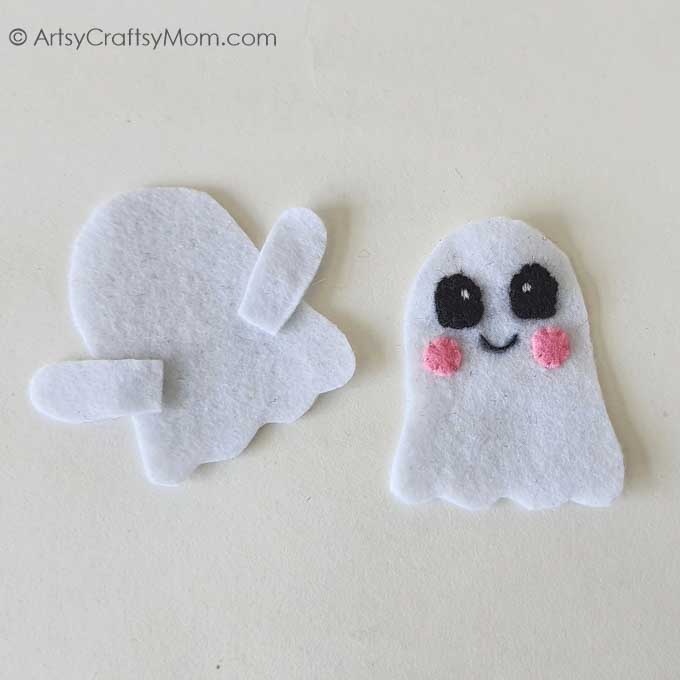
6. Place the front part of the body on top – now our Felt Ghost Plush is ready for sewing. Thread your needle with white thread and stitch around the ghost’s body, securing the arms in place as you go. Leave behind a small gap on the top for the ribbon and the stuffing.
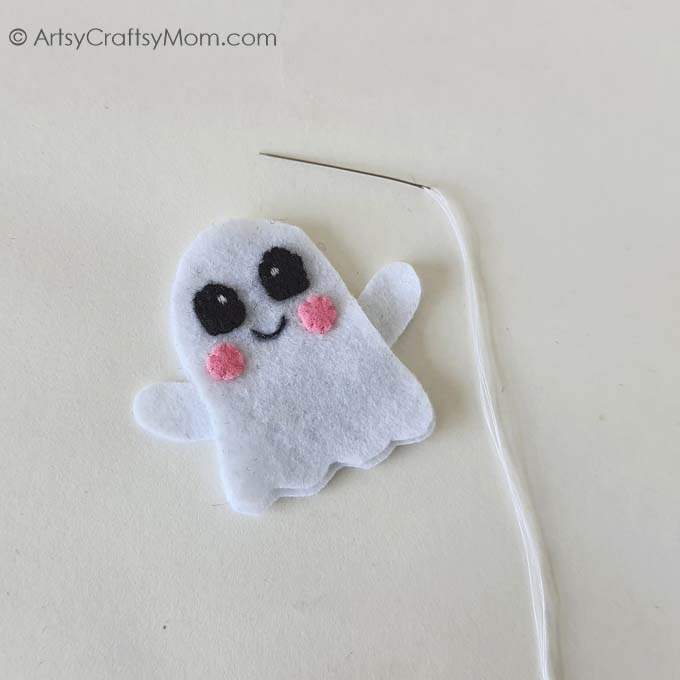
7. Once you’re done sewing and are left with a small gap, use it to stuff the Felt Ghost Plush with cotton wool or felt/fabric scraps, Stuff it enough to appear nice and full, but don’t overstuff or the stitches may burst open.
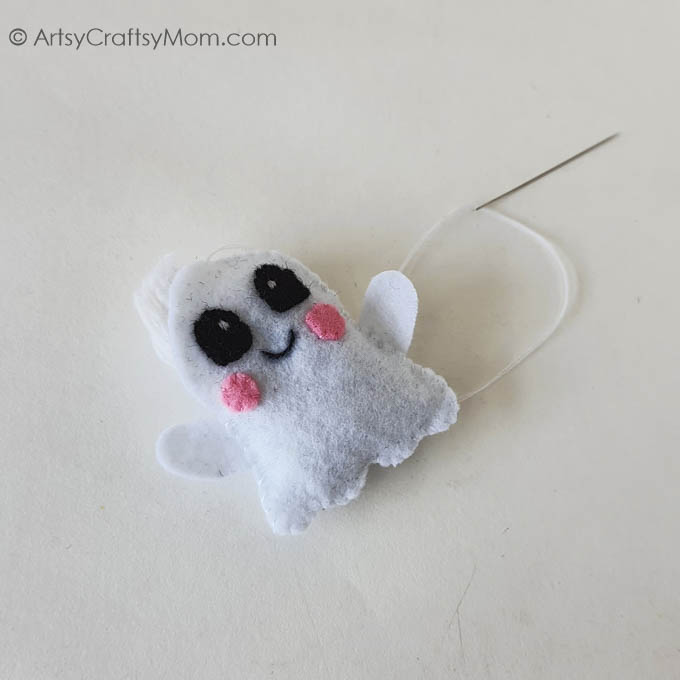
8. When you’ve finished stuffing, add a loop of satin ribbon into the gap. Now sew and close the gap, securing the ribbon in place. That’s it – your Felt Ghost Plush Halloween craft is ready!
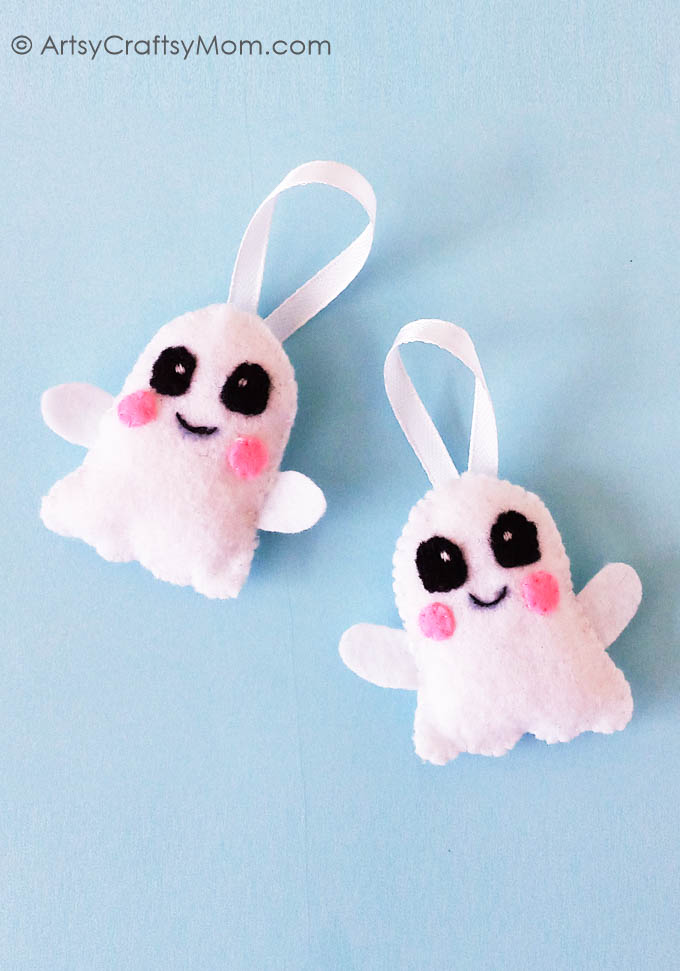
The best part about this Felt Ghost Plush Halloween craft is that you can convert it into anything you like. You can stick on a magnet at the back and use it to decorate your refrigerator. Or you can replace the ribbon with a key ring or hook to use as a bag charm. Or simply hang it somewhere like an ornament. The possibilities are simply endless!






Responses