Cardboard Castle
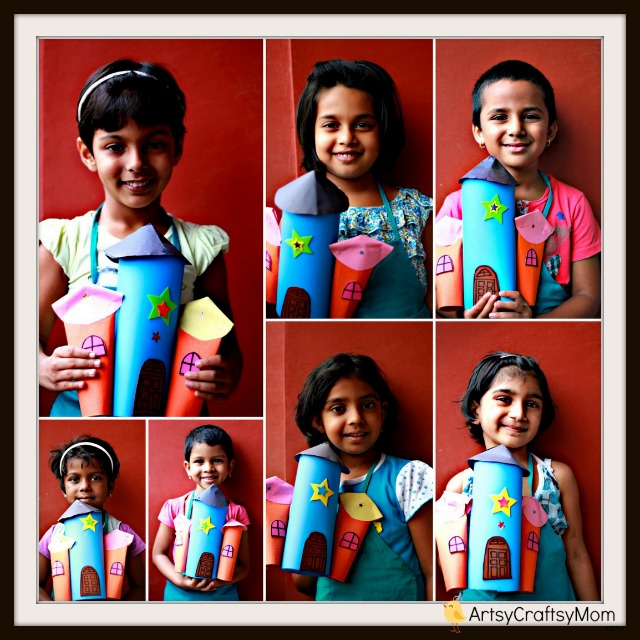
I have been working really late at office these past few days and don’t get too much time to think about what we are going to craft in the craft class. On such days I turn to Lil P for advice. Expert Advice. She gives me a few ideas on what we could make and then we browse the net for inspiration. This week she wanted a castle. So a castle we made!
This is really simple but requires a bit of patience.. which all my girls lack! Every girl wanted her castle to be perfect..
You’ll need
- Chart paper in Blue – A4 Size
- Chart paper in orange – A4 size
- 3 6×6 inch coloured paper squares in different colours – we used black, pink & yellow for the roof.
- Foam (with adhesive backing )
- Sketch pen
- Glue,
- Scissors
- Staplers
- Sticker tape
- and some star stickers.
To make,
- Roll the Blue A4 sheet horizontally to form a cylinder shape. Glue / staple in place.
- Cut the orange A4 sheet into 2 and then roll them into smaller cylinders and glue / staple in place.
- Cut the paper squares into 3 circles. large one should have atleast 5″ diameter. smaller ones atleast 3.5″ diameter.
- Make a cut across one radius and roll into a cone. Glue into place.
- Using sticker tape, firmly place the roof over the towers. This is slightly tricky. If it frustrates your child to do this, simply staple it off like I finally did.
- Now glue all three towers together.
- paste the brown foam cutout to make a door.
- Add some foam windows .
- Using markers, make designs on door and window.
- Embellish with stickers..
As you all know, Kits for each craft class will now be available for sale. Drop me a mail at artsycraftsymom(at) outlook(dot)com if you are interested.





Responses