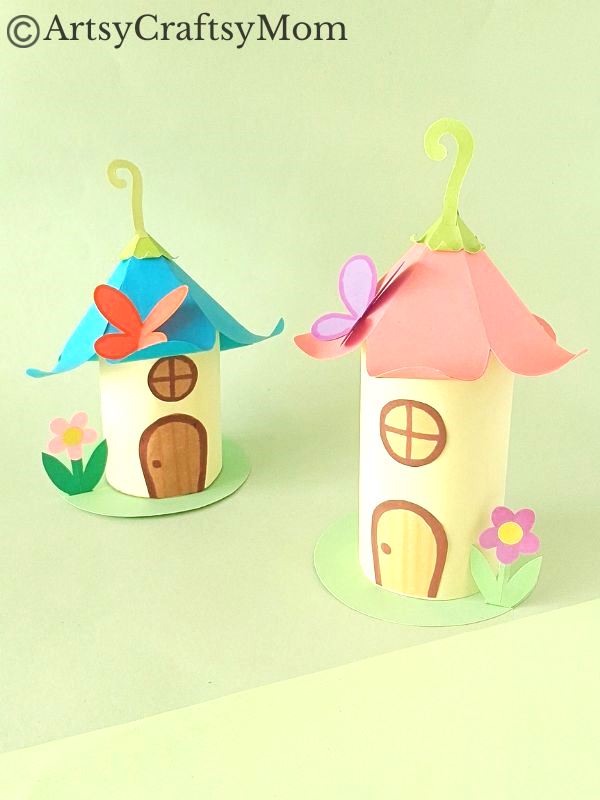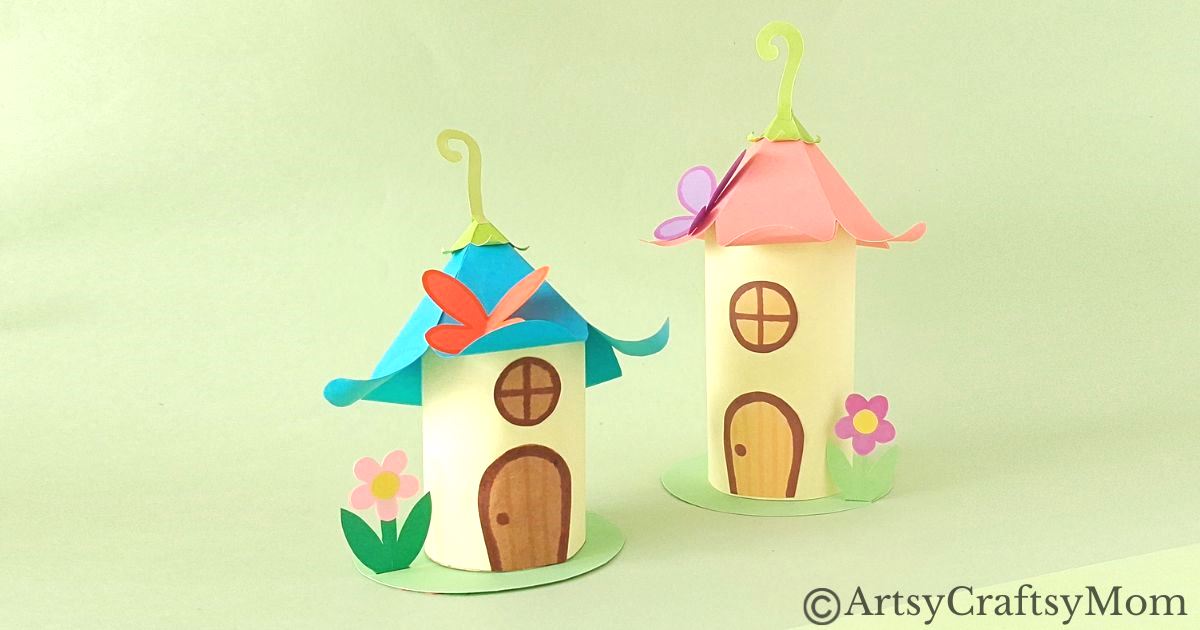
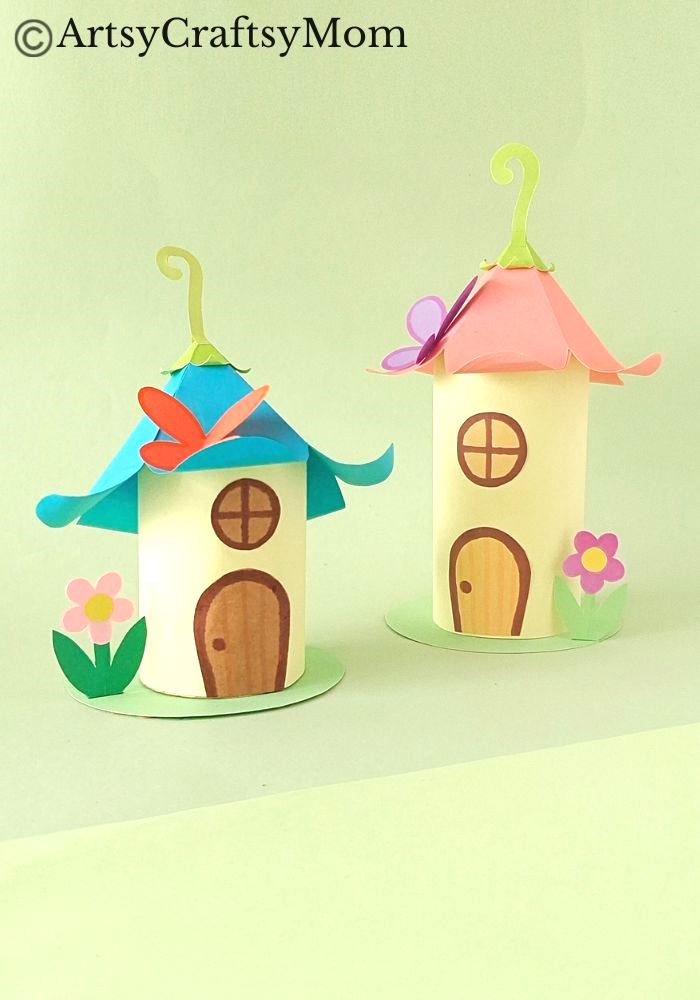
This toilet paper roll fairy house is probably the cutest thing you’ll see today! And the best part is that all you need are basic craft supplies!
Fairies are delightful creatures, aren’t they? We like to think of them as small, ethereal beings, who bring us good tidings or grant us wishes.
After doing so much, it’s only natural that a fairy would want to go somewhere to rest and recharge. But where do they go?
To a fairy house, of course!
Apparently fairies are quite adaptable and can live pretty much anywhere. But we think a house would certainly be comfortable, and that’s why we’ve got a cute little toilet paper roll fairy house craft today!
Toilet Paper Roll Fairy House Craft
Supplies required:
- Empty toilet paper roll/cardboard tube
- Colored craft paper
- Pencil
- Template
- A pair of scissors
- Craft glue
- Markers
Shop the materials on Amazon.com
The links below are affiliate links. As an Amazon Associate I earn from qualifying purchases.
How to make the Toilet Paper Roll Fairy House Craft:
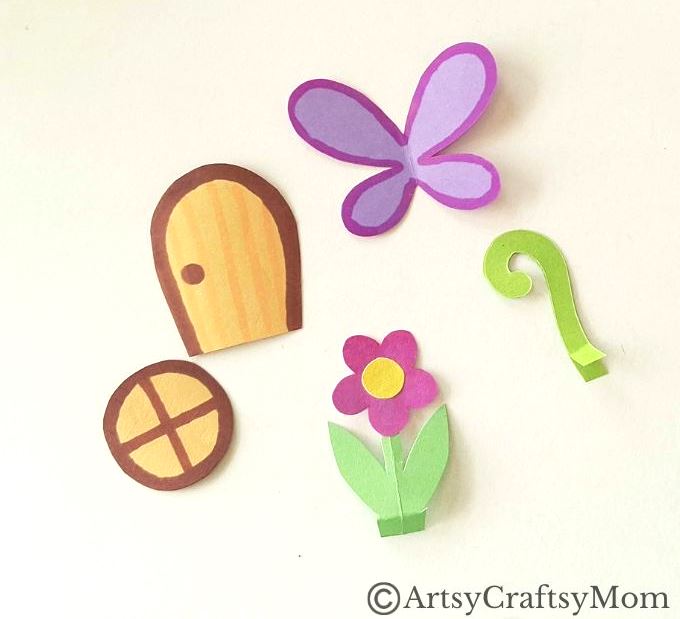
1. Download and print the Toilet Paper Roll Fairy House Craft template. The template includes all parts of the toilet paper roll fairy house, such as a large square for the roof, a small square for the top of the roof, the rectangle for the base, as well as flowers, leaves, and tendrils.
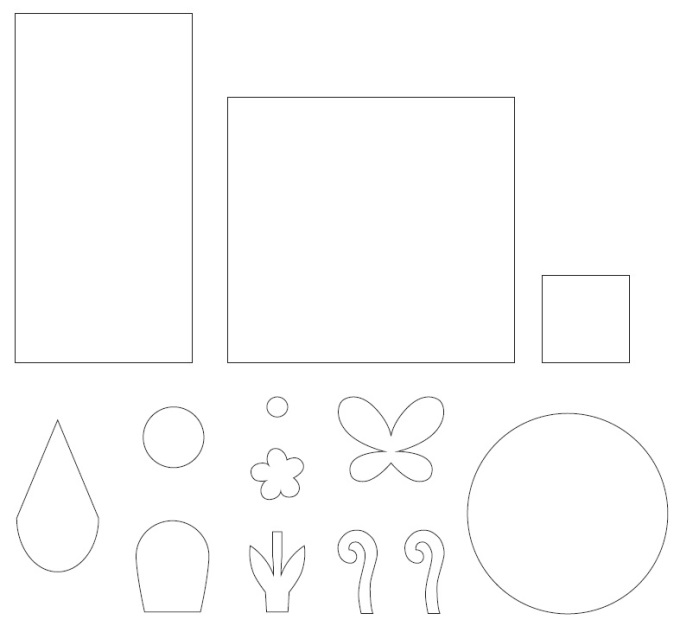
2. Trace the parts of the template on craft paper of the appropriate colors and cut them out. Since this is a fairy house, you can use pretty much any color you like for the house, as well as the flower and butterfly, but keep the plant parts green.
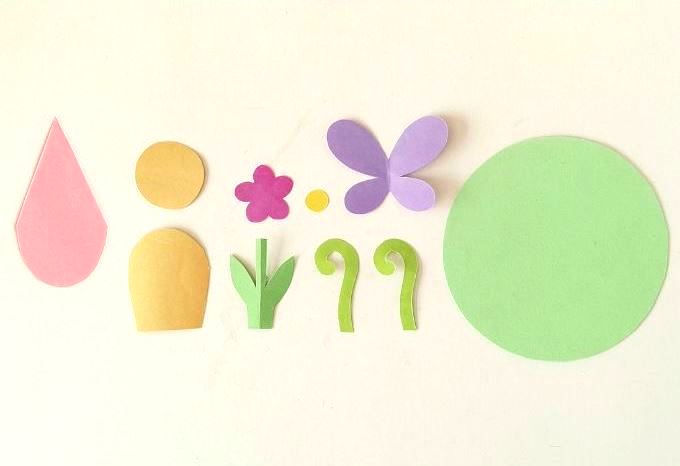
3. Make sure the rectangle cutout fits around your toilet paper roll, so if the template doesn’t fit, cut out your own rectangle as per the size of your own cardboard tube. For a standard toilet paper roll, the larger square can be around 7” and the smaller square can be 2”.
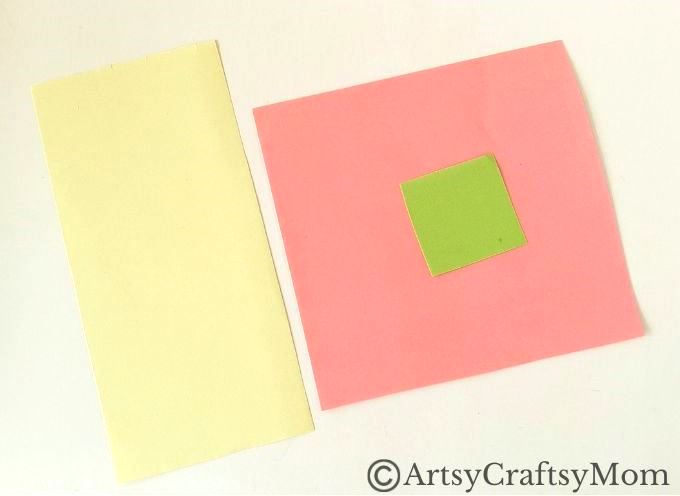
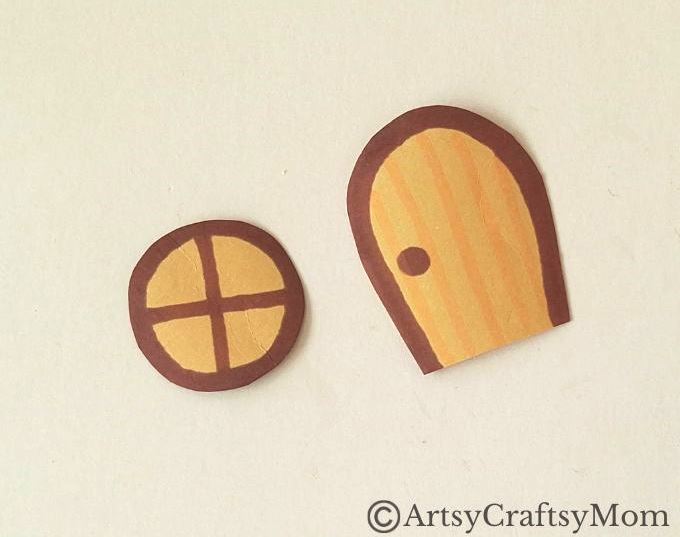
4. Put aside the squares and rectangle for now; we’re starting with the door and window of our toilet paper roll fairy house. Take out your brown markers and add outlines and textures to the door and window patterns. Put them aside.
5. Time to assemble the flower – stick the tiny circle inside the flower pattern, and attach the completed flower at the top end of the stem cutout. Fold a small flap at the bottom of the stem cutout. Put the flower aside.
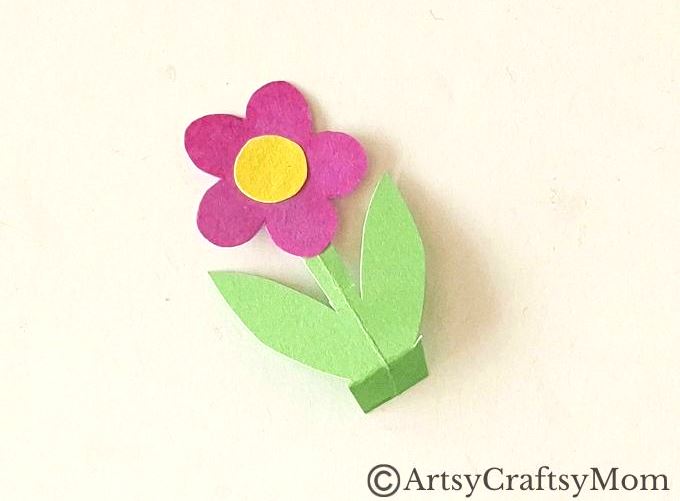
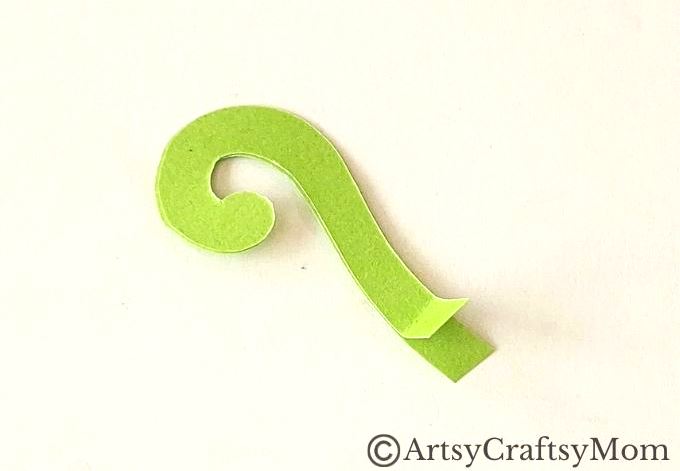
6. Take the two vine cutouts and stick them together, leaving a 1 cm unglued flap at the bottom, as shown below.
7. Take your markers and draw outlines on any parts of the toilet paper roll fairy house, like the flower or the butterfly. You are ready to move on to the next step!
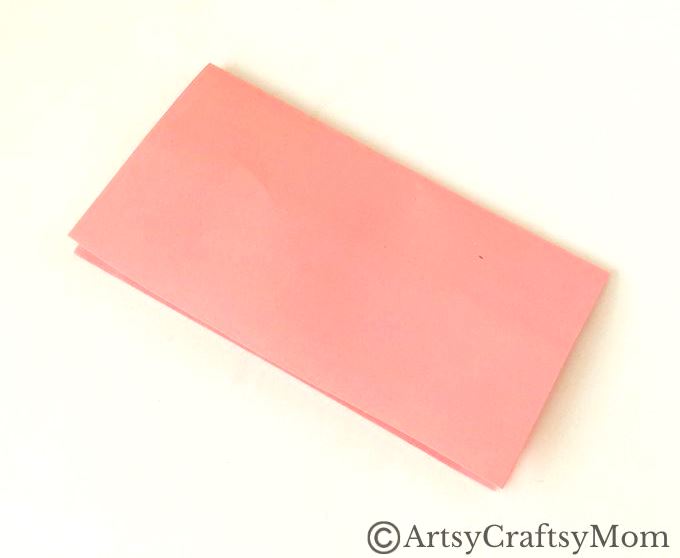
8. Take the large square – we are going to turn it into the fairy house’s roof. Fold the square in half as shown below so you get a rectangle.
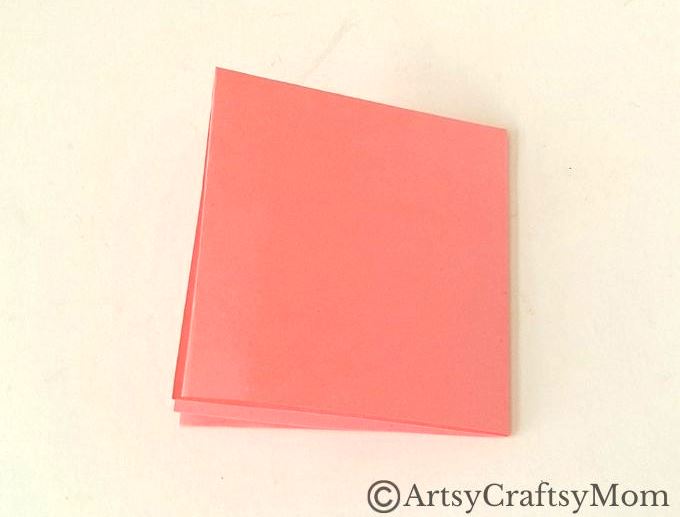
9. Fold this rectangle in half again, so you end up with a square again, as shown below.
10. Fold the upper flap of the current pattern in half, diagonally.
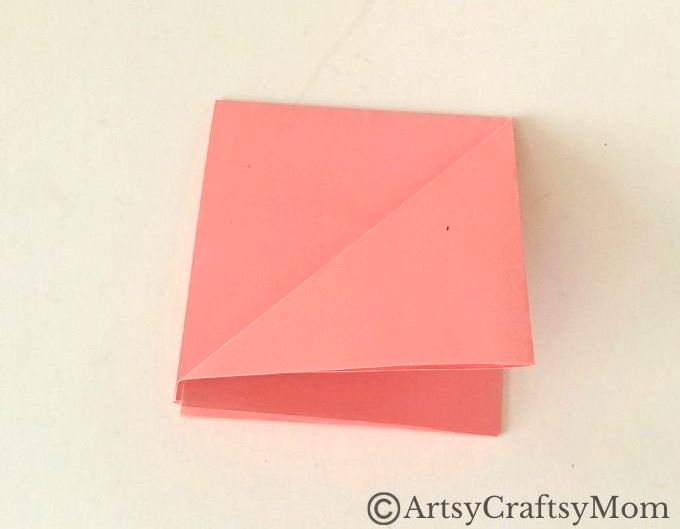
11. Fold the other half diagonally in half as well.
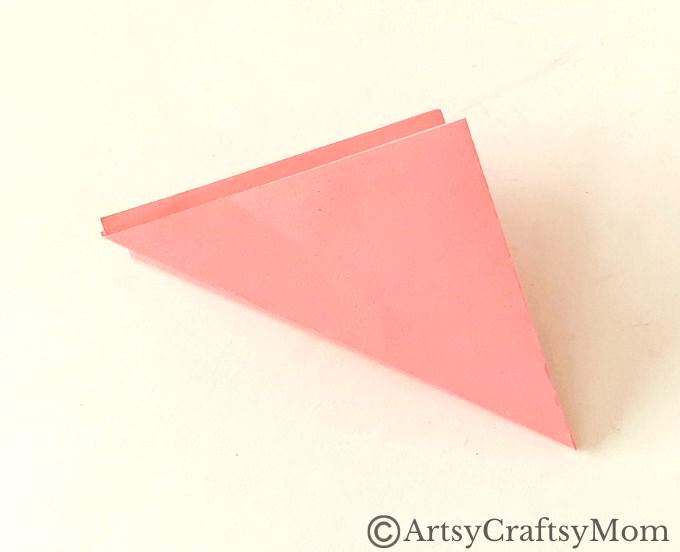
12. Trace the petal shape on the folded pattern and cut around the curved edge as shown below.
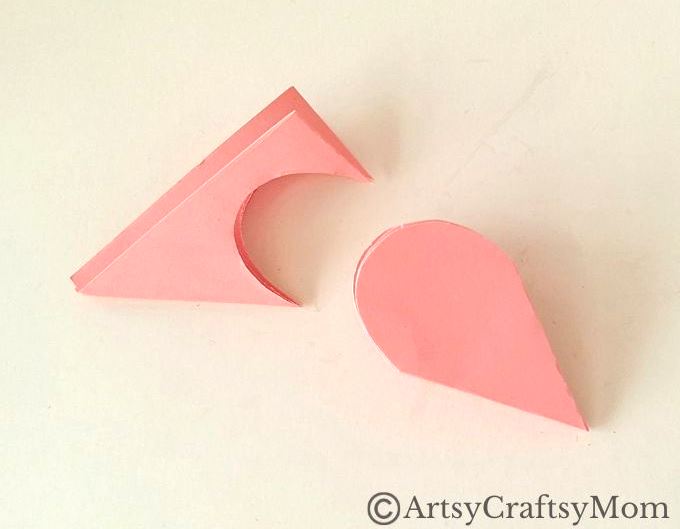
13. Unfold the pattern. There should be a total of 8 petals on the pattern. Cut out 2 petal shapes from it.
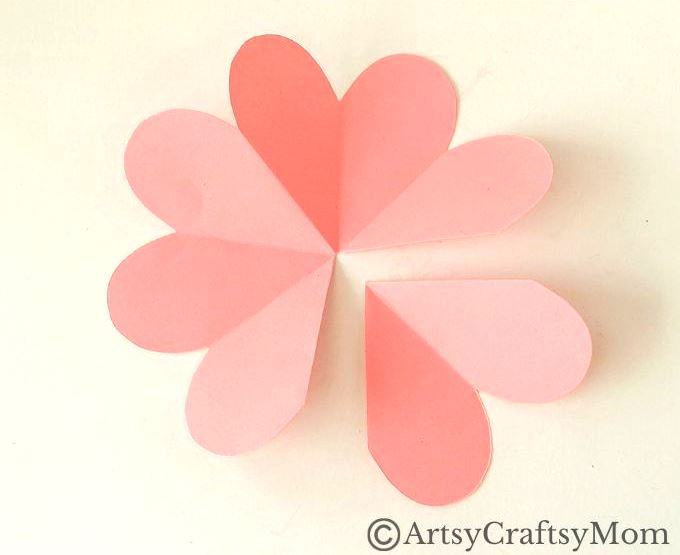
14. Repeat steps 8-13 with the smaller square to make the sepal, but instead of a curved edge, cut out a pointy edge in Step 12.
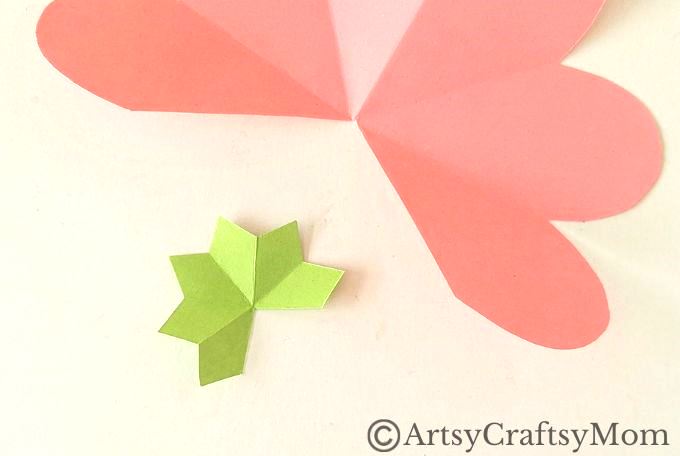
15. Apply glue around the edge of a petal near the edge of the missing petals.
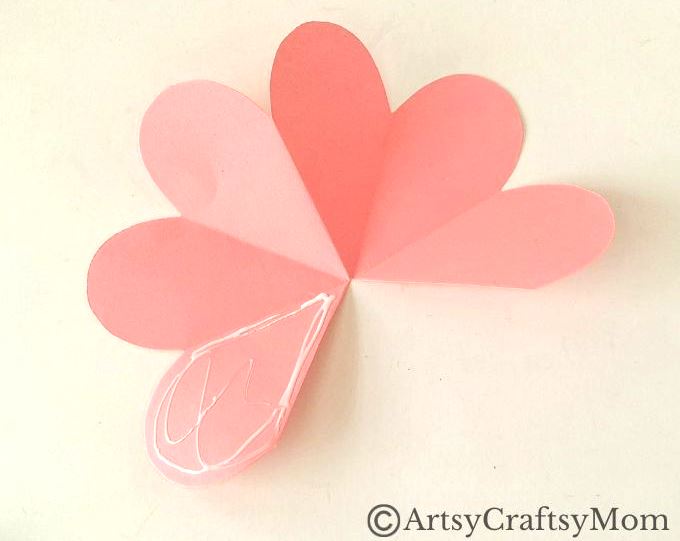
16. Roll and join the glued petal to the petal on the other end. Repeat the same steps with the sepal cutout.
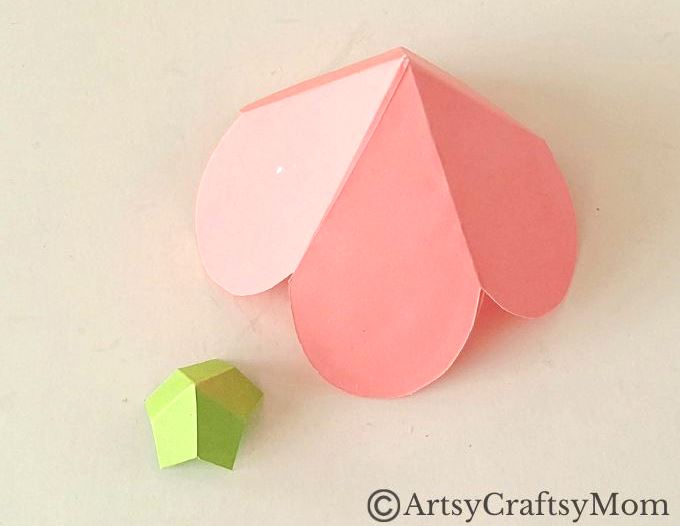
17. Use a pencil or curved object to curl the open edges of the flower and sepal shapes.
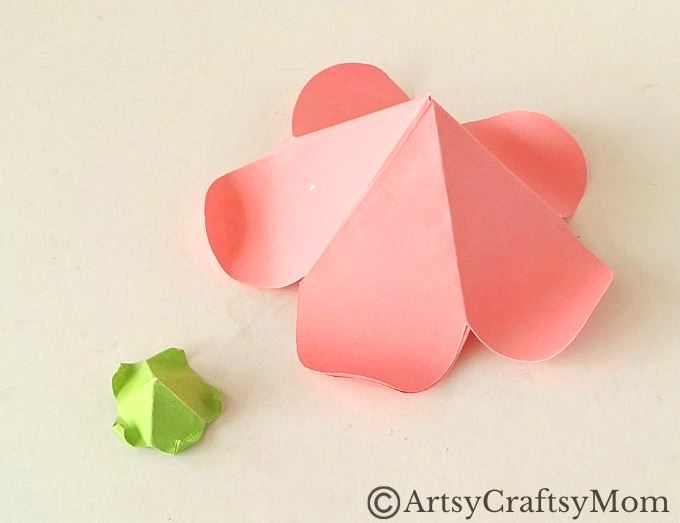
18. Take the vine pattern and apply glue on the open, unglued flaps.
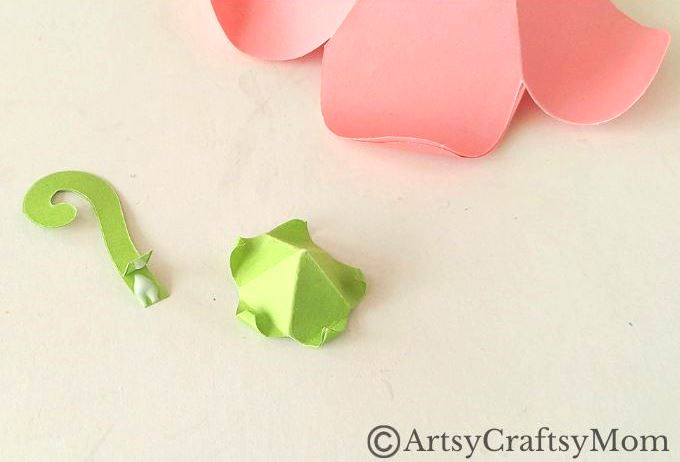
19. Attach the vine to the top end of the sepal shape.
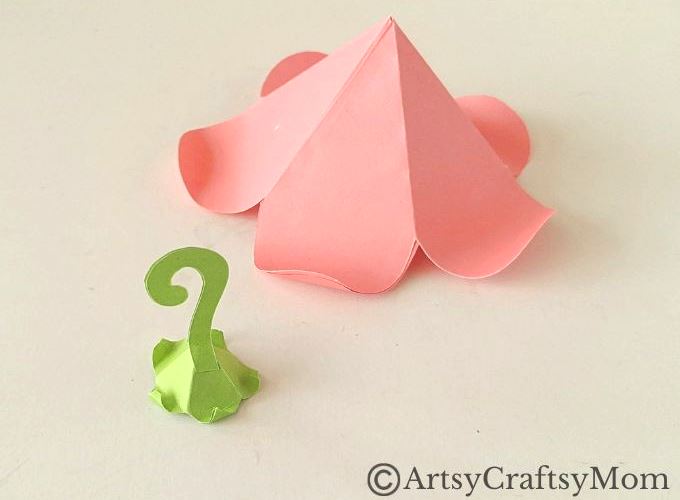
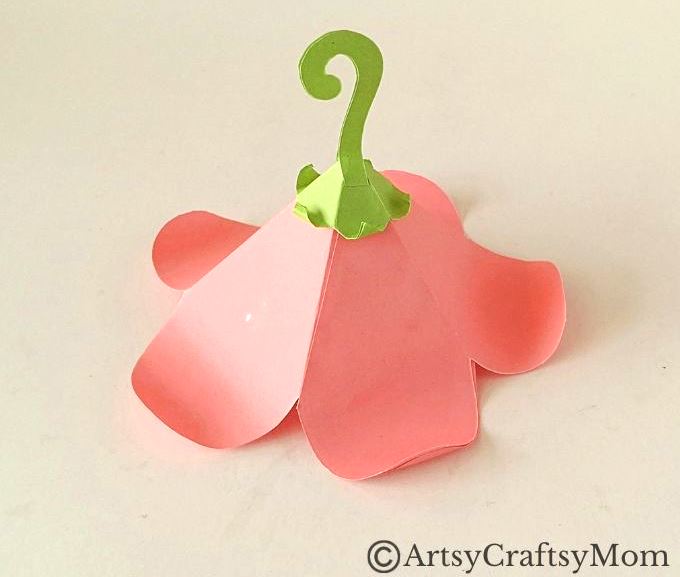
20. Apply glue on the pointy part of the flower shape and attach the sepal pattern to it. The roof of your toilet paper roll fairy house is ready!
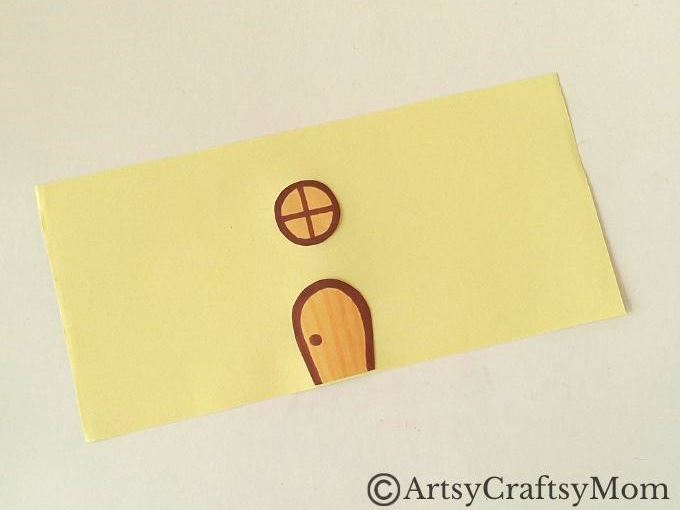
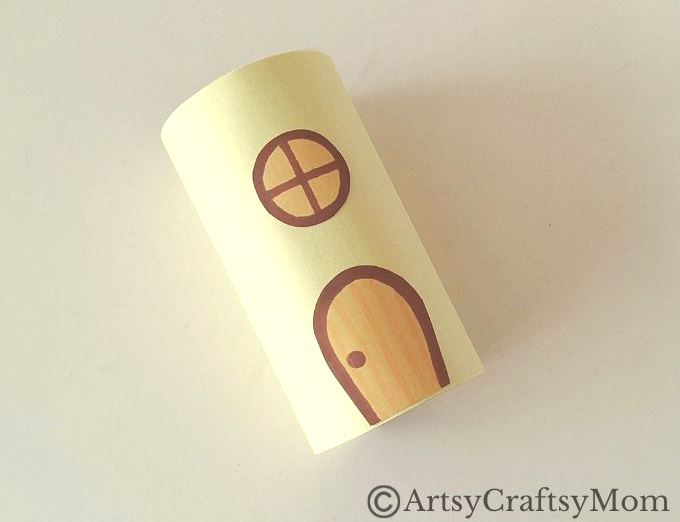
21. Take the rectangle and stick the door and window patterns in the middle, with the window above the door.
22. Cover the toilet paper roll with the paper.
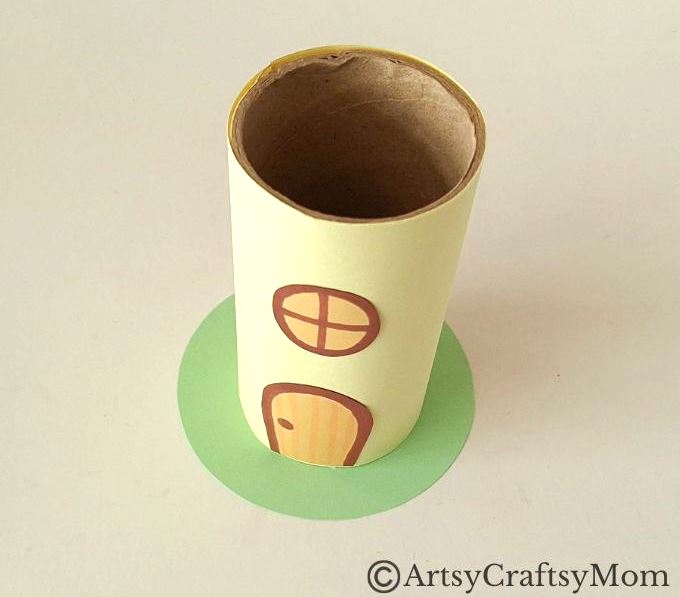
23. Apply glue to the base of the toilet paper roll and attach it to the circle base.
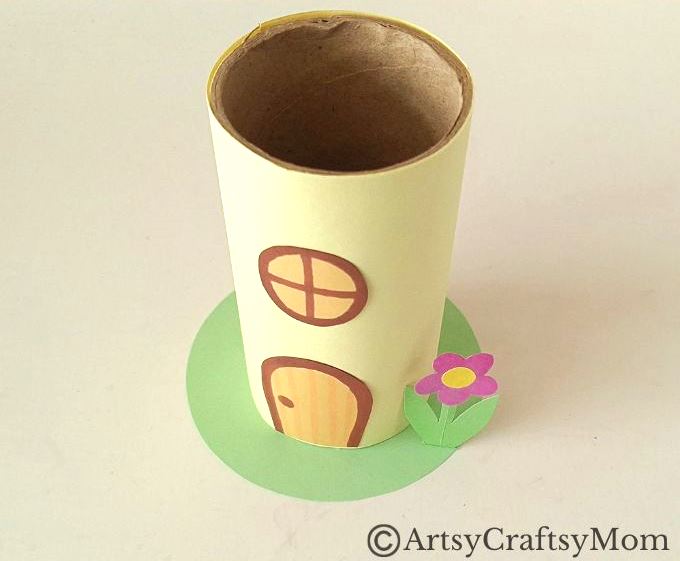
24. Take the flower from Step 5 and apply glue on the bottom flap. Stick the flower on the base, right next to the house.
25. Use glue to attach the roof to the top, open end of the toilet paper roll fairy house. Stick the butterfly to the top of the roof.
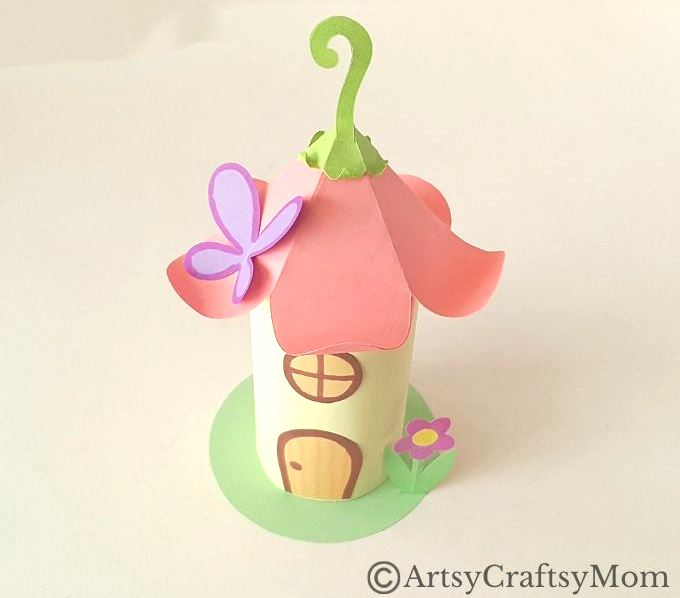
That’s it, your toilet paper roll fairy house craft is ready!
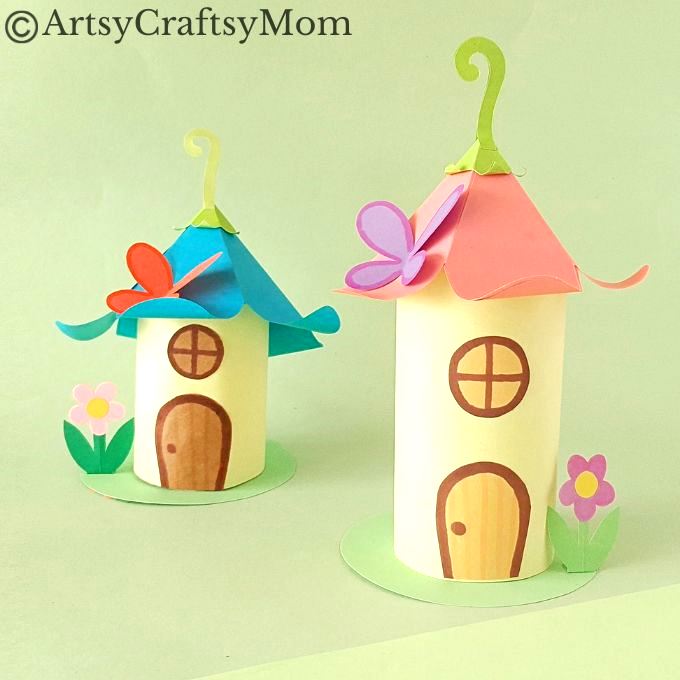
This toilet paper roll fairy house is so pretty that I would love a chance to live in it! These houses are great if you’re building a spring village, and you could even decorate it differently for holidays like Thanksgiving, Halloween or Christmas. Go ahead and make your own changes – we’re sure the fairies don’t mind!
If you’d like to make other mini house crafts, check these out:
- Paper Mushroom House Craft for Kids
- Decorative Cardboard Birdhouse Craft
- Paper Cup Miniature Village Houses
- Handmade Clay Birdhouse Bookmark
- DIY Felt Gingerbread House Ornament