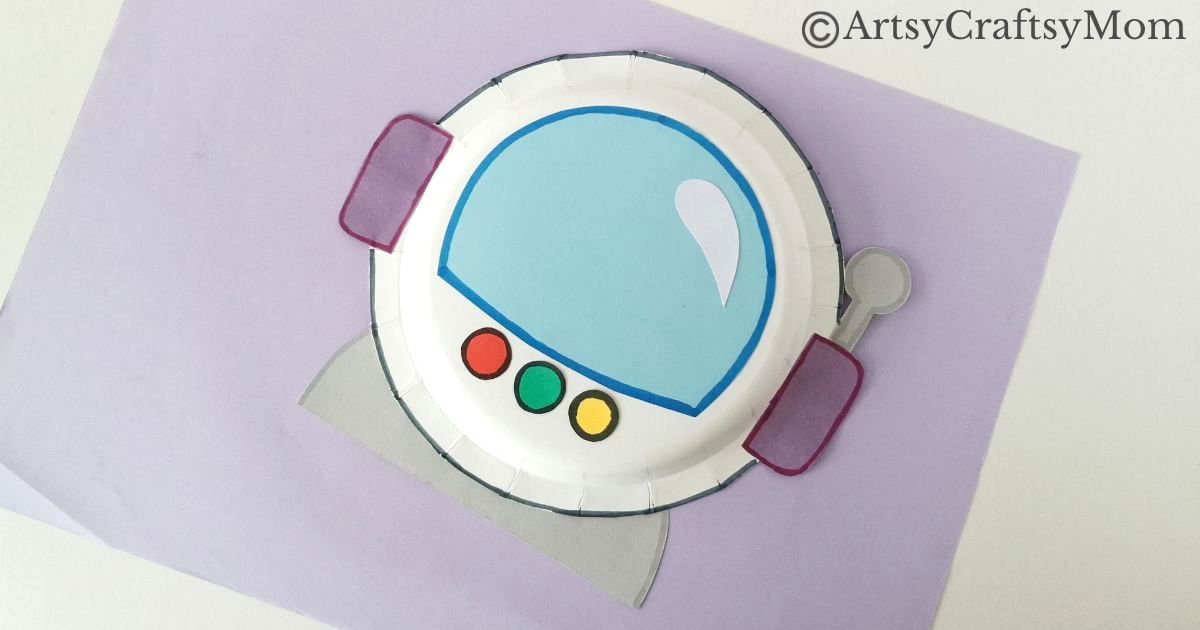
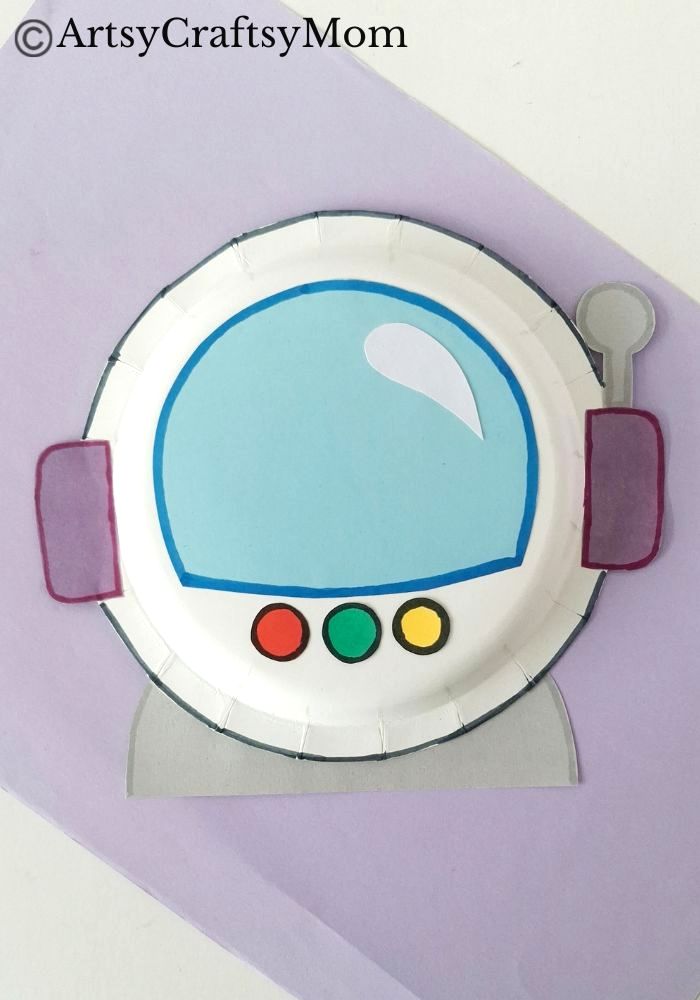
This paper plate astronaut helmet craft is one of the easiest crafts for little space enthusiasts to make! All you need is a paper plate and craft paper!
One of the easiest ways to identify an astronaut is of course, their spacesuit. It’s large, bulky and has a massive helmet – it’s pretty hard to miss!
An astronaut’s spacesuit doesn’t just protect them from external things like flying meteoroids or UV rays, it does a lot more. In fact, NASA says that a spacesuit is can be considered a single person spaceship!
One of the main protective elements of a spacesuit is the helmet, which is larger than regular helmets worn during bike riding or cycling. Here are some of the special parts of an astronaut helmet.
Main Parts of an Astronaut Helmet
- The main shell of the helmet is made from a strong material that’s also lightweight, like polycarbonate or fiberglass
- The eyes are covered by a visor, a transparent shield that can be lifted and lowered
- Most helmets have levers on the side to help in controlling the visor’s movment
- The helmet’s base is a neck ring that attaches the helmet to the rest of the spacesuit
- The helmet is also equipped with a communication system that helps the astronaut talk to the rest of the crew
Now that we know the importance of an astronaut helmet, let’s try and make a paper plate astronaut helmet craft. It’s a really easy craft that can be made with things lying around the home!
Quick and Easy Paper Plate Astronaut Helmet Craft
Supplies required:
- Colored craft paper
- White paper plate
- Craft glue
- Pencil
- A pair of scissors
Shop the materials on Amazon.com
The links below are affiliate links. As an Amazon Associate I earn from qualifying purchases.
How to make the Paper Plate Astronaut Helmet Craft:
1. Download and print the Paper Plate Astronaut Helmet Craft Template. The template includes the helmet base, the neck ring, the side controls, the antenna and lots of buttons.
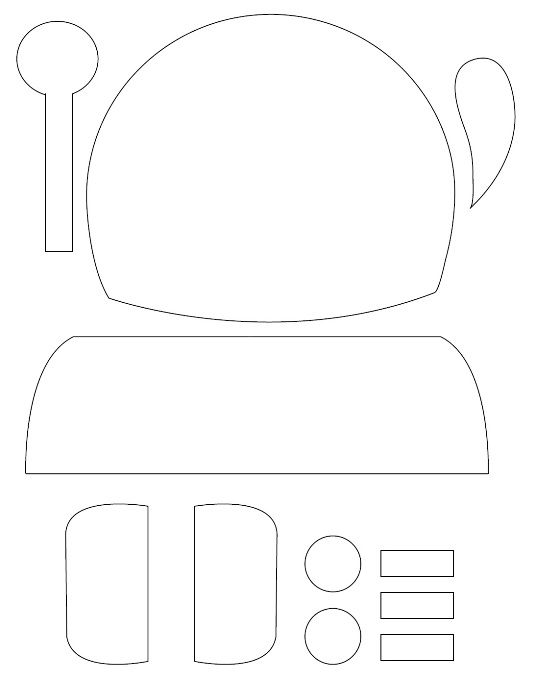
2. Trace the parts of the template on craft paper of the appropriate colors and cut them out. You can use light blue for the main helmet cutout, and grey for the neck ring and antenna. We’ve used purple for the side controls and you can use any colors you like for the circles and strips.
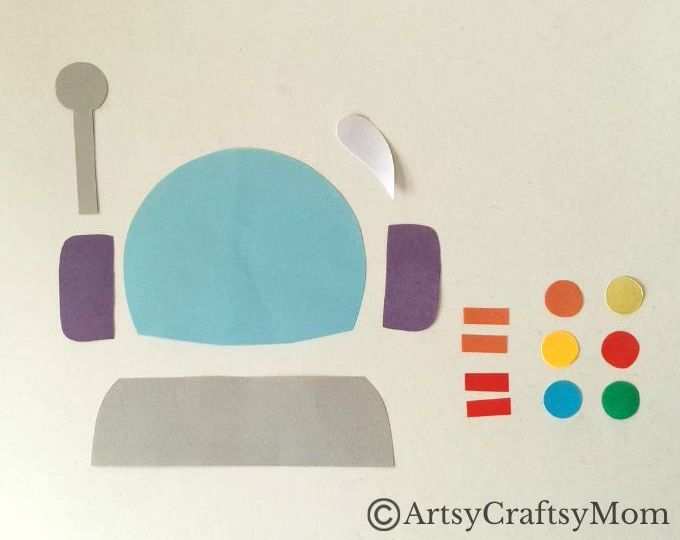
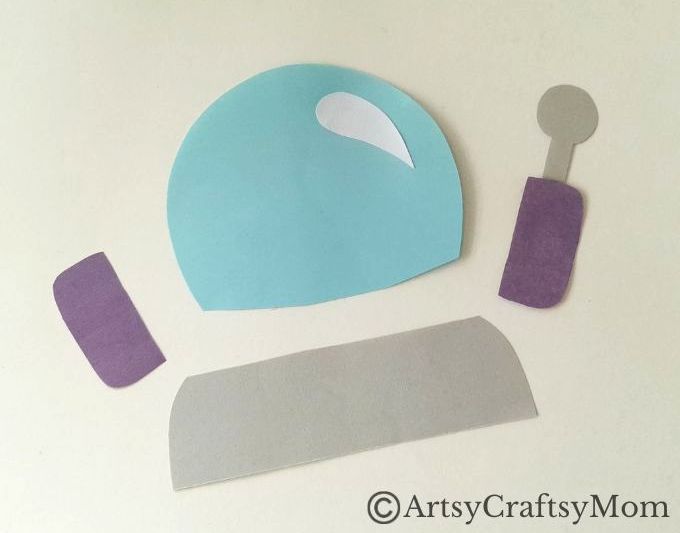
3. Let’s start assembling our paper plate astronaut helmet craft! Stick the little white glass shine cutout and stick it near the curved edge of the helmet. Attach the antenna to one of the side control pieces.
4. Bring out your paper plate and lay it out with all the parts of your template. Make sure the base of your paper plate is large enough to accommodate the helmet base cutout.
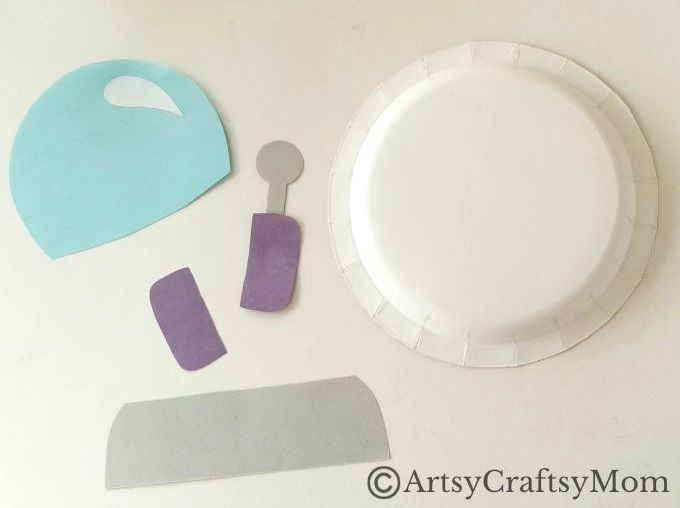
5. Apply glue all over the base of the paper plate and stick the blue glass on it. Keep enough space below the glass cutout for the button controls.
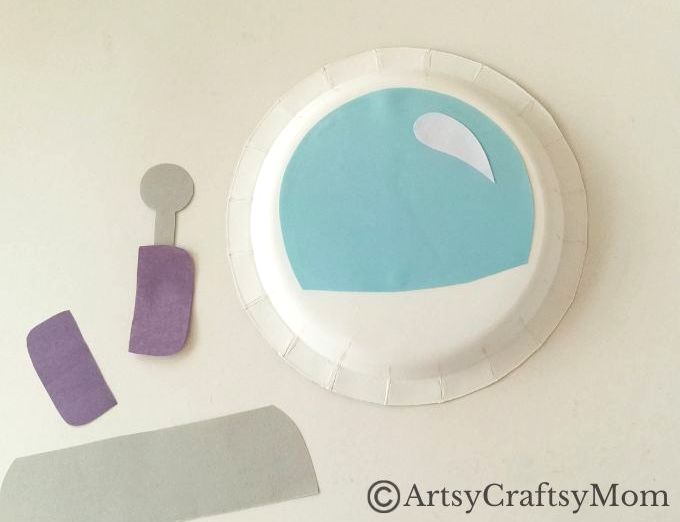
6. Let’s continue assembling our paper plate astronaut helmet craft. Stick the neck ring at the bottom of the paper plate, gluing at the back, as shown below.
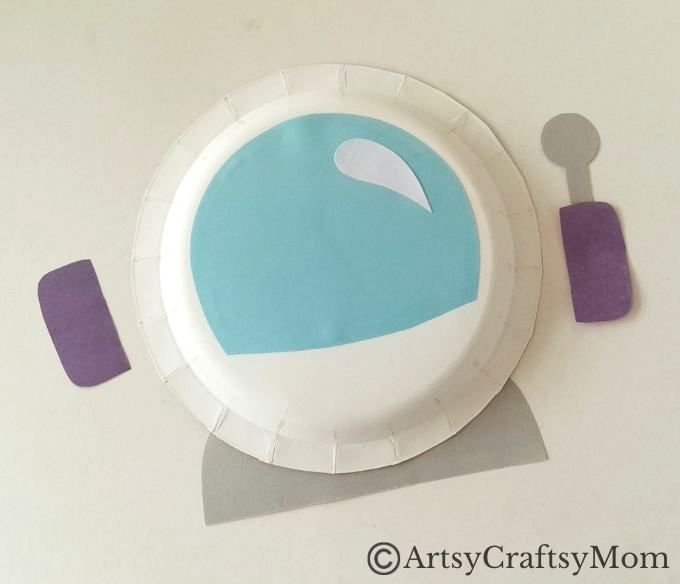
7. Stick the control cutouts on either side of the paper plate. Your paper plate astronaut helmet craft is almost done!

8. Time to bring out your markers! Use matching colors to trace outlines on the patterns of the helmet to give the craft a neat look.

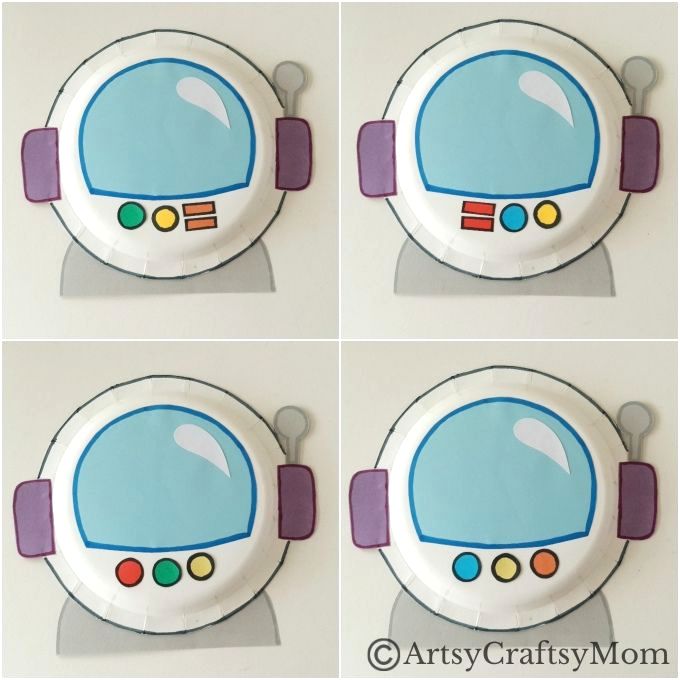
9. Finally, stick the buttons and strips under the glass cutout on the paper plate. You can combine them in any form you like – check out the pictures below for ideas.
10. Use markers to draw outlines on your button controls and you’re done!
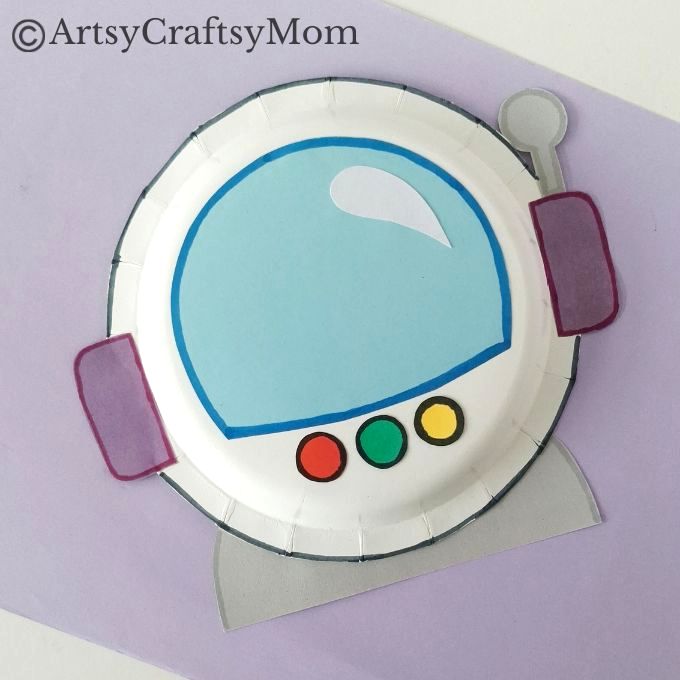
Now, wasn’t that an easy paper plate astronaut helmet craft? The best part is that since we’re focusing only on the helmet in this craft, kids have a chance to learn more about it in detail. It’s quite fascinating, how much technology goes into just one part of the space suit. It gives us a whole new appreciation for all the engineers working behind the scenes of a rocket launch!
If you’re looking for more space-themed crafts, check these out:
- Colorful Woven Paper Rocket Craft
- Printable Alien Headbands for Kids
- Quick and Easy Paper Astronaut Craft
- Printable Alien Ship Papercraft
- DIY Rocket Corner Bookmark