DIY Rocket Corner Bookmark for Kids
Reading takes you places and now you can take that trip on a rocket! Make this bright and colorful Rocket Corner Bookmark with the supplies you already have.
“Books are the plane, and the train, and the road.” This is how author Anna Quindlen describes reading, and you have to admit, there’s no cheaper way to travel!
Reading helps you navigate your way across countries and continents, from the comfort of your own home. And with today’s craft, you can travel beyond our planet as well – with the help of a rocket corner bookmark!
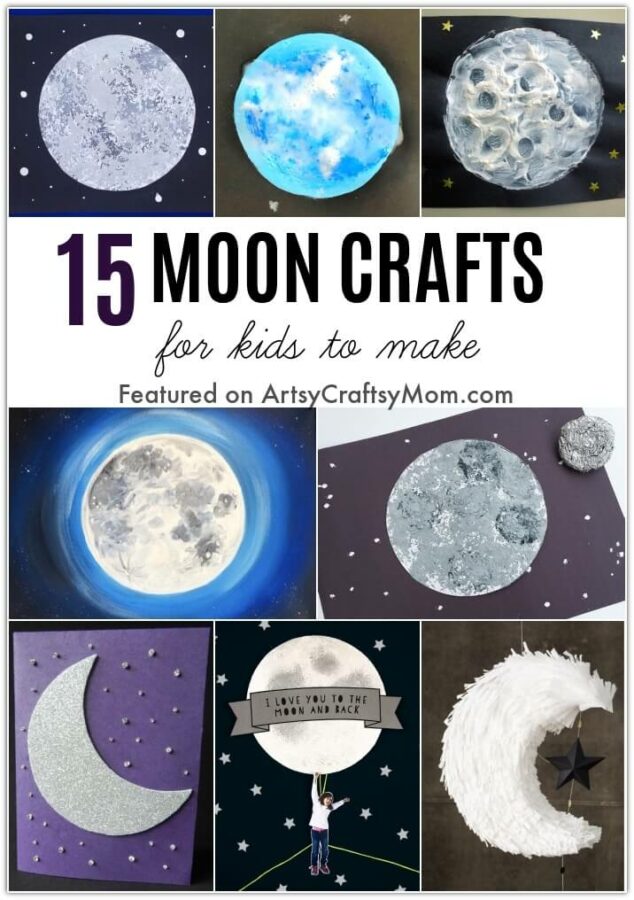
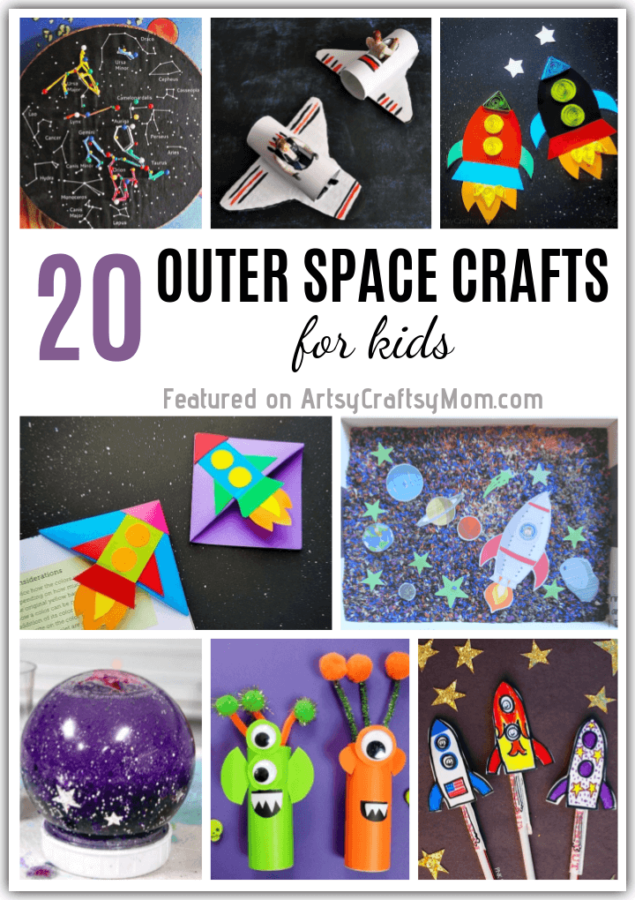
If you have a little outer space explorer at home, we have Outer Space art ideas for Kids & ideas for an Outer Space Themed party plus 20 outer space crafts for kids that are as amazing as they look. Use these to learn about rockets, space ships, the moon, galaxies, constellations and so much more.
We love how bright and colorful this bookmark is, and it’s a great way to keep reluctant readers invested in their book. What’s more, all you need for this craft is colored paper, scissors, and glue. Can you think of an easier project for kids to make this summer?
DIY Rocket Corner Bookmark for Kids

List of Supplies:
- Template – Click to open full Res.
- Craft paper in bright colors
- Pencil
- Scissors
- Craft glue or glue stick

How to make the Rocket Corner Bookmark:
1. Let’s make a traditional origami corner bookmark for the base. You can follow along with the pictures or grab the instructions HERE on Red Ted Art’s super easy tutorial. Cut out a square paper from craft paper of any color you like. The square should be at least 6 x 6 inches ( Thank you Raquel)

2. Fold the square paper into half diagonally, from one corner to the opposite corner. You now have a triangle.

3. Place the triangle so the fold is at the bottom. Fold the top layer of the triangle downwards, so that the corner meets the folded base. This will form a pocket between the layers.

4. Now fold the bottom right corner of the triangle upwards along the line created by the fold in the previous step. Tuck the top end of this into the pocket created in step 3.

5. Repeat the previous step for the corner on the left side. This completes the corner bookmark base.

6. The template includes 2 sizes for the rocket. Select the one you want and prepare the template patterns by printing and cutting them out. Trace the patterns on colored craft papers and cut them out neatly.

7. Stick the 2 circle cut outs on the body of the rocket and the triangle at the top. Stick the small flame pattern on the big flame pattern.

8. Stick the flame pattern on the bottom side of the paper rocket.

9. Attach the remaining pieces to complete the paper rocket.

10. Place the rocket on the corner bookmark so that the top corner of the rocket is aligned with the closed corner of the bookmark.

11. Stick the rocket in place. Let the glue dry and you’re done!

Seriously, this is something you can make from start to finish in about 15 minutes! You can add this rocket bookmark to your bookmark collection, along with the Madhubani elephant bookmark, monster bookmark, animal bookmarks and ice cream bookmark. This is a great project for kids to practice measuring, folding, cutting and of course sticking. And when they’re done, they can enjoy the fruit of their efforts every time they open a book to read!


[…] Rocket Corner Book Markers and Paper Rocket Craft from Artsy Craftsy Mom […]
Hi,
The rocket corner book mark is very cute and your instructions refer to a template with 2 sizes of rocket. I could not locate that – just tons of fake PDF click ads! Was there a template I missed? Thanks so much!
Same issue ^
https://cdn.artsycraftsymom.com/content/uploads/2019/05/Rocket-Template.jpg
Its so interesting, very nice ideas.
I am a library assistant and would love to include your template in our weekly craft video as well as a reference to
your website. Would this be acceptable use?
Thank you!
Sure. Go ahead
I used the template provided at 4X4in squares and the rocket pieces were way too big for the bookmark. Highly recommend using 6X6in squares to make your corner