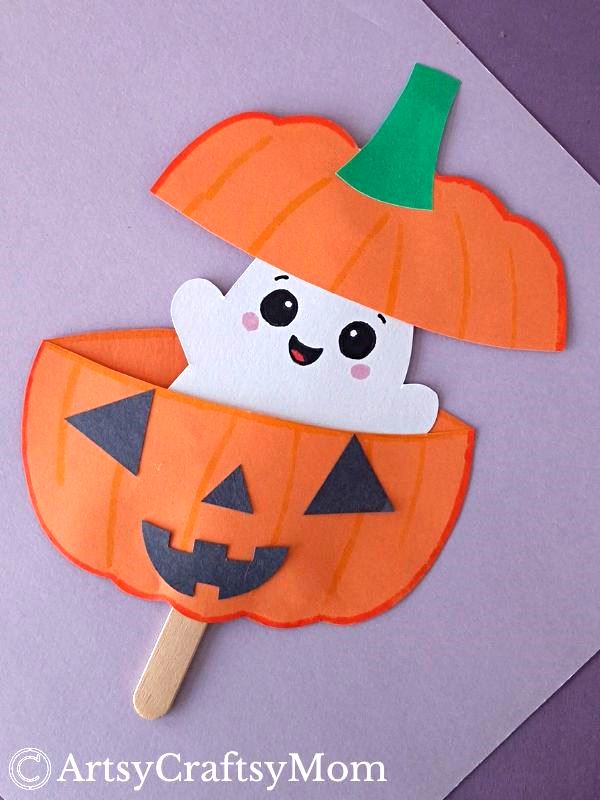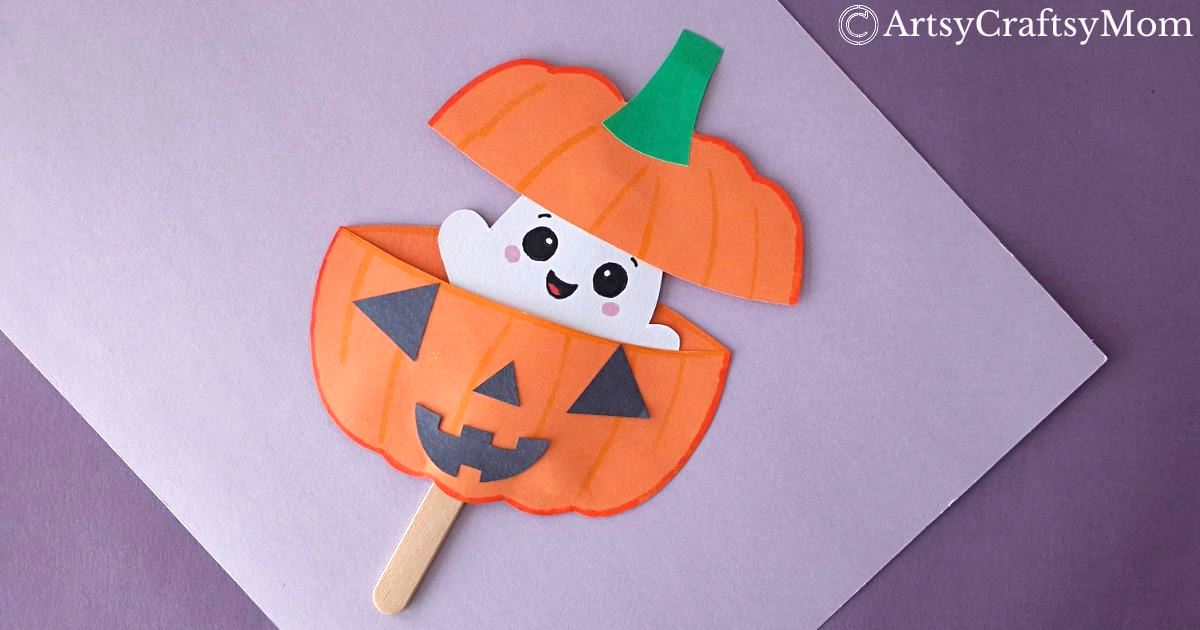
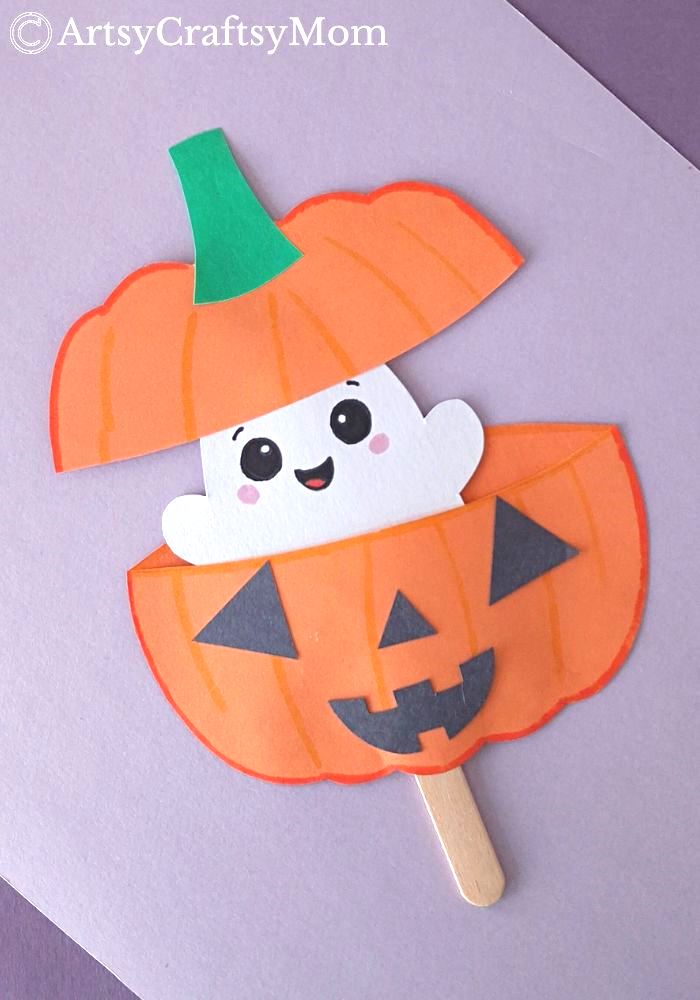
Two Halloween icons come together in this ghost in a pumpkin craft – a ghost, of course, and a Jack o’ lantern! Easy to make and fun to play with!
It’s hard to get through October and November without seeing pumpkins everywhere – even if you live in a place where pumpkins are not a native vegetable!
That’s how strong the association of pumpkins is with these months, especially when it comes to Halloween. Come October and people are drinking pumpkin-spiced lattes, carving pumpkins for decor, and participating in pumpkin-chucking contests!
Well, we’re going a gentler way – we’re making a paper craft! Here is everything you need to know about making a cute ghost in a pumpkin craft that’s perfect for the season!
Ghost in a Pumpkin Craft for Halloween
Supplies required:
- Colored craft paper
- Popsicle stick
- Pencil
- A pair of scissors
- Craft glue
- Markers
Shop the materials on Amazon.com
The links below are affiliate links. As an Amazon Associate I earn from qualifying purchases.
How to make the Ghost in a Pumpkin Craft for Halloween:
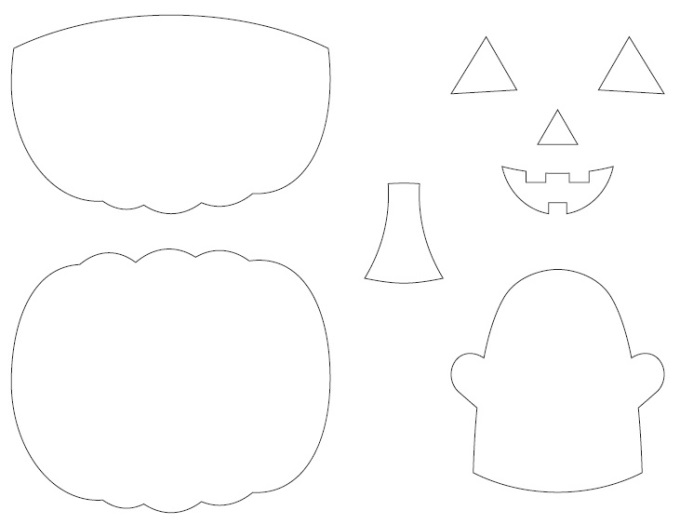
1. Download and print the Ghost in a Pumpkin Craft template. The template contains the ghost outline and parts of the Jack o’ Lantern, including the pumpkin, stem, eyes, nose and mouth.
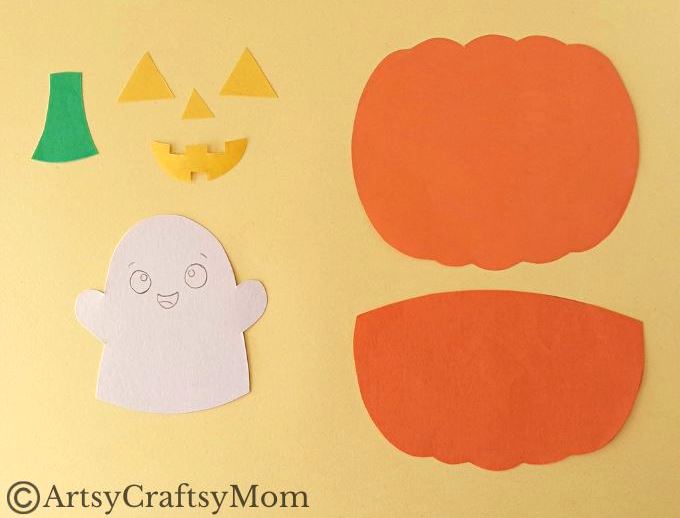
2. Trace the parts of the template on craft paper of the appropriate colors and cut them out. Since this is a ghost in a pumpkin craft, the colors are pretty obvious – white for the ghost and orange for the pumpkin! We’ve chosen yellow for the Jack o’ lantern’s features and green for the stem.
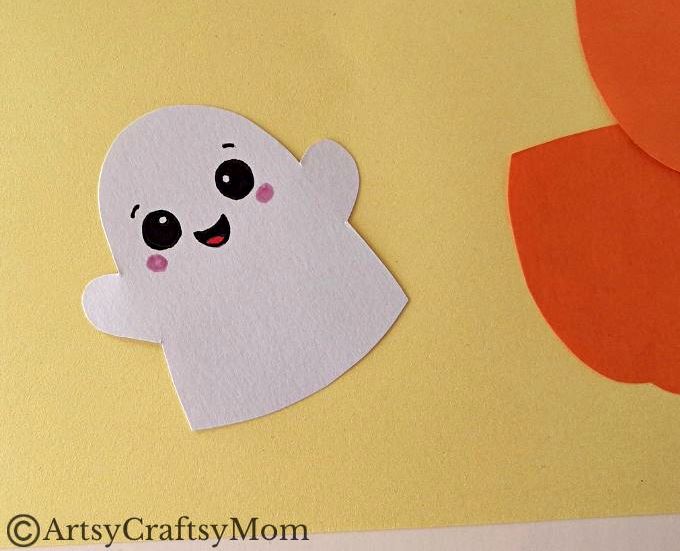
3. Take out your markers and draw some cute features on your ghost. Add some pink cheeks to make it cuter!
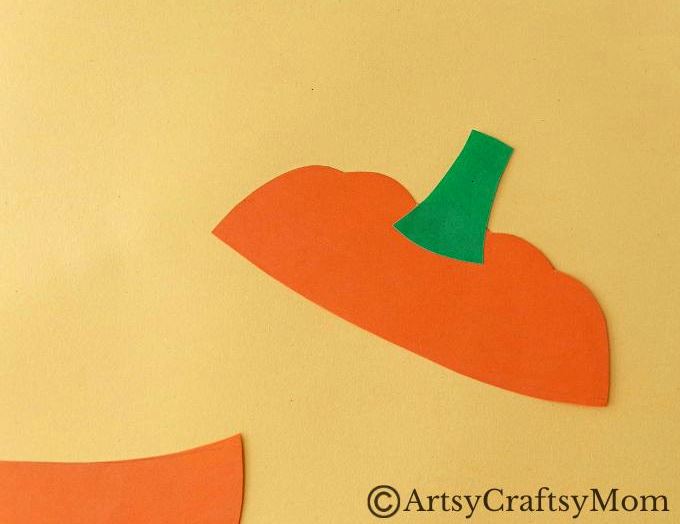
4. Let’s move on to the pumpkin part of our ghost in a pumpkin craft. There’s a half-pumpkin cutout and a full pumpkin cutout. Cut the whole pumpkin into two, keeping the top part shorter than the bottom part, as shown below. You now have a pumpkin ‘bowl’ and a matching ‘lid’.
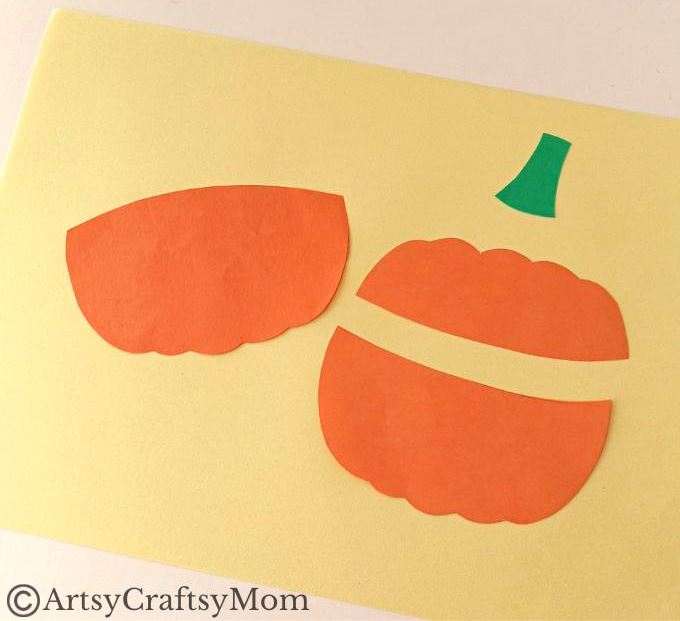
5. Stick the stem on top of the pumpkin ‘lid’. Now your lid has a handle!
6. Take the pumpkin half cutout and apply glue along the sides and bottom edges. Make sure to leave a small gap in the middle of the bottom edge, just enough to slide a Popsicle stick through.
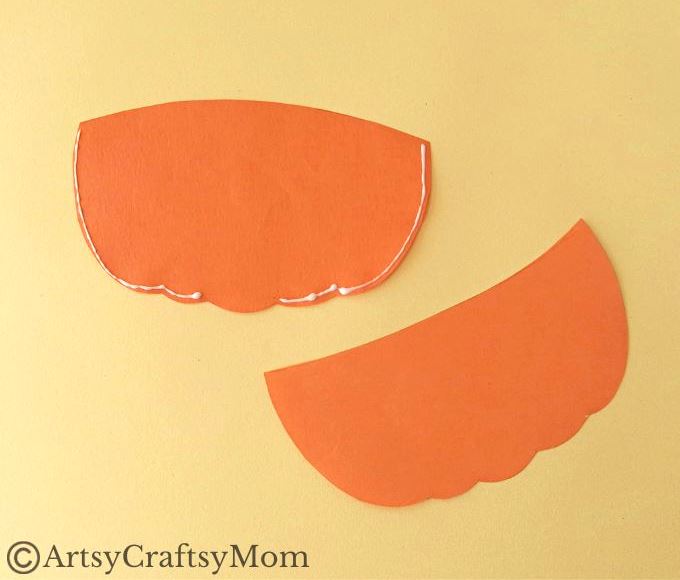
7. Place the pumpkin ‘bowl’ cutout on top, sticking along the glued edges. Make sure the sides and bottom are perfectly aligned.
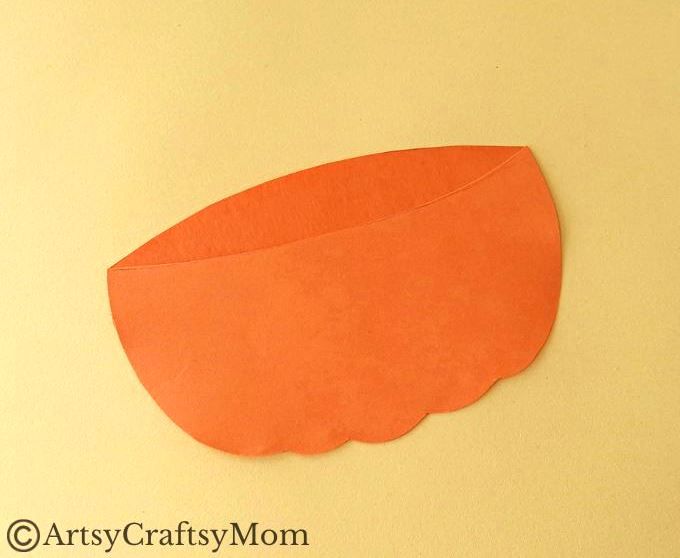
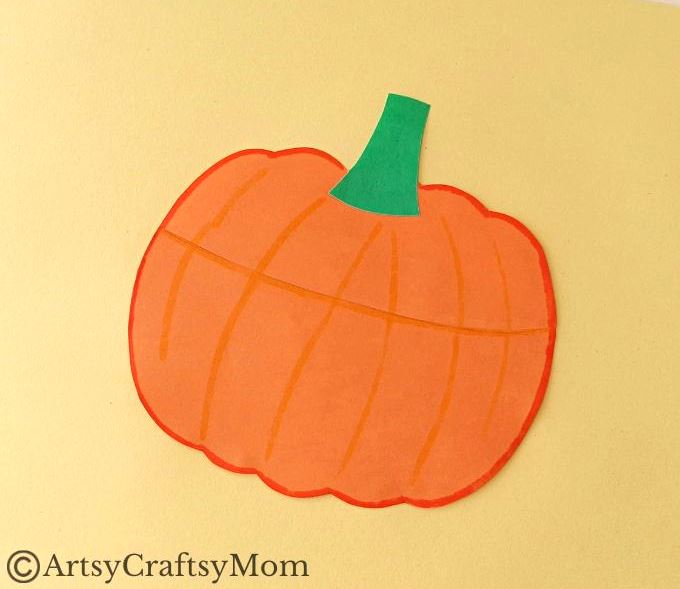
8. Place the pumpkin lid on top of the bowl so you can check if the pattern looks okay. Use an orange marker to draw outlines and details on the paper pumpkin craft.
9. Time to insert the ghost in our ghost in a pumpkin craft! Take the pumpkin lid and stick it on top of the ghost’s head, so that it looks like the ghost is wearing a sombrero! Choose a Popsicle stick that fits through the gap at the bottom of your pumpkin.
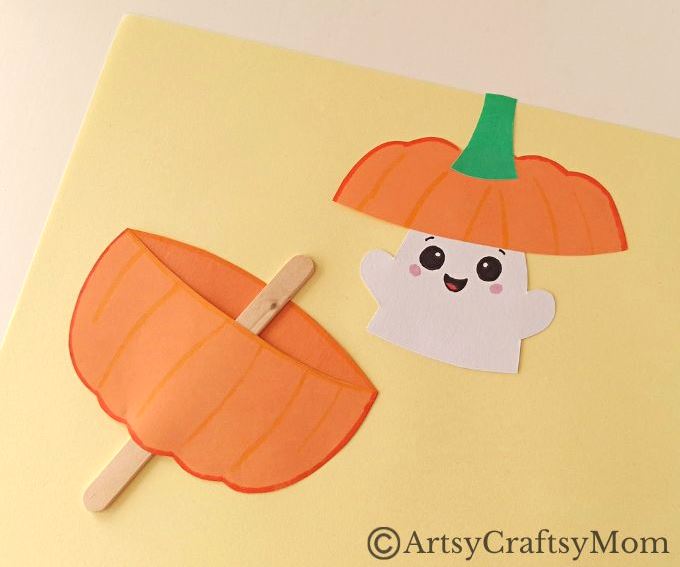
10. Remove the Popsicle stick and glue it to the back of the ghost, as shown below.
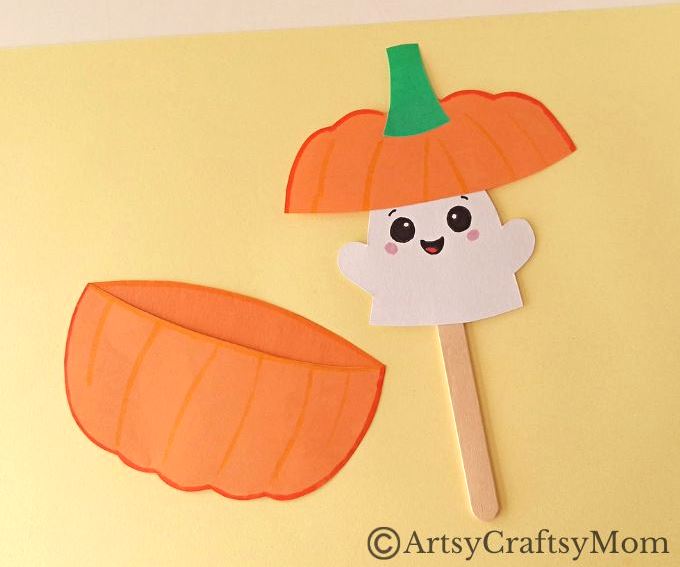
11. Now slide the stick through the pumpkin bowl, so that it goes all the way through the gap at the bottom.
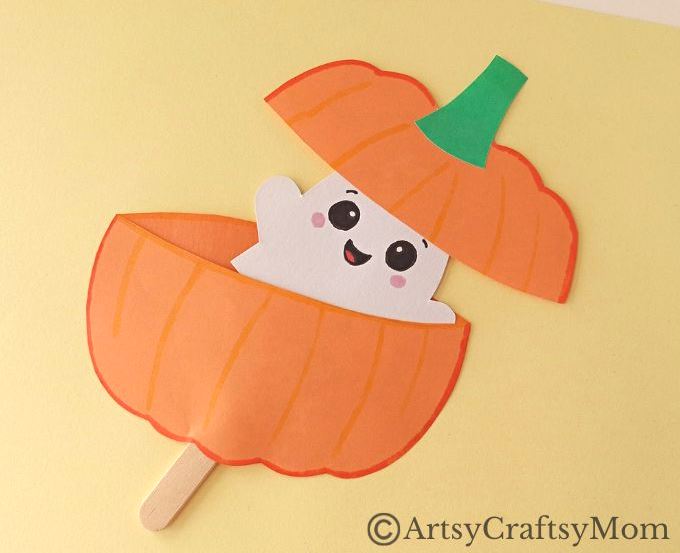
12. Glue the eyes, nose and mouth cutouts on the bottom half of the pumpkin.
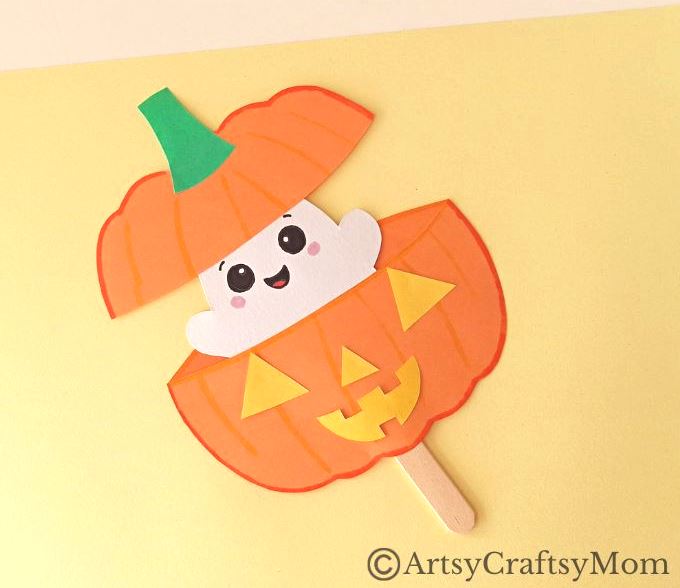
13. Your ghost in a pumpkin craft is ready! Now you can close the pumpkin lid and move the ghost through the pumpkin by moving the stick!
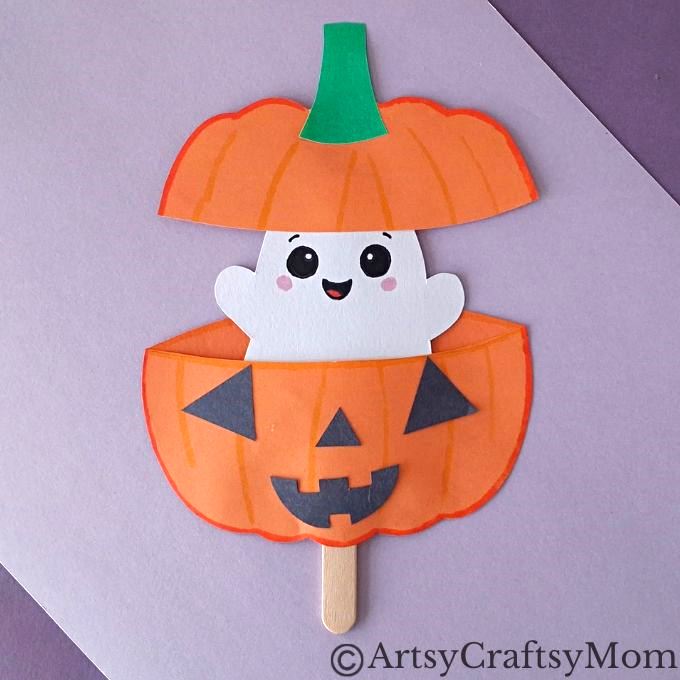
You’ll notice that we’ve used both yellow and black for the eyes, nose and mouth cutouts in this craft. The thing is, when you carve out these details on a real pumpkin, it appears dark from the outside. However, when you place a candle inside, it lights up, and everything looks yellow! So you can decide what you want your Jack o’ lantern to look like – dark and spooky, or bright and lit!
Want more spooky ghost crafts? Check these out:
- Cute and Easy Handprint Ghost Craft for Kids
- Cute Clay Ghost Craft for Kids
- Paper Bag Ghost Puppet Craft for Kids
- Non-Scary Ghost Plushie Felt Craft for Kids
- Easy Origami Ghost Craft for Halloween