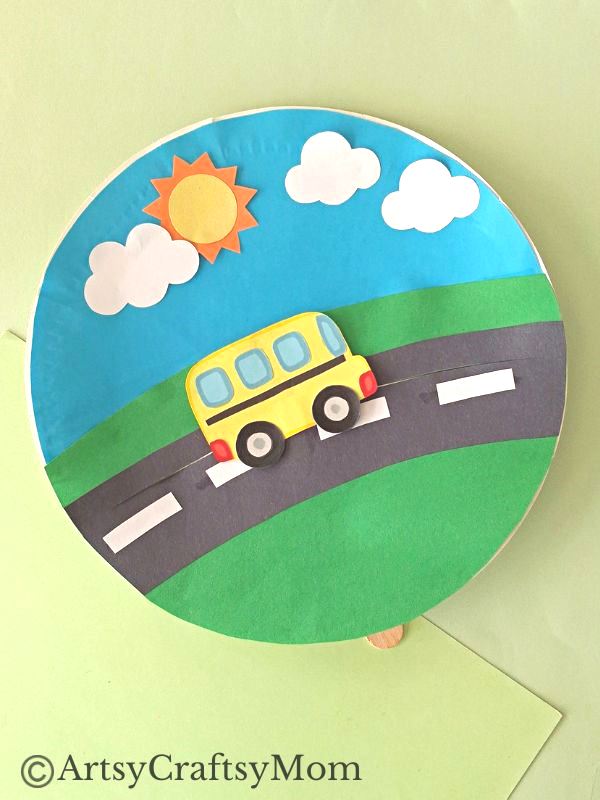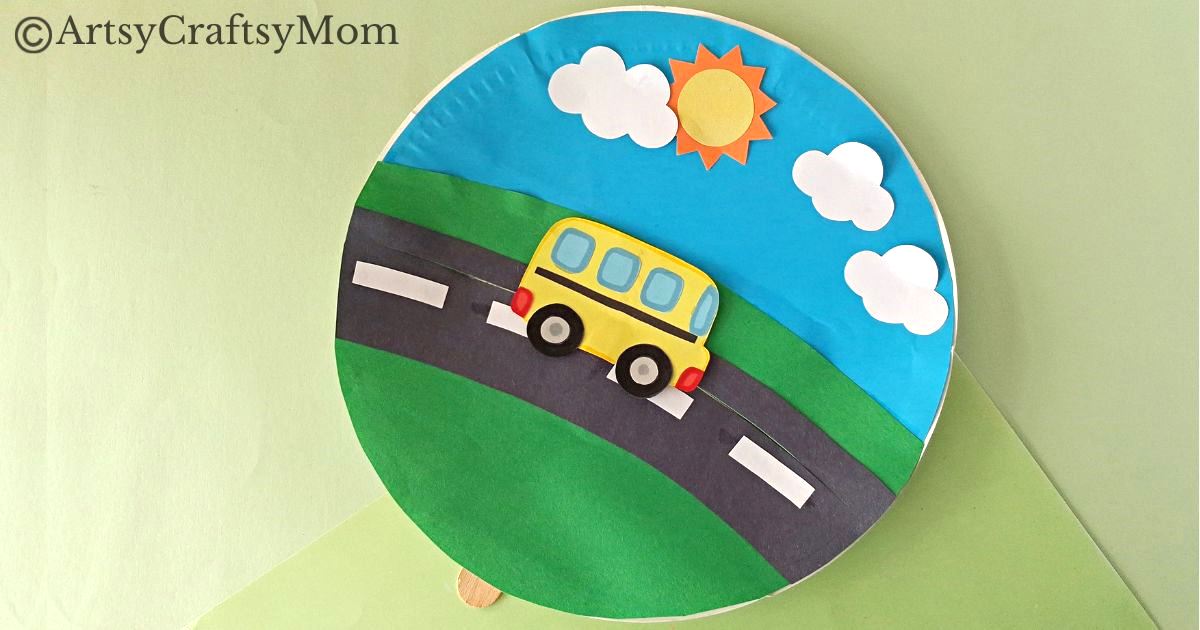
Grab any spare paper plates you have because we’re going to make a fun moving school bus craft! It’s perfect for Back-to-School Season!
Schools across the world look different, especially when it comes to regions with extreme weather conditions. What kids wear to school also looks different, as well as the kind of food served at lunchtime.
But you know one thing schools in several countries across the world have in common? The yellow school bus!
Why are school buses yellow?
The standard of making all school buses yellow was proposed by Frank Cyr, an American education expert with over 30 years of experience with rural schools. He claimed that having all school buses a single color would make them easier to identify, hence alerting other drivers and improving safety. Another reason was that if all school buses across the country were a single color, it would be easier and cheaper to mass-manufacture them.
So why yellow? Well, by the time this proposal was made, some school districts had already adopted yellow for their school buses, so it was decided to go with it. There’s even a name for this specific shade: National School Bus Glossy Yellow!
While many countries adopted the same color scheme, not everyone did. Yet, some countries still use yellow, in the form of a yellow square or sign on the front and back of the school bus, so other drivers can identify them.
Well, since we’ve learnt so much about school buses today, why not make something related to them? Here’s a fun moving school bus craft made using a paper plate and craft paper, which you can make and play with later!
Paper Plate Moving School Bus Craft
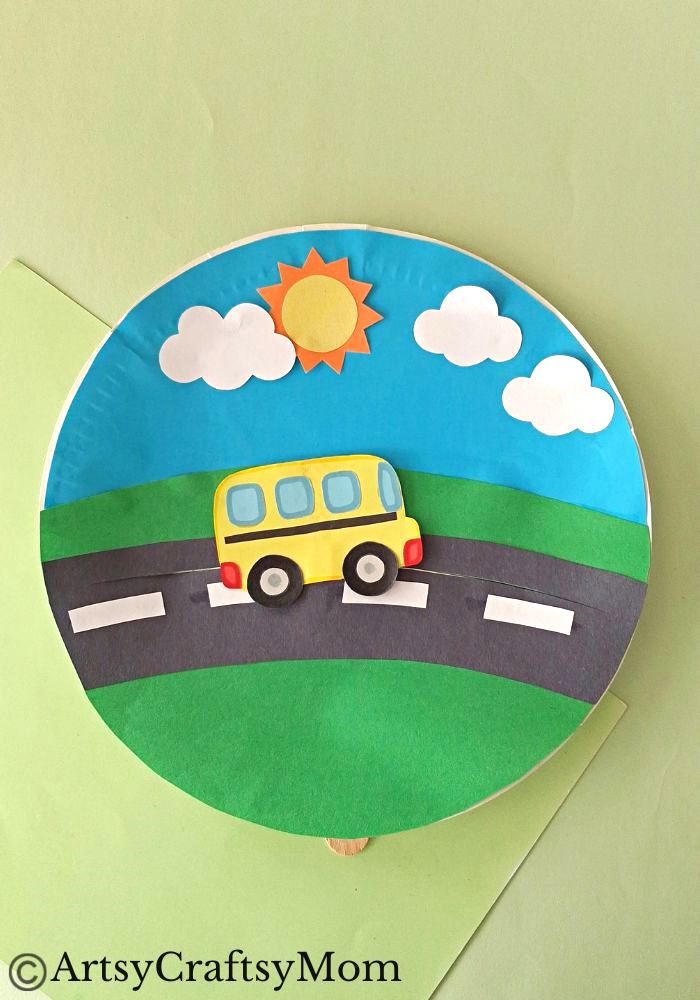
Supplies required:
- Colored craft paper
- Paper plate
- Popsicle stick
- Pencil
- Template
- A pair of scissors
- X-acto knife
- Craft glue
- Markers
Shop the materials on Amazon.com
The links below are affiliate links. As an Amazon Associate I earn from qualifying purchases.
How to make the Paper Plate Moving School Bus Craft:
1. Download and print the moving school bus craft template. The template includes parts of the school bus – the bus base, windows, lights, and wheels – as well as parts of the paper plate background – the sun, clouds, and road.
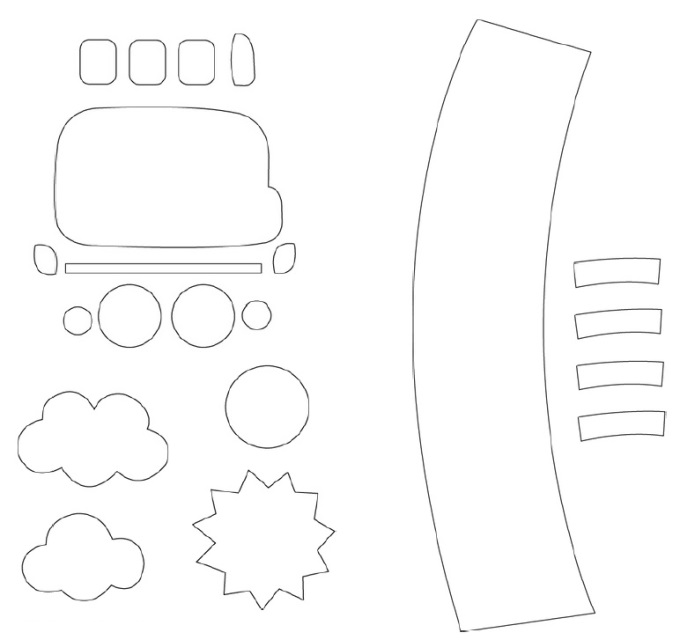
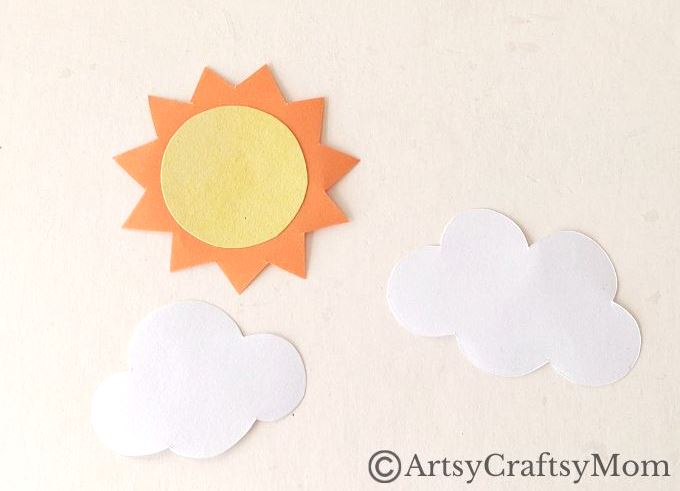
2. Trace the parts of the template on craft paper of the appropriate colors and cut them out. School buses are always yellow, so we’re sticking to yellow paper for the bus base. Choose light blue for the windows of the bus, and black for the stripe and wheel cutouts. Let the headlights be red or bright orange. We’ve also used orange for the sun’s outer cutout, and yellow for the inner circle. The clouds are white, of course, as are the stripes on the road. Go with black or a dark grey for the road cutout.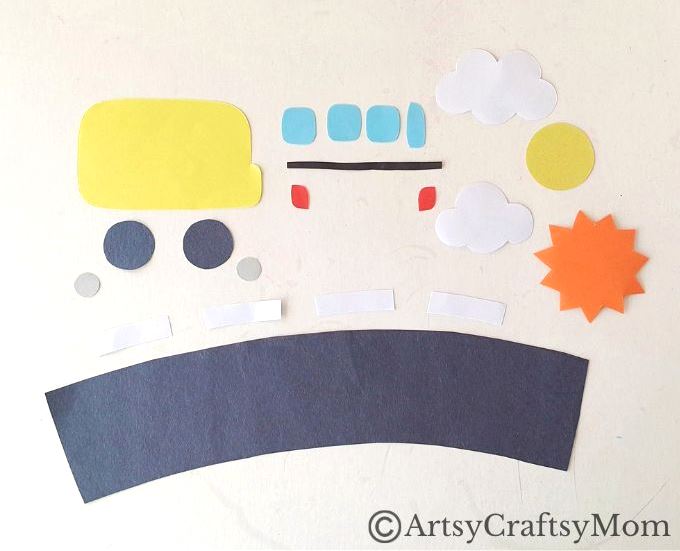
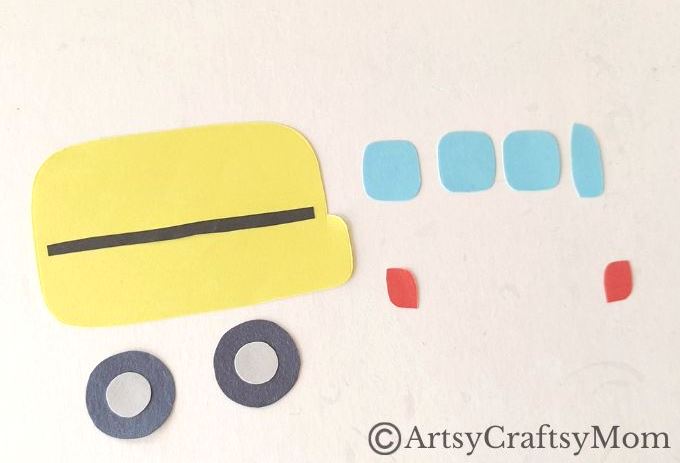
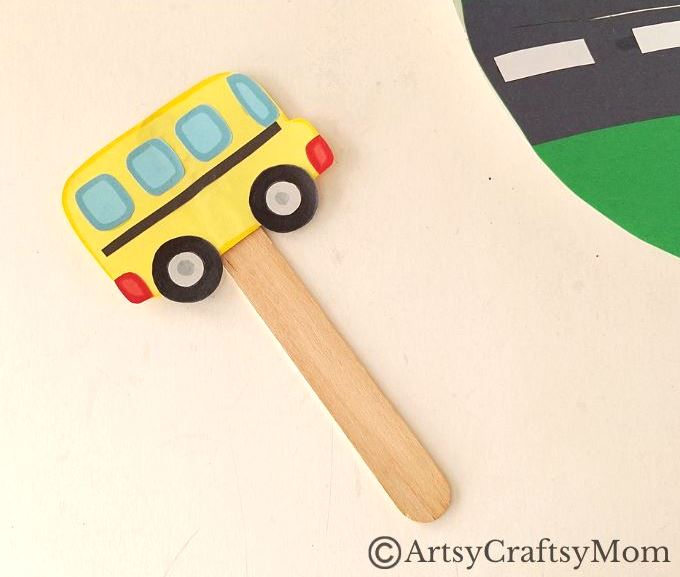
3. Let’s begin assembling the star of our moving school bus craft – the school bus! Stick the thin black strip horizontally along the center of the bus. Glue the small circle cutouts inside the wheels.
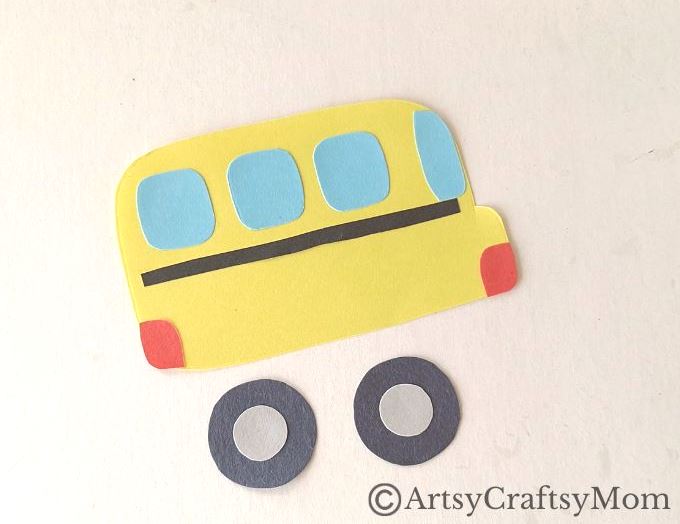
4. Attach the windows on the bus with glue, making sure they’re above the black stripe. Stick a headlight each to the front and back of the bus, aligning them with the bottom edge.
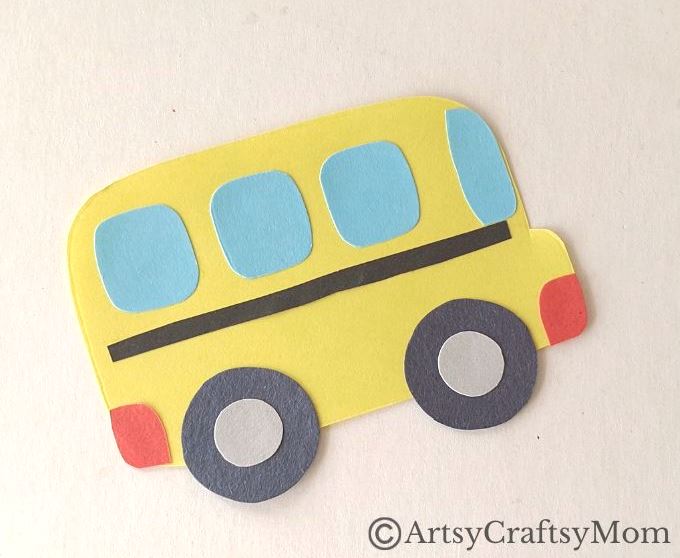
5. Use glue to attach the wheels to the bottom edge of the bus. The first part of your moving school bus craft is ready!
6. Moving on to the sky elements, stick the yellow circle inside the orange sun cutout. Keep it aside.
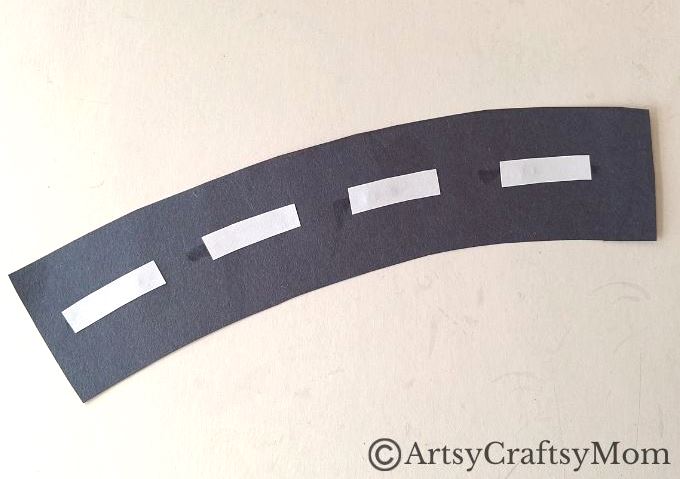
7. Take your road parts and stick the thin white rectangles along the center of the road track. Keep it aside.
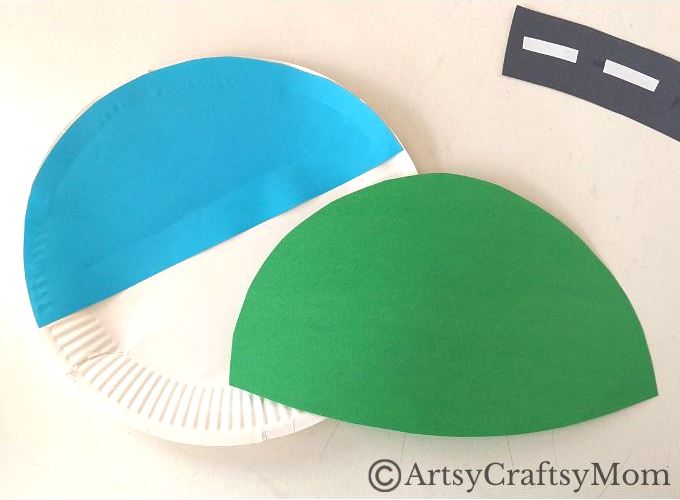
8. Time to move on to the base of our moving school bus craft, the paper plate. You can use a paper plate of any color since we’re going to cover it with craft paper anyway. Choose a bright blue for the top half of the paper plate to represent the sky, and green for the bottom half to look like grass. Cut out a semicircle from the blue paper. Cut out a shape that’s larger than the blue semicircle from the green paper, with a slight curved edge as shown below.
9. Stick the blue sky cutout on the paper plate, aligning the curved edges. Stick the green on the lower half of the paper plate, so that it overlaps a little of the blue sky.
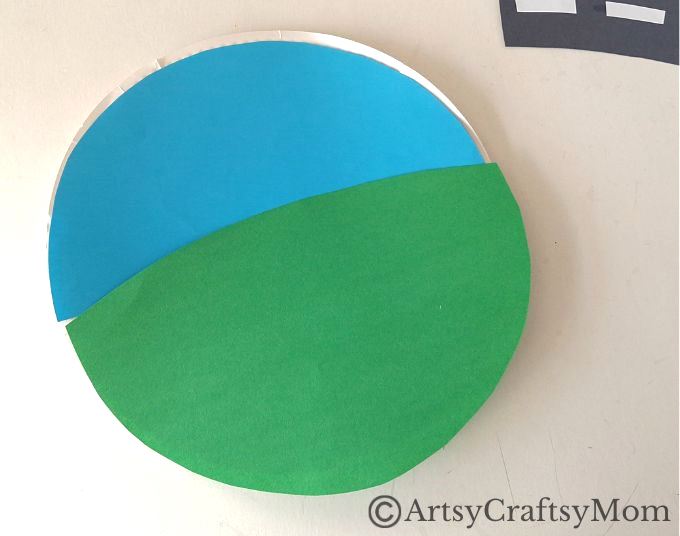
10. Take your road pattern and stick it below the curved edge of the green grass cutout, so that the edges rest perfectly against the edges of the paper plate.
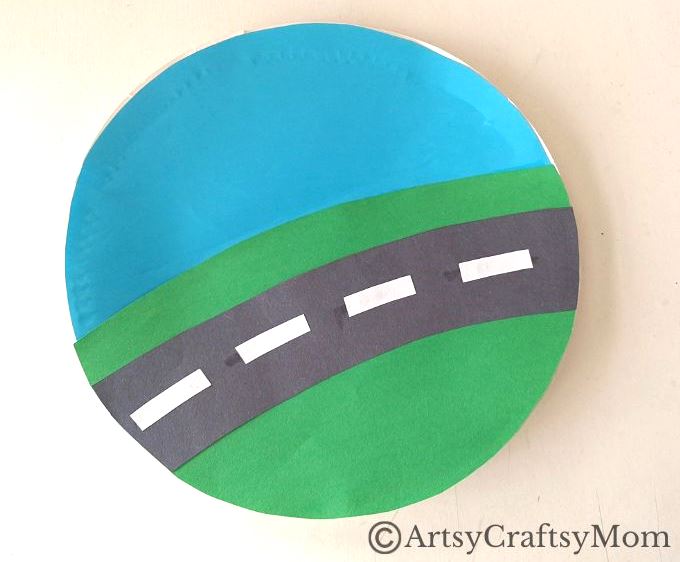
11. Use an X-Acto knife to cut a slit on the paper plate, just above the white lines on the road. Make sure you cut all the way through the paper plate to reach the other side, but don’t cut the plate in half!
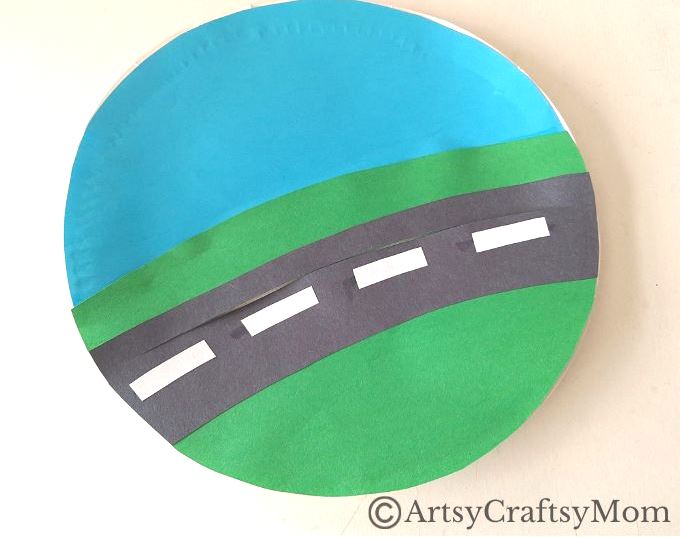
12. Bring back the school bus. Use colored markers to draw outlines on the bus, windows and headlights. Attach the bus to one end of a Popsicle stick with glue.
13. Stick the clouds and sun on the blue sky. Insert the free end of the Popsicle stick into the slit you cut on the road track.
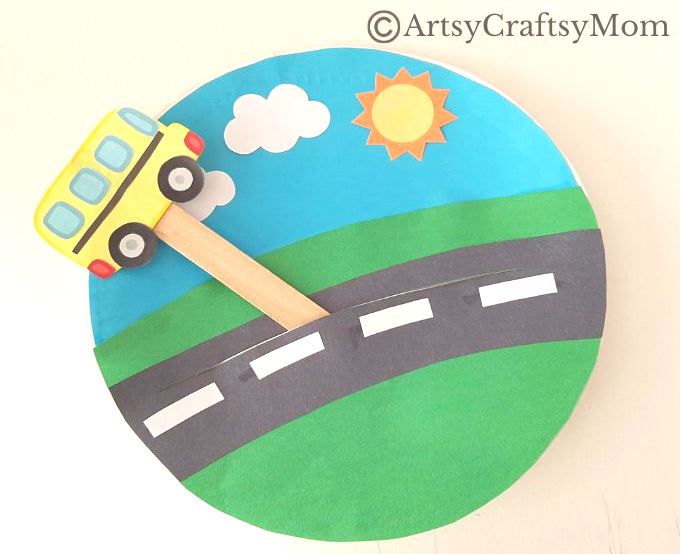
14. Push the stick all the way through the slit, so that the stick is no longer visible and your school bus looks like it’s on the road.
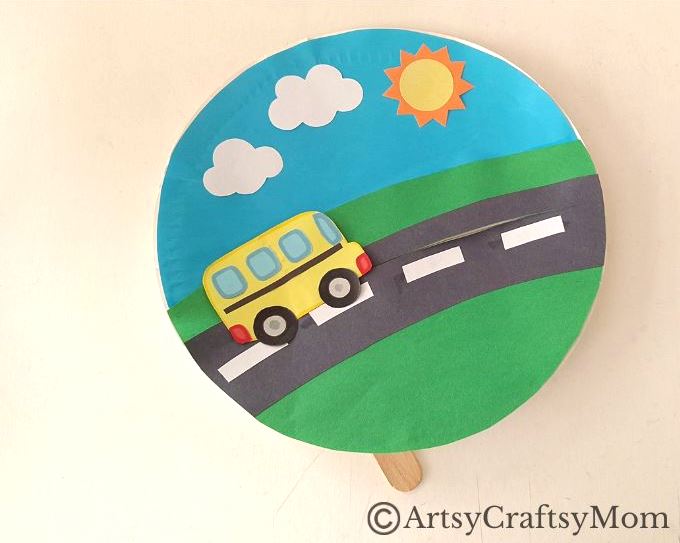
15. Hold the stick under the paper plate and move the school bus along the road by maneuvering the stick.
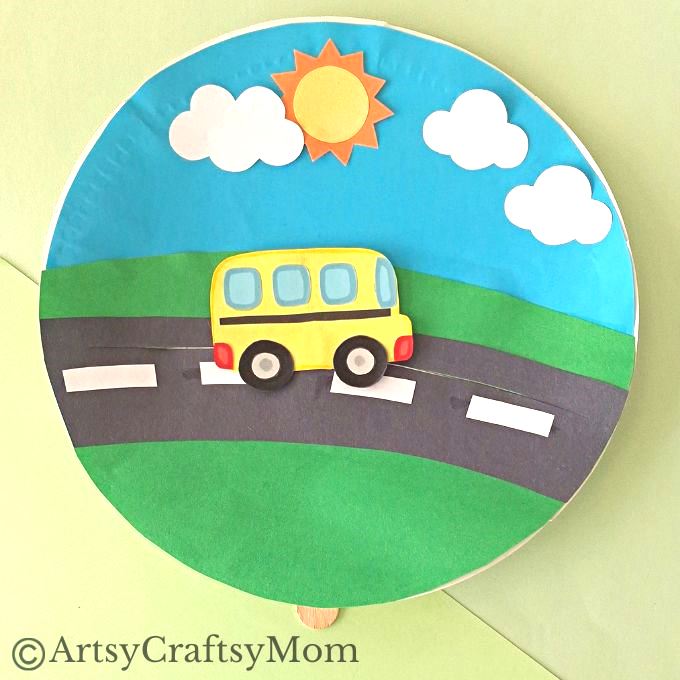
Your moving school bus craft is ready to play with! Simply looking at the school bus makes us want to start singing ‘Wheels on the Bus’, for some reason, and you can do so too! Little kids will love this craft, and it may also ease some of the anxiety for those who are starting school this year. You can show them that the bus that takes them to school can also go in the opposite direction, to bring them back home!
If you are looking for more Back to School crafts, check these out:
- Notebook and Crayons Paper Bag Craft
- Bus Apple Pencil Back to School Bookmarks
- DIY Hacks to Label Your School Supplies
- Giant Wooden Ruler Growth Chart Photo Prop
- Printable Animal-Themed School Labels