Printable 3D Ganesha on a Mantap Craft
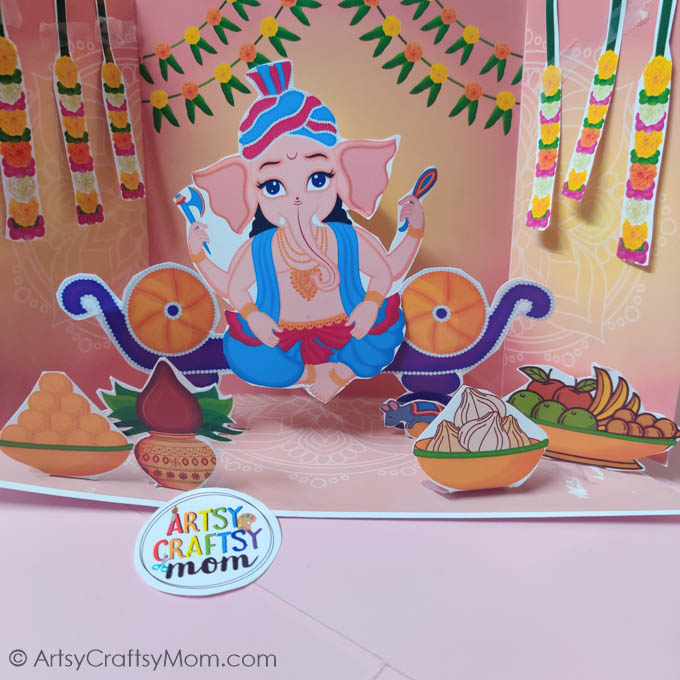
Prep for Ganesh Chathurthi with this Printable 3D Ganesha on a Mantap Craft! Made with just paper, this is the ultimate eco-friendly Ganesha!
When you know that a special guest will be visiting your home, you start making plans – cleaning, decorating and doing everything you can to make sure your guest’s visit will be comfortable and enjoyable. Well, that’s exactly behind the spirit of the 10-day Ganesh Chathurthi celebration, which celebrates the birth of Ganesha, the elephant God.
Indian festivals are known for being grand occasions, but one of the most enthusiastically celebrated ones has got to be Ganesh Chathruthi, especially in Maharashtra. So if you live outside India and would like to witness the celebration, you know where to head to!
It is customary for families who celebrate to setup a Ganesha idol in their homes for the period of the celebration, and these days there is a lot of awareness on making it an eco-friendly affair, since the idols will be submerged at the end of the 10-day period. Well, you don’t need to worry about it, because today we’ve got you a beautiful printable 3D Ganesha on a Mantap craft, made entirely out of paper!
Printable 3D Ganesha on a Mantap Craft
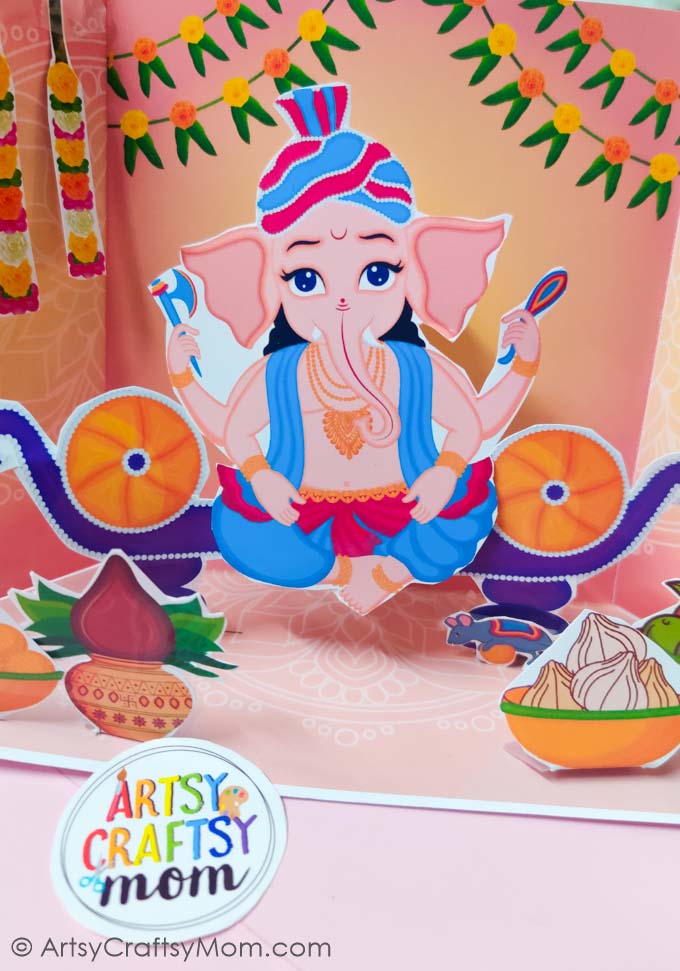
Supplies required:
- Color printer
- Thick craft paper or card stock
- Scissors
- Glue stick
- Scotch tape
How to make the Printable 3D Ganesha on a Mantap Craft:
1. Grab the member-only printable from the August bundle. Print on a Letter size / A4 sheet. The printable contains the background of the Mantap as well as all the pieces to go with the Ganesha.
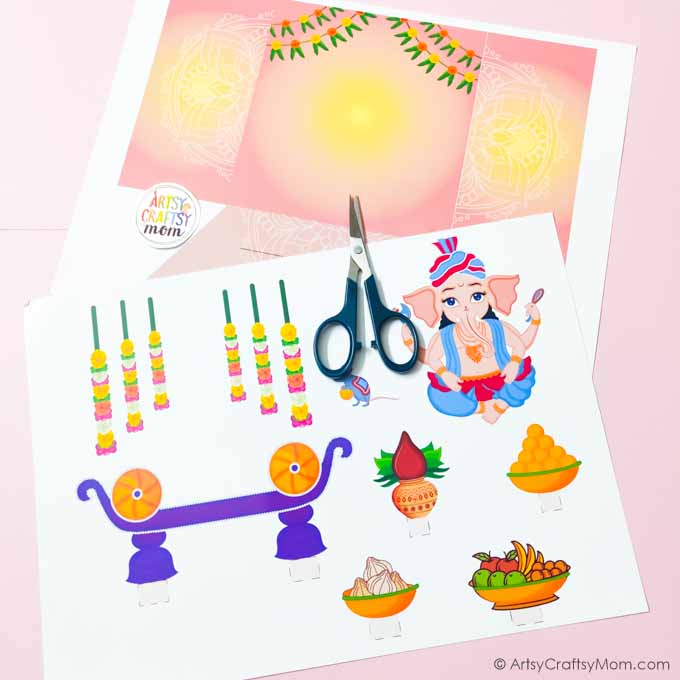
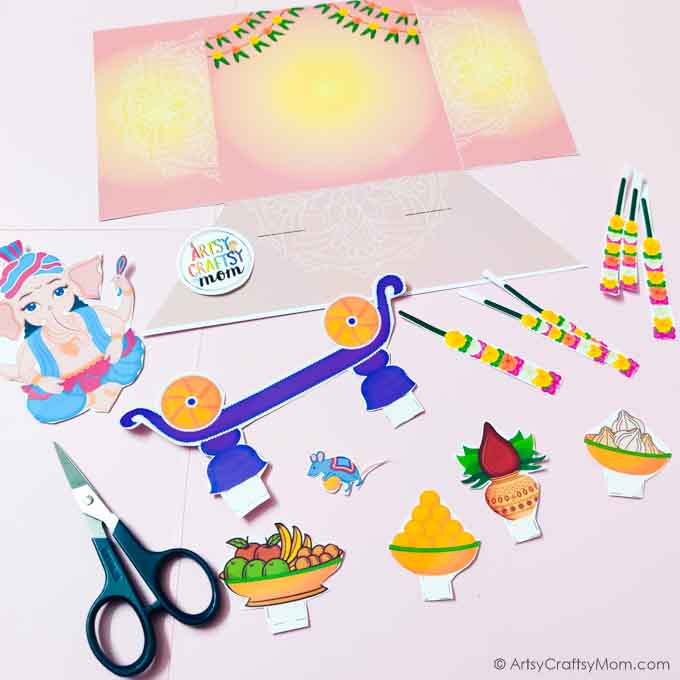
2. Cut out all individual pieces, taking care to include the little tabs under each piece.
3. Let’s assemble the backdrop. Use tape at the back to secure the edges to form a 3D platform.
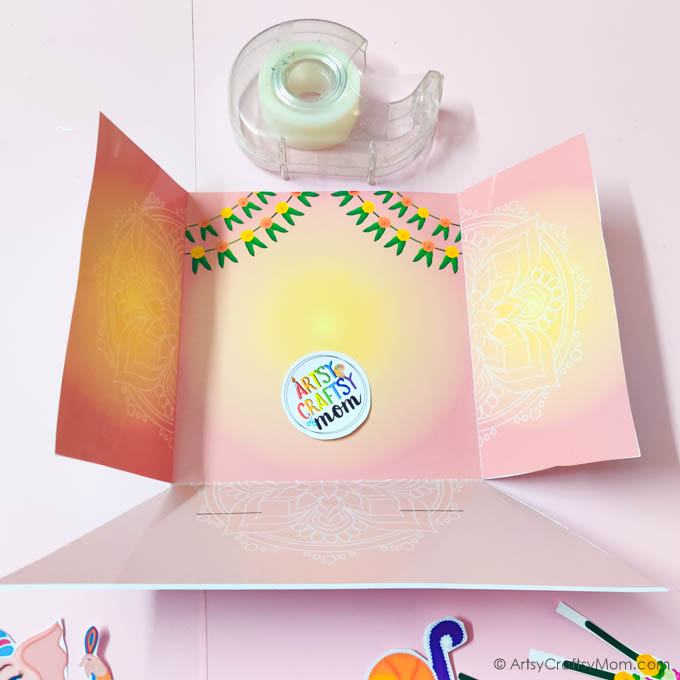
4. Prop up the background and ensure it’s steady enough to stand on its own.
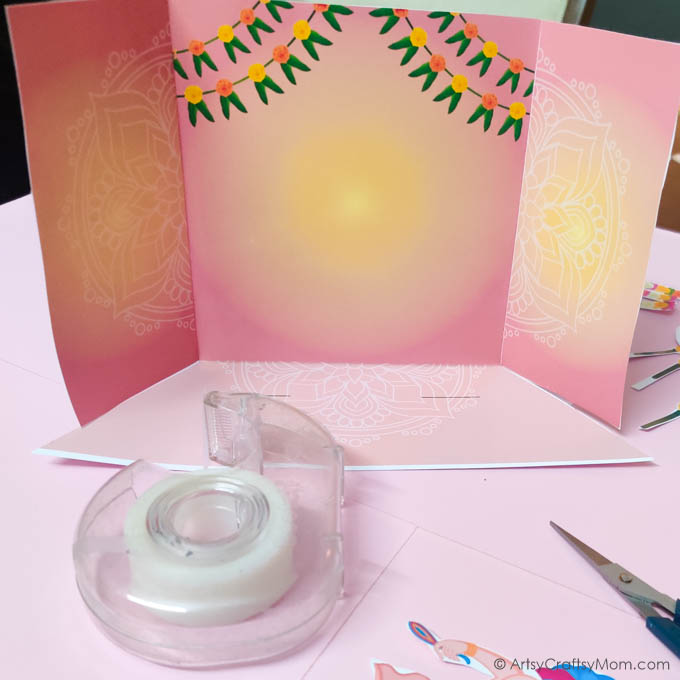
5. Fold the white tabs below Ganesha’s seat and stick it on the area marked on the base.
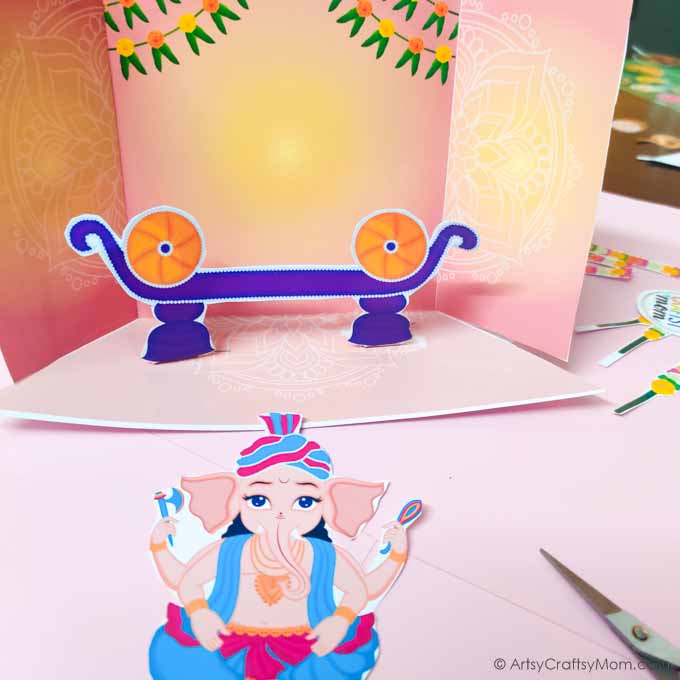
6. Next using glue or tape, stick Ganesh’s statue at the center of the seat as if he is sitting on it. You will need to secure a piece of cardboard at the back for extra support.
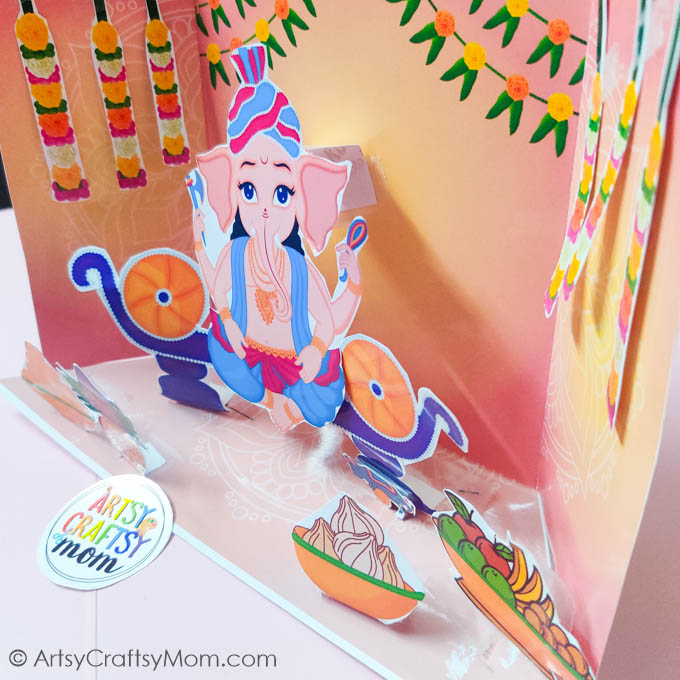
7. Using tape, stick the other elements – like sweets & fruit platter in front. Arrange them so they appear balanced on either side of the idol.
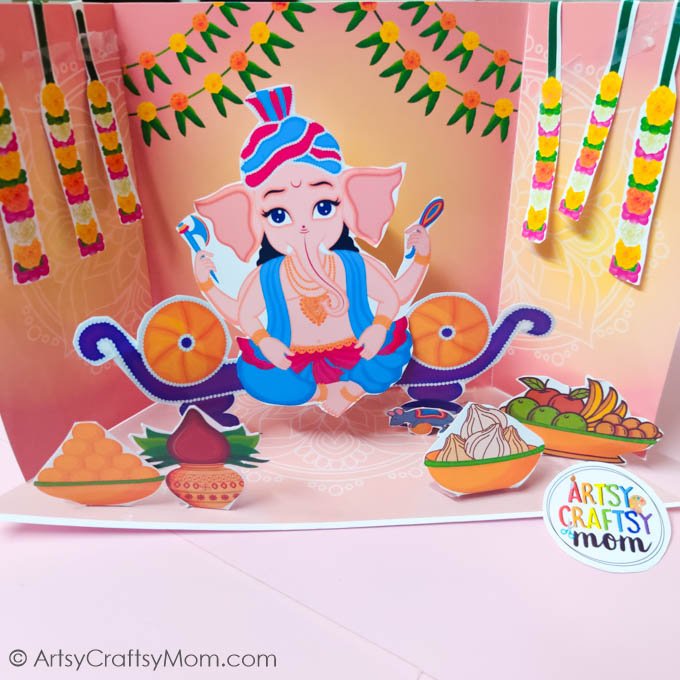
8. Add Mooshik, the little mouse, at the bottom of the seat. Stick the flower garlands on the top, folding their tabs behind the background. That’s it – your Ganesha is all ready!
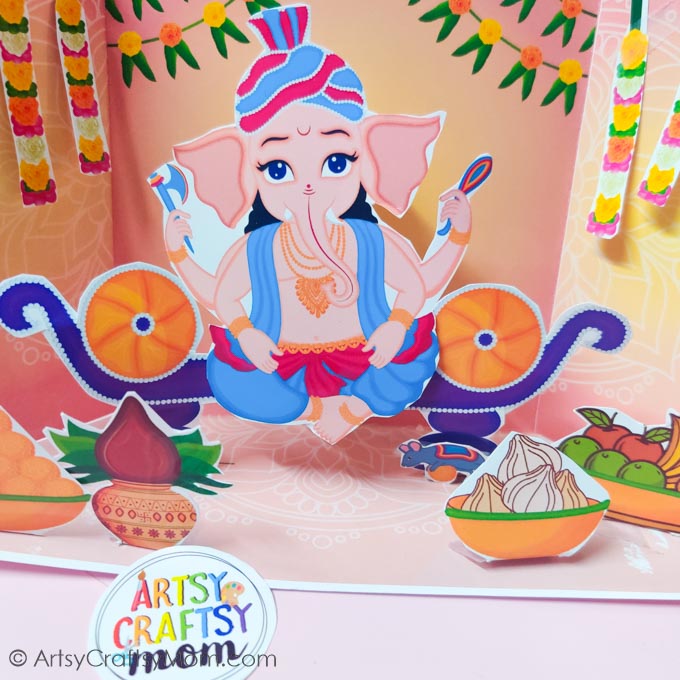
As you make this 3D Ganesha on a Mantap craft, kids can learn more about the festival with a cute little Ganesha mini e-book which offers simple information with lots of colorful pictures. This will help you appreciate all the little details in this craft, like Mooshik as well as those little conical treats called Modaks – Ganesha’s favorite snack! This is also a good time to try experimenting by making your own modaks – there are even chocolate flavored ones that kids will love!
About the August Bundle & Membership
We’ve launched our new membership site called – CLUB ARTSY CRAFTSY . The Club Artsy-Craftsy membership is like getting a new “ebook” of activity plans every month.
It brings you seasonal activities from several places: brand new printables, classic activities already on the website, and even featured activities from our members. The activities are designed for ages 3 to 14 years old, with variations offered for each activity.
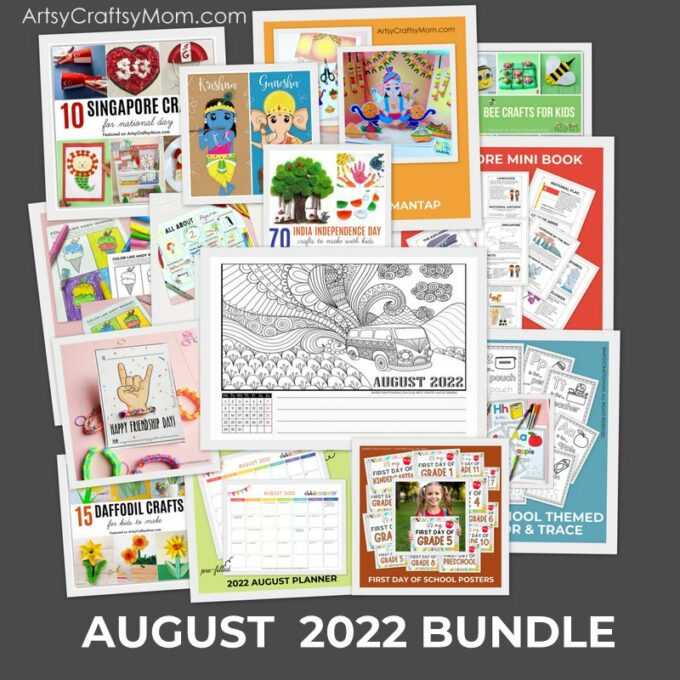
The August Bundle has printables focused on the themes
- Back to School
- Country Focus – Singapore
- Artist Focus – Andy Warhol
- Holiday Focus – All August Fun holidays + Friendship day, Rakshabandhan, Ganesh Chaturti & Krishna Janmashtami





Responses