4th of July Paper Flower Craft for Kids
Celebrate the American spirit in classic American colors with this 4th of July Paper Flower Craft for kids, perfect for Independence Day!
I’ve always been fascinated by the stories behind flags. Most of them have gone through series of transformations to reach the way they look today. If you dig deep, you’ll find some amazing stories!
I admit I don’t know much about flag history besides that of the Indian tricolor. However, the American flag is something many of us here are familiar with, thanks to Hollywood and TV Shows! And since next month is American Independence Day, it’s a good time to look at what’s the story behind the red, white, and blue. For instance, did you know that the flag was modified 26 times to end up looking like the flag it is today? Yes, that’s a lot!
So if you’re ready to celebrate the American classic colors, you can check out our list of fun 4th of July DIY centerpieces. And if you’d like something to kickstart your crafting process, we’ve gone ahead and made one for the 4th of July!
4th of July Paper Flower Craft for Kids

Supplies Required:
- Colored craft papers in white and shades of blue and red
- Scissors
- Craft glue

Instructions to make 4th July Paper Flower Craft:
1. Let’s start by getting our pieces ready based on the template as shown in the picture. For one flower, you’ll have a zig zag strip, thin strips of an alternate color, a green strip and shapes of a flower, leaf, and circle.

2. Arrange the thin strips at equal angles to each other, securing the center with glue. Fold each end towards the center and stick in place. Repeat till all ends have been folded.
3. Take the strip with the zigzag edge and start creating accordion folds along the length of the strip. The zigzag edge can help you create neat and even accordion folds.

4. Keep folding till you reach the end of the strip.
5. Join the two ends of the strip with glue so you get an accordion-folded ring with a straight edge on the bottom and a zig-zag edge on top.
6. Pinch or gather together the straight edge so that the zig-zag edge flares outward in a circle. Press gently to flatten the flower.
7. Cut out 2 small circles from craft paper. Stick each one in the center of the accordion flower, on either side.

8. Roll the thin blue strip into the right coil. Cut out more shapes – a white flower, green stem, and green leaf.
9. Stick the white flower shape on top of the accordion flower. Stick the red strip flower on top of this, ensuring that the petals of the two flowers appear in an alternate pattern with each other.
10. Glue the rolled coil on the center of the last pattern. And finally, attach the flower pattern on the top end of the stem with the leaf attached to it.
Tada!! Your 4th of July Paper Flower Craft is ready!
The Fourth of July is a holiday for celebrating the country. Get crafting with some cute red, white, and blue crafts the whole family can enjoy!

Now that’s a pretty way to celebrate red, white, and blue, isn’t it? I like the fact that you can use different shades of blue and red to create different looks for the same 4th of July Paper Flower craft. And once you’ve cut out the pieces, even little kids can help assemble it together – making it a fun family project!
Also check out –
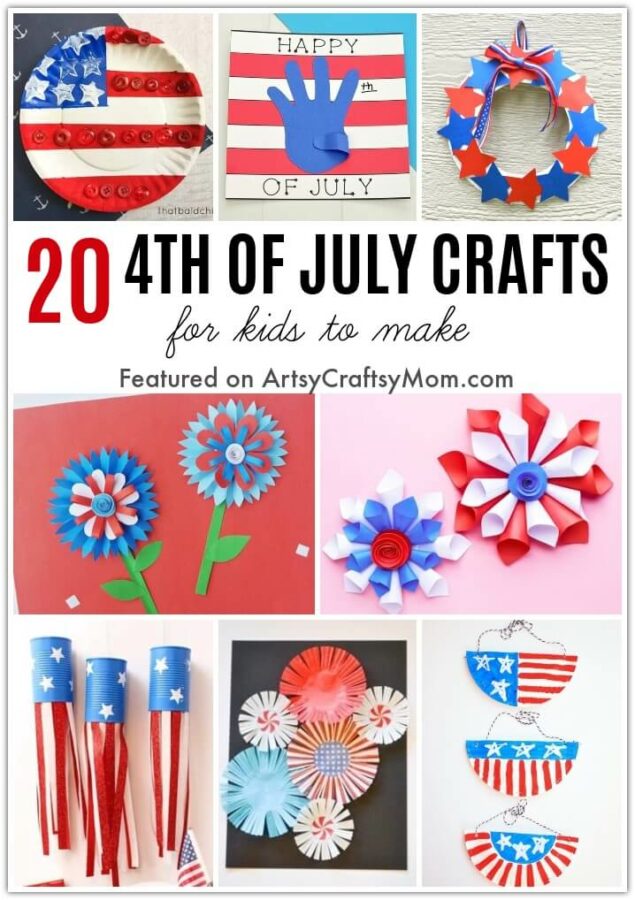
20 Crackling 4th of July Crafts for Kids
You can also check out some awesome last-minute 4th of July centerpiece ideas for your party.
And don’t forget to get dressed in an American flag-inspired costume for the party!


Responses