DIY Felt Flamingo Plushie
Flamingos are all the rage, and we’re getting in the trend with a DIY Felt Flamingo Plushie! Pink and soft, this will make a great gift for a flamingo fan!
Have you noticed a prevalence of pink flamingos everywhere? Whether its stationery, toys, clothes, accessories or home decor, the pink rush is rising steadily everyday!
Apparently this is a trend that started about 2 years ago and it’s still going strong! Probably one reason they’re so popular is because they remind people of taking things easy, living away from the city life, immune to all the drama round them.
Flamingos are hugely popular among kids too, because well.. pink!! So if you know a flamingo fan, we’ve got something you can make and give them – a DIY felt flamingo plushie! Turn it into an ornament or use it as it is – this flamingo will still be one cool bird!
DIY Felt Flamingo Plushie

List of Supplies:
- Template
- Felt fabric
- Pencil or fabric marker
- Scissors
- Needle and thread
- Cotton or scrap felt

How to make the DIY Felt Flamingo Plushie:
1. Download and print the flamingo template. The template includes 2 body patterns, 4 leg patterns (2 for each leg), 2 wing patterns and 4 beak patterns. Cut out the patterns.

2. Select felt fabrics for the flamingo plush and trace the patterns on them. Cut out the traced patterns neatly.

3. Take the 2 body patterns and the 2 wing patterns. Prepare needle with matching threads. Stitch the wings on the body patterns.

4. Use a fabric marker or pencil to trace a simple eye pattern on the head part of the flamingo. Place the beak patterns on the flamingo’s head and stitch the beak in place. Also do a back stitch along the traced eye.

5. Stitch the two leg patterns together. Place the 2 body patterns together with their stitched sides facing outside, placing the leg between the front and the back body parts, overlapping about a cm inside.
6. Use a flat blanket stitch around the sides of the body patterns to attach them. Stitch over the leg patterns to attach them with the body. Leave a small gap to stuff the plushie.

7. Stuff the felt flamingo pattern through any small opening. You can use cotton to stuff the flamingo or use scrap felt cutouts.

8. Once the stuffing is done, stitch the open end to secure the stuffing. Tie a knot or 2 and then cut off extra thread.

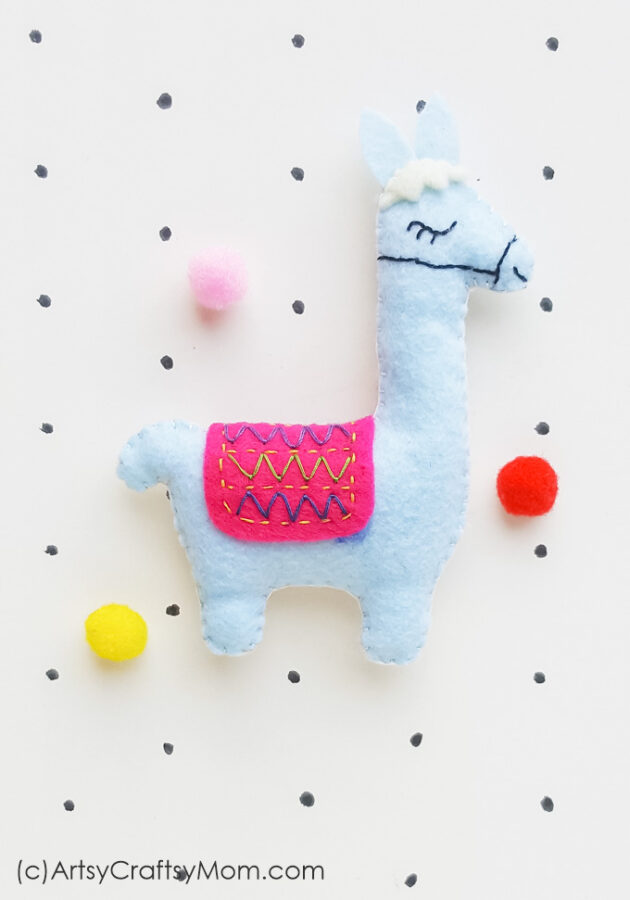
If you enjoyed making this felt flamingo plushie, you might also like to try some more trendy gift ideas that are totally ‘in’ these days – a felt llama plushie, a handmade felt owl or a no-sew unicorn felt pouch. Let everyone know that even your crafts are in trend!


Responses