DIY Frankenstein Treat Bag for Halloween
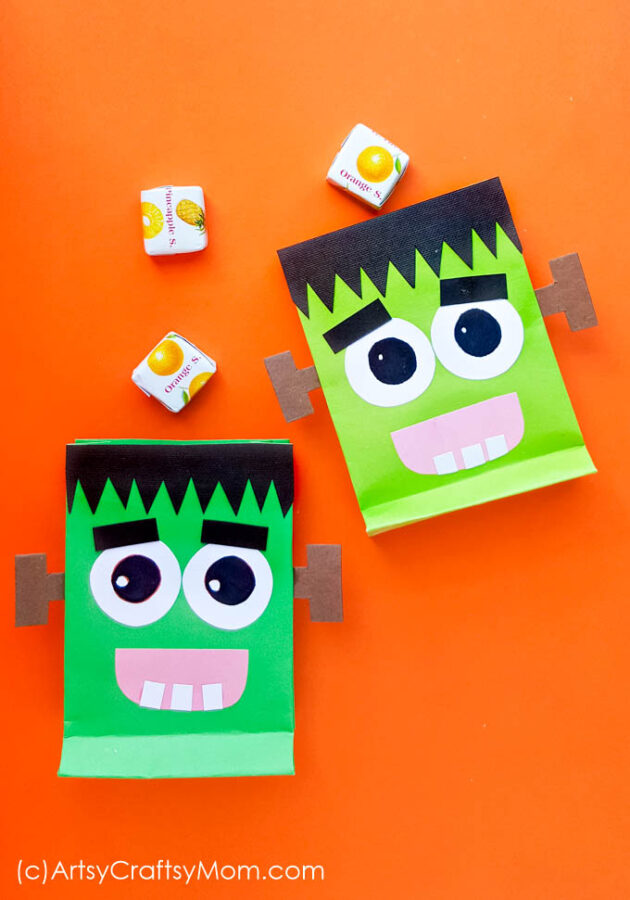
Don’t forget to take along this DIY Frankenstein Treat Bag when you go trick o’ treating on Halloween! Print out the templates, fix on the bag & it’s done!
It’s not surprising that we’re talking about Frankenstein, considering it’s Halloween and all. But Frankenstein’s monster is not your everyday monster – he’s different! In fact, he’s so unique that there’s a special day just for him – Frankenstein Day on August 30th!
But that doesn’t mean he can’t make an appearance on Halloween along with the other monsters, does it? I’m pretty sure that where you find people dressed up as Dracula, Godzilla, and Vampires, you’re sure to find someone with a green face and nuts and bolts sticking out of his head!
So if you’re thinking of sporting a green face with your Halloween costume, we’ve got just the thing to match – a DIY Frankenstein Treat Bag! It’s got the hair, the teeth, the unmistakable green, and of course, the nuts on the head!
DIY Frankenstein Treat Bag for Halloween
Materials Required:
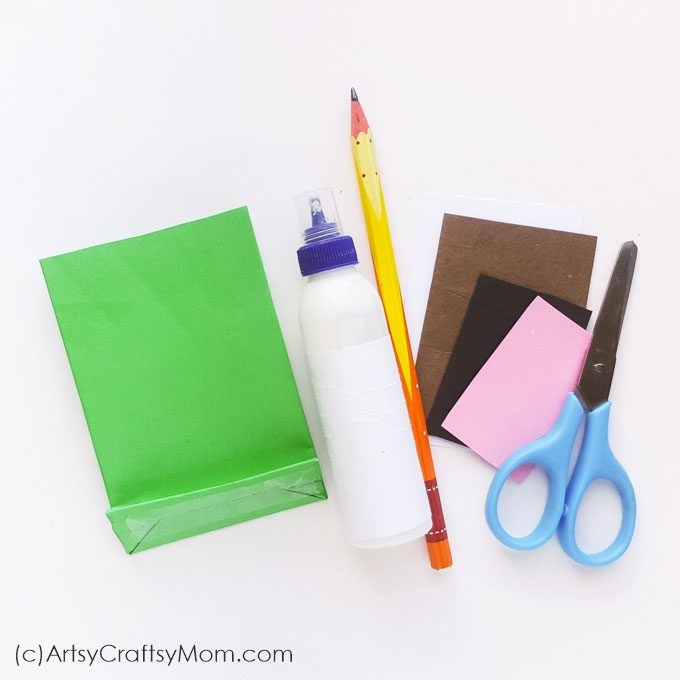
- Colored craft papers
- Craft glue
- Scissors
- Pencil
- Paper bag – green
- Printout of the template
How to make the DIY Frankenstein Treat Bag:
1. You can make the treat bag from green-colored craft paper or simply use a store-bought green-colored paper bag. You can find the full tutorial to make a paper bag here. Print and cut out the template patterns. You can use colorful patterns or use blank ones and trace them on the colored craft papers of your choice.
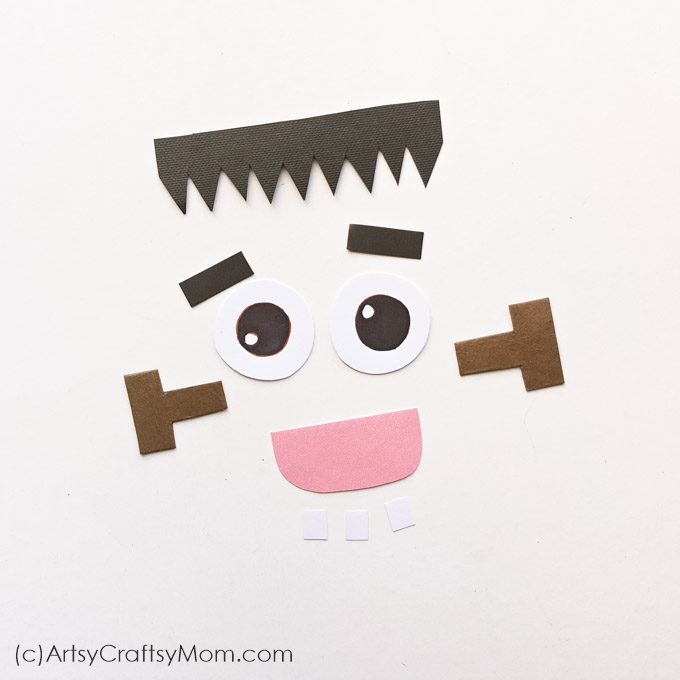
2. Use craft glue to stick the strip with the zigzag border along the border of the open end of the paper bag. This is Frankenstein’s hair.
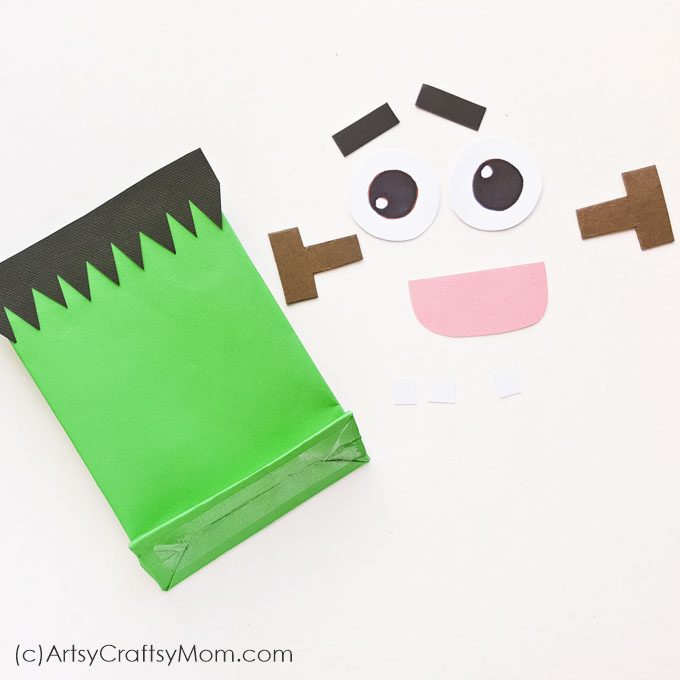
3. Glue the eyes and the eyebrows right below the hair. Keep the eyebrows close to the eyes, but at a distance from the hair.
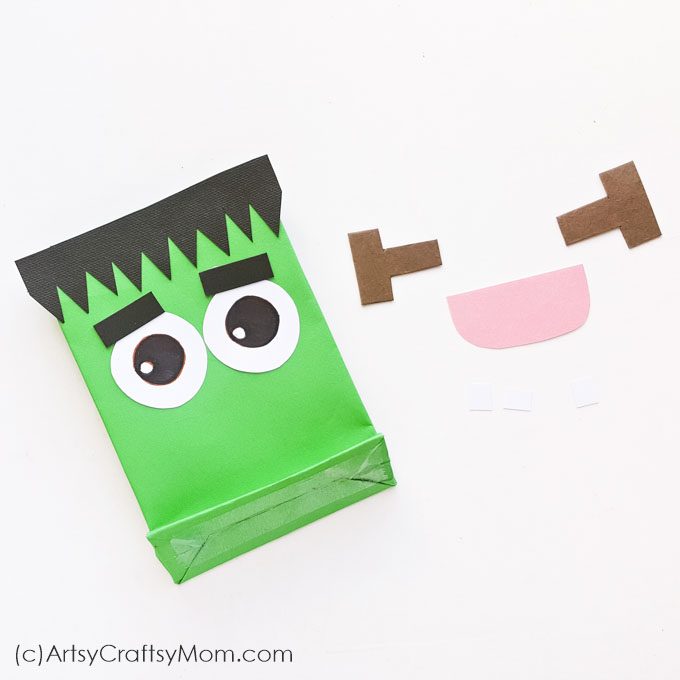
4. Stick on the mouth. Now arrange the 3 squares to look like teeth along the bottom side of the mouth’s inner part. Stick in place.
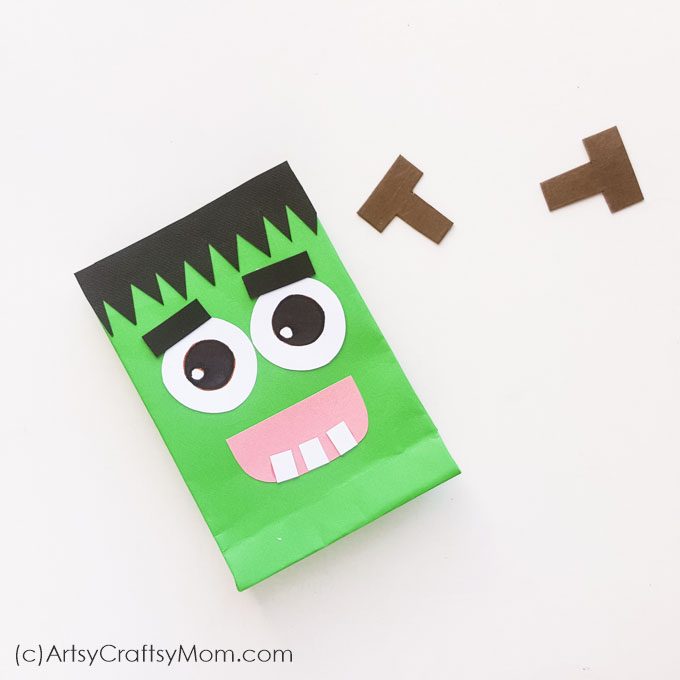
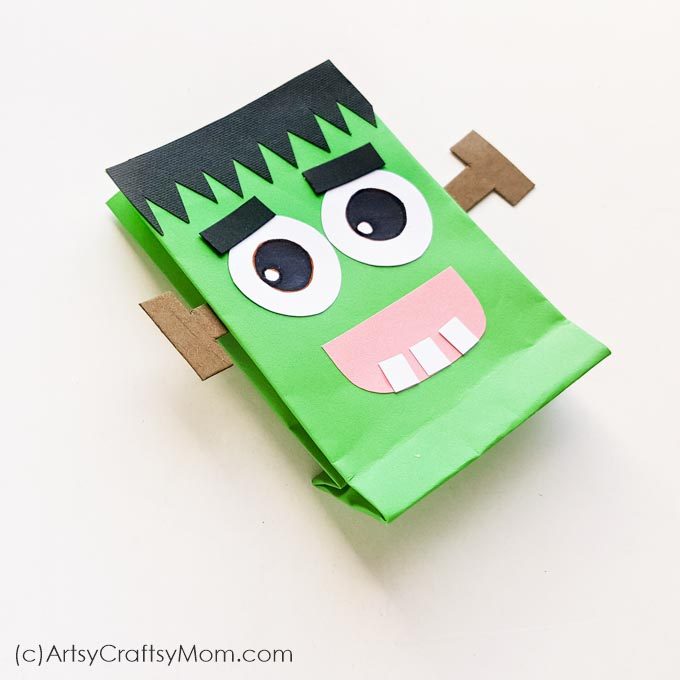
5. Stick the t-shape patterns on both sides of the paper bag. These are the nuts on either side of Frankenstein’s head. Make sure you stick them so that it doesn’t prevent the bag from opening fully.
6. Add more details with a marker if you want, like a stitch mark on the face.
7. Allow the glue to dry completely before opening the bag and filling it with treats.
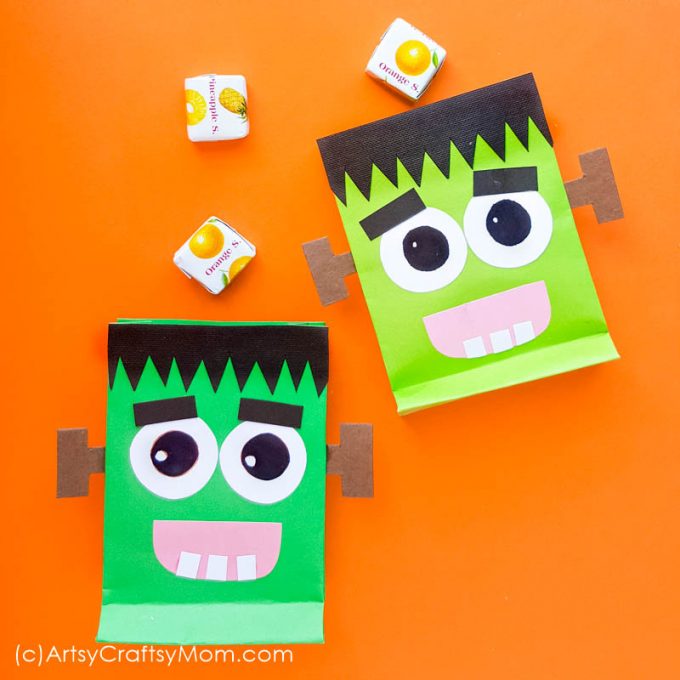
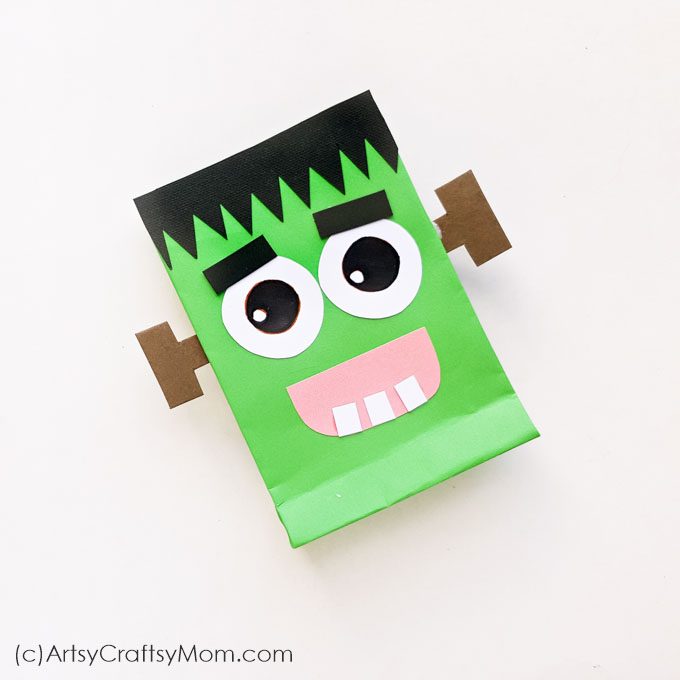
As you can see, this Frankenstein is far from creepy, he’s actually kind of adorable!! While you’re making this DIY Frankenstein Treat Bag, don’t forget to check out our pumpkin treat bag and monster treat bag too. With so many irresistibly cute bags, we’re sure you’ll get the lion’s share of Halloween treats this year!


![The Best 60 Chinese New Year Crafts and Activities for Kids [Updated for 2024] 12 A Chinese New Year’s Eve party with kids can actually be a lot of fun. But you need to prepare for it: We have the Best 60 Chinese New Year Crafts and activities for kids to celebrate the year of the Rabbit 2023](https://artsycraftsymom.com/content/uploads/2020/01/Chinese-New-Year-Crafts-1-630x900.jpg)


Can i get a copy of the frankenstein template for the bag craft?
Hi I don’t see the Frankenstein template. Can I get a copy. Thanks