DIY Pumpkin Treat Bags for Halloween
Got pumpkins on your porch? Now have them in your hand with these DIY Pumpkin Treat Bags that are perfect for Halloween! Easy to make and decorate!
We may not always dress up for Halloween, but we sure enjoy looking at what everyone else is wearing! There is such amazing creativity out there when it comes to Halloween costumes. From dinosaur costumes to Mary with her lamb to Planet Venus – there’s no end to the possibilities!
So the kids dress up in their cool costumes and walk around with their treat bags. But wait a minute – why are the treat bags not dressed up? Now considering they’re the ones that are going to be the kids’ main focus at the end of the day, we think they deserve a makeover! We’ve made Monster treat bags and today, we’re going to make some cute little DIY Pumpkin Treat Bags to hold all those little treats!
DIY Pumpkin Treat Bags for Halloween

Materials Required:
- Colored craft paper – orange, green and yellow
- Craft glue
- Scissors
- Pencil
- Slotted quilling tool
- Black sharpie (optional, in case you want to draw the eyes)
- Printout of the pumpkin features template (given below)

How to make Pumpkin Treat Bags for Halloween:
1. Gather all your supplies. Take a printout of this template:

2. Select orange colored craft paper and make the treat bag. You can find the full tutorial to make your own paper bag here. You can also use store bought paper bags for this craft or make a custom sized bag of your choice.

3. Print out the leaves and other items from the colored template or print out the blank patterns and trace them on the craft papers of your choice. Make sure to customize the size of the template patterns for the bag before printing them.

4. Use craft glue to stick the prepared items on the bag. Glue the top part of the stem on the middle of the paper bag’s open end. Glue the bottom part of the stem along the border of the open end (of the paper bag).
5. Glue the leaves on both sides of the stem. Use slotted quilling tool to create the vines from thin paper strips. Glue them on either sides of the stem.
6. Draw the eyes on 2 round cut outs from white paper or simply print out the eyes from the template.

7. Stick the eyes on the top side of the paper bag. Also attach the mouth to complete the pumpkin face. Add more details if you want to and then allow the glue to dry.
Your super cute DIY Pumpkin Treat Bags are ready!

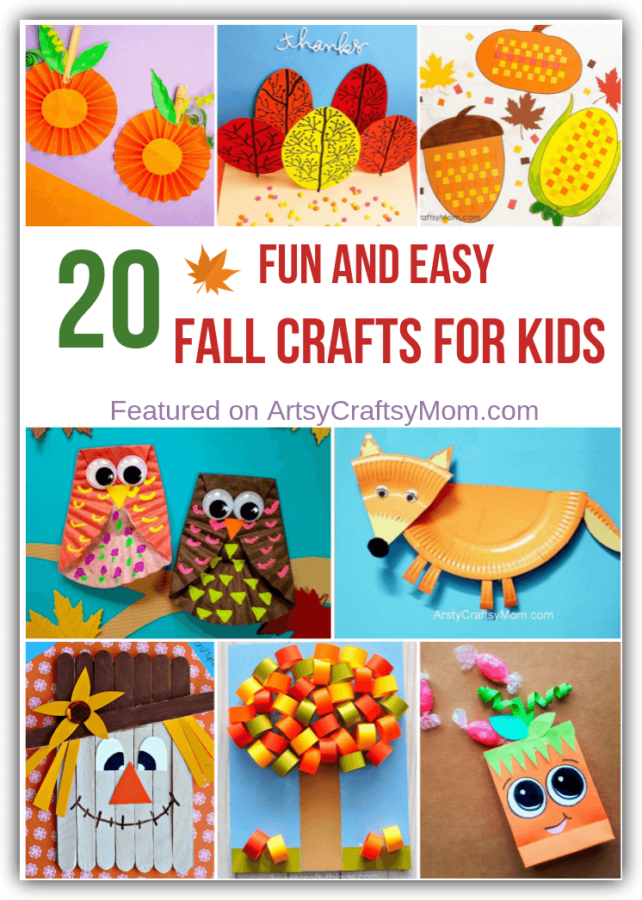
Now tell me, aren’t you glad you dressed up your treat bags too? Look how adorable these DIY Pumpkin treat bags are!! After all, it’s Fall; you’ve got pumpkins on your porch, pumpkins in your pie and pumpkins for Thanksgiving, so why not have them on your Halloween treat bags too? Now go ahead and start collecting some cool treats!


where do you print the templates?
I have just a sample image. Please print the eyes, mouth, and leaves on a letter or A4 Sized paper