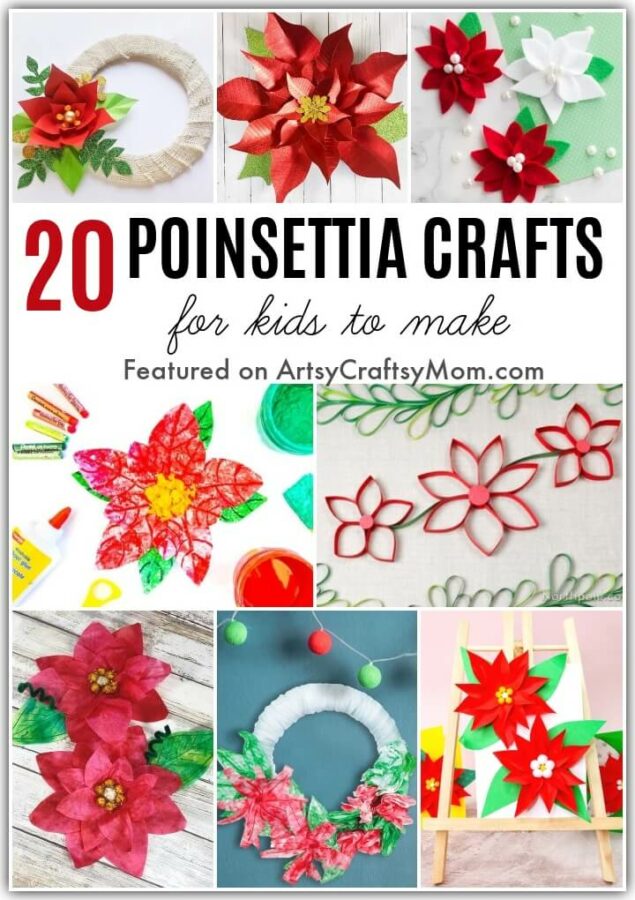
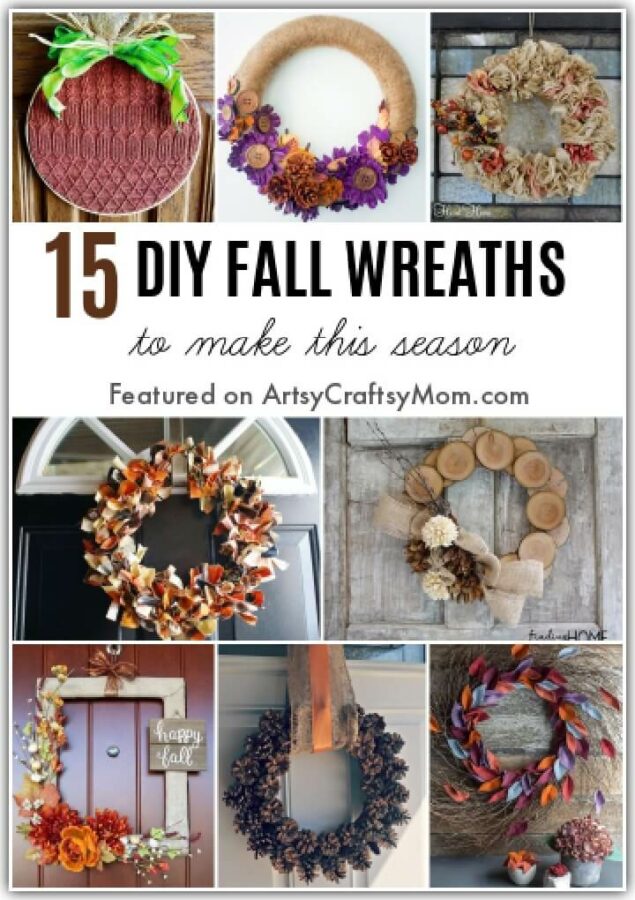
Paper Poinsettia Wreath Christmas Craft
Make this Paper Poinsettia Wreath Craft to pretty up your front door this holiday season – with a little bit of rustic flavor and a little bit of glitter!
One thing I love about festivals is that the various customs and traditions associated with it have some interesting stories behind them. The same goes for Christmas, and because I know you love stories, here’s a quick little one.
There was a little girl in Mexico named Pepita who wanted to gift the Christ something for Christmas but was too poor to afford anything nice. With no other option, she picked up a bunch of weeds, made it into a bouquet and placed it at the nativity scene at her church. When she knelt down, the weeds burst into bright red flowers – poinsettias!!!
Isn’t that a lovely story? So we’re going to combine two Christmas traditions – poinsettias and wreaths – to make this pretty paper poinsettia wreath craft. With a little bit of burlap and some glitter, we’ve got a Christmas decoration that brings different styles together!
Paper Poinsettia Wreath Christmas Craft

List of Supplies:
- Wreath base
- Burlap fabric
- Cardstock in red, green, yellow
- Glitter powder in golden and green
- Pencil or pen, for tracing the template
- Scissors
- Craft glue

How to make the Paper Poinsettia Wreath Craft:
1. The template includes 4 sets of petals, with 3 petals in each set, of different sizes. Select a colored cardstock for the flower and trace the petals on the paper. Cut out the petals.
2. Trace the other elements on card stock in colors of your choice and cut them out neatly.
3. Take a petal and cut a 2 cm slit vertically at the bottom, through the middle.
4. Overlap the 2 sides of the slit and glue them together. Repeat this step for all the petals so you have a slightly curved shape.

5. Cut out a round piece of cardstock for the base of the flower.
6. One by one, glue the large petals around the outer edge of the base, at equal distance from each other.
7. Now take the medium-large petals and glue them in the gaps between the large petals.
8. Stick the medium sized petals inside the existing circle of petals, in line with the large petals.
9. Continue sticking the small petals in the center, in line with the medium-large petals.
10. Keeping the leaf shapes and the tiny central flower shape aside, cover the remaining elements with craft glitter. If you are using powder glitter follow this process – Place the item on a sheet of paper; apply white glue all over the item and then sprinkle powder glitter all over the glue. Once the glue dries brush off extra glitter and then lift the item from the paper.
11. Create simple creases on the leaves by folding as shown in the image.

12. Glue the tiny centerpiece in the middle of the flower. Stick the leaves around the flower, under the layer of the large petals. Make sure that the leaves are visible.
13. Continue sticking the remaining elements around the outer edge of the base and making sure that they are visible under the flower.
14. Cover the entire wreath base by wrapping it in burlap fabric and gluing in place.
15. Simply glue the poinsettia flower on the wreath and attach a piece of yarn or string at the back so you can hang it.

If you’d rather not go with the powder glitter (they do tend to settle in the most inconvenient places), try to get craft glitter paper or shiny paper. If you’d like to try another rustic style, check out our twine and pine cones wreath. You can also make a miniature paper quilled wreath to hang on your tree. Let’s go all out with the decorations this year!


Dear Shruti,
Thank you so much for your lovely craft idea. I am going to make the , Christmas wreath; but not with the burlap wrap but with crepe paper.
This would be one of the Christmas craft with my school children.
Love all your ideas.
Warm Regards,
Carol