Simple Clay Turkey Craft for Thanksgiving
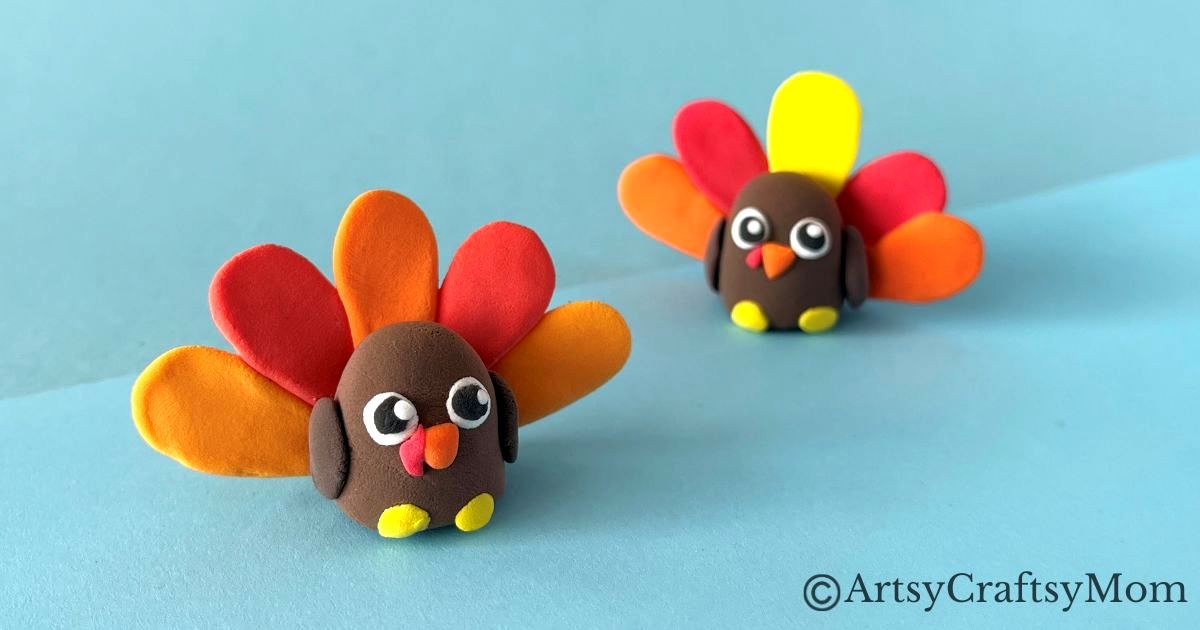
Here’s a turkey you don’t have to worry about burning – it’s a clay turkey craft for kids! Get some air drying clay & molding tools & make your turkey!
Most people think that Halloween is the holiday during which people eat the most calories, but surprisingly that’s not true. That honor goes to Thanksgiving, considered America’s largest eating event! They say that people eat as much as 3000 calories in a single meal – Thanksgiving dinner!
Well, that’s not shocking, considering Thanksgiving dinner isn’t like any other meal – there’s cranberry sauce, mashed potatoes, pie and of course, turkey!
But how did turkey become such an important part of Thanksgiving?
The Connection between Turkey and Thanksgiving
Although the Pilgrims and Natives did share a meal during the first Thanksgiving event in 1621, turkey wasn’t a part of it. Turkey became popular by the 19th century since it was abundant, cheap and big enough for an entire family.
However, it is believed that turkey became the official Thanksgiving icon in 1827, when an author, Sarah Josepha Hale, wrote about a ‘New England Thanksgiving’ that centered around a roast turkey. The rest is simply history!
Today, we honor that history and the ever-available turkey with a fun and colorful Thanksgiving project – a clay turkey craft!
Simple Clay Turkey Craft for Thanksgiving

Supplies required:
- Foam clay/air-dry clay in different colors
- Clay sculpting tools
Shop the materials on Amazon.com
The links below are affiliate links. As an Amazon Associate I earn from qualifying purchases.
How to make the Clay Turkey Craft:
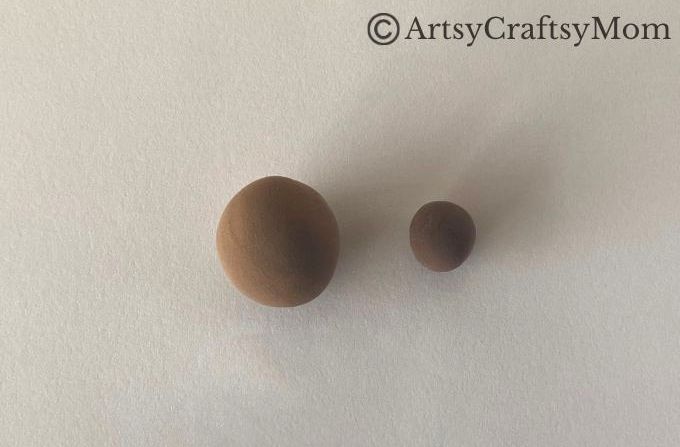
1. Our clay turkey craft is quite a colorful project, so we’ll need a few colors of air-drying clay today – brown, black, white, yellow, orange and red. Let’s start with the brown clay, to build the body and wings of the turkey. Pinch out a small ball for the wings, and double the size for the body.
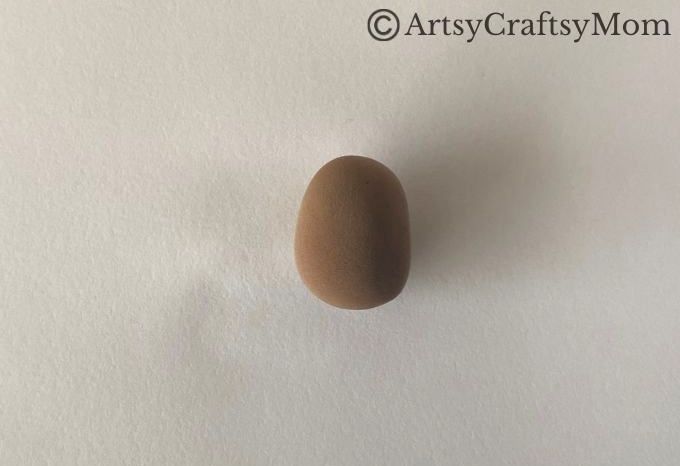
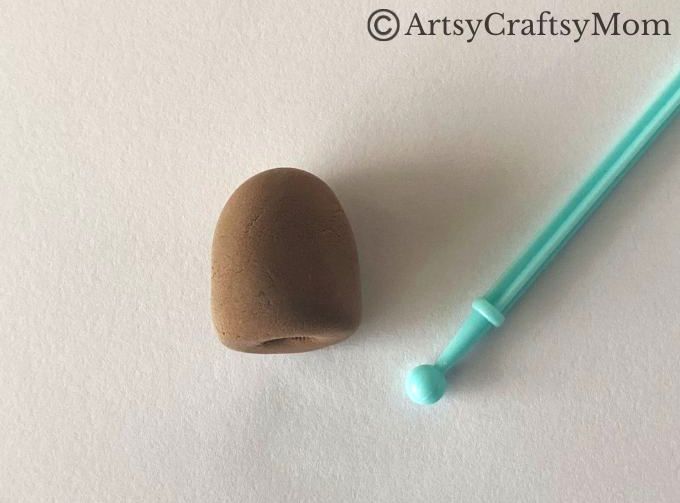
2. Roll the body clay into a thick cylinder with rounded ends.
3. Now press one end of the cylinder body against a flat surface, so you have one rounded end and one flat.
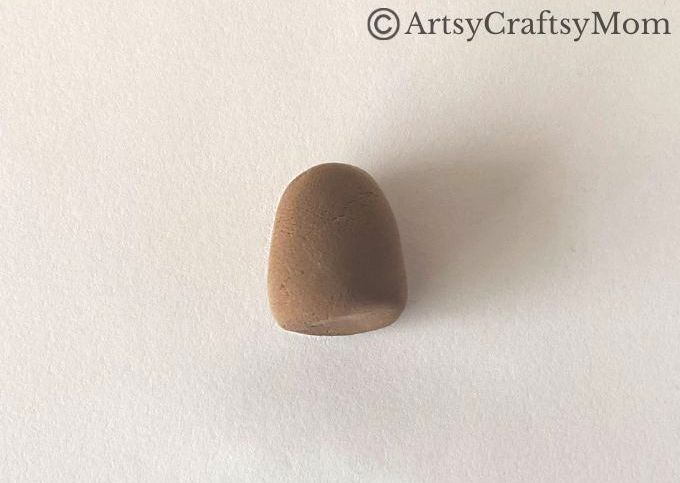
4. The flat end is the base of our clay turkey craft. To make it stable, we’re going to make a hole in this end, using the ball tip clay tool. This ensures that the turkey can stand on its own.
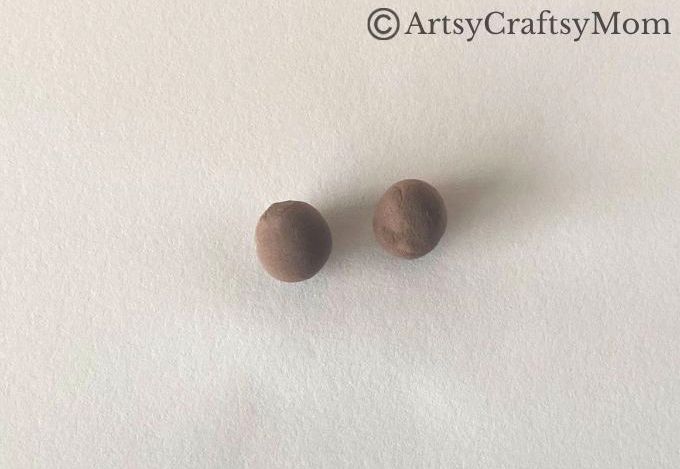
5. Put aside the turkey body and take the clay for the wings. Divide it into equal halves and roll them into balls.
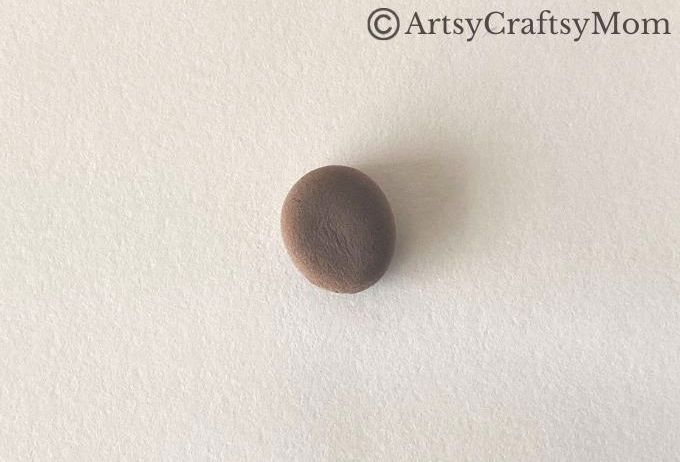
6. Take each ball and flatten it into a thick disc.
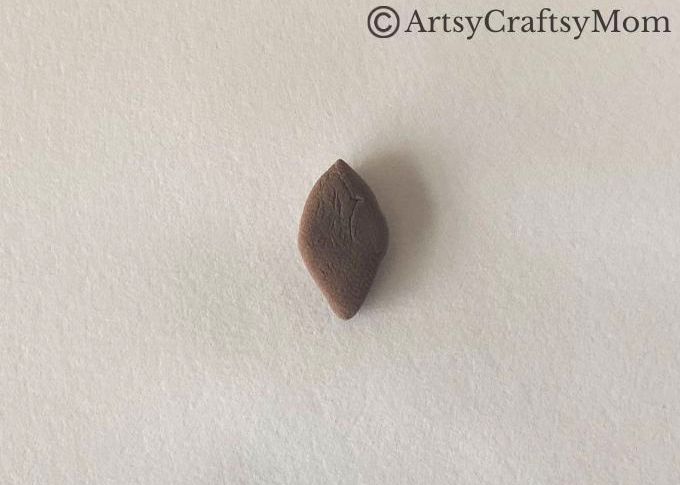
7. Gently pinch the flattened discs from both ends to get a leaf shape, as shown below. These are the turkey’s wings.
8. Attach the wings to either side of the turkey’s body.
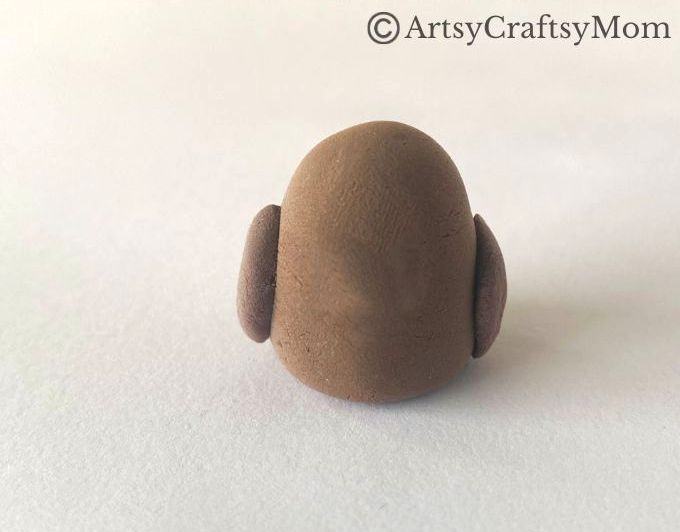
9. Time to give our clay turkey craft some eyes! Begin with two small white clay balls of equal size. Flatten them into thick discs and stick them on the upper part of the turkey’s body.
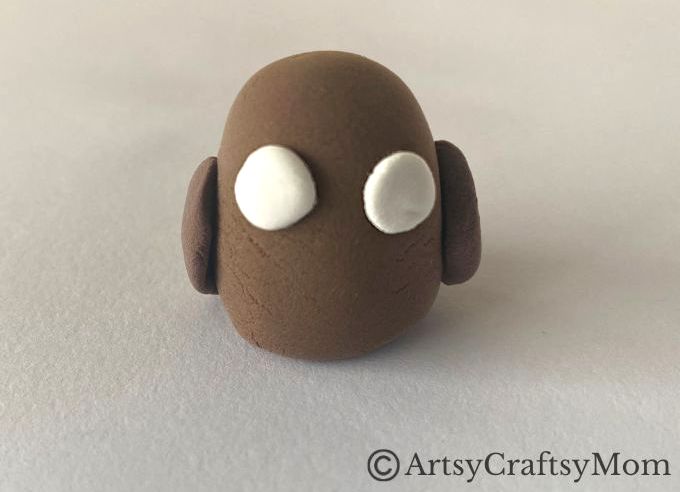
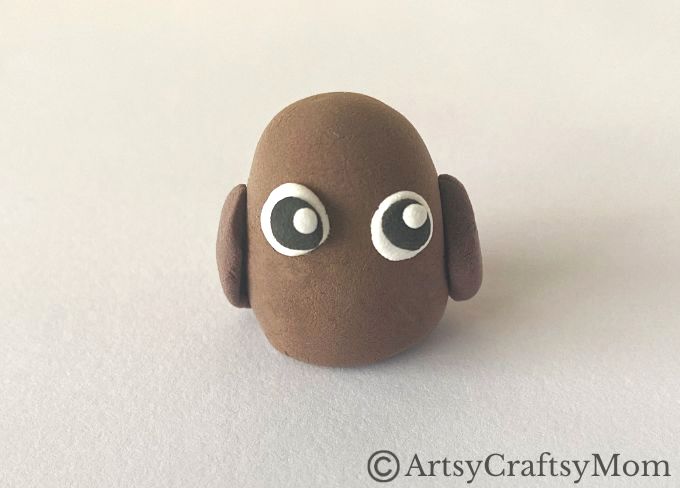
10. Similar to the previous step, make two black discs that are a little smaller than the white. Then go ahead and make two tiny circles out of white clay. Place the black circles on the turkey’s eyes, and the white circles on top of that. Now you have eyes that look realistic!
11. Pinch out a small piece of orange clay and roll it into a ball.
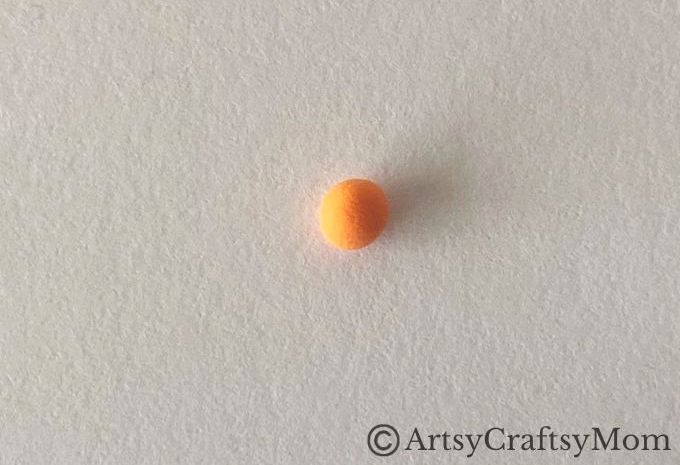
12. Flatten the orange ball and press it gently from three sides, flattening it so that you end up with a triangle. This is the beak of the turkey.
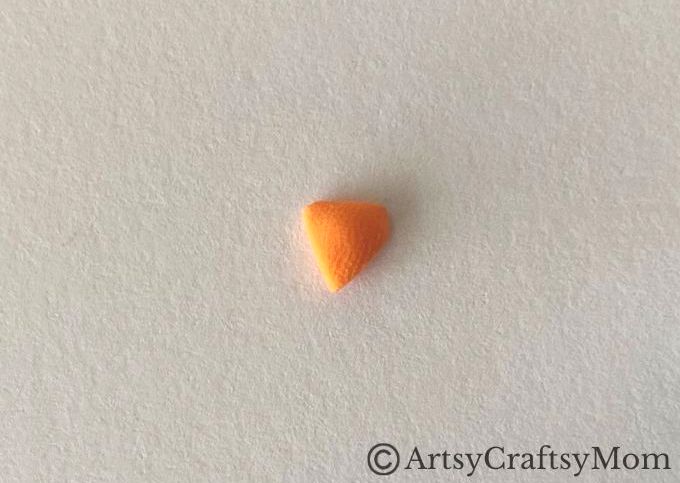
13. Attach the beak to the turkey’s body, between the eyes.
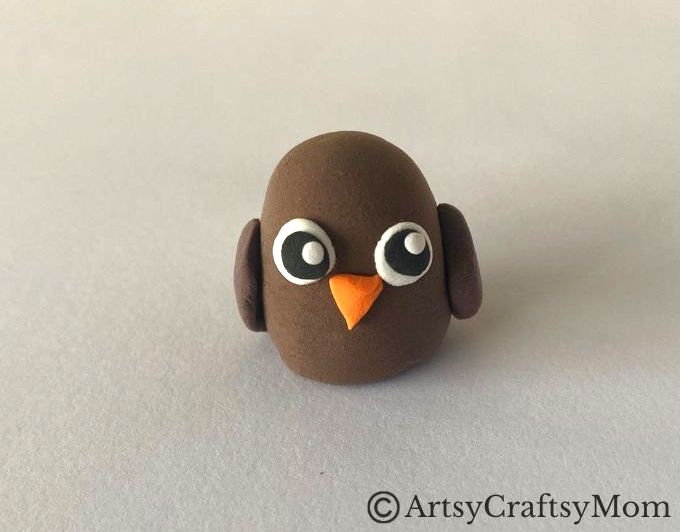
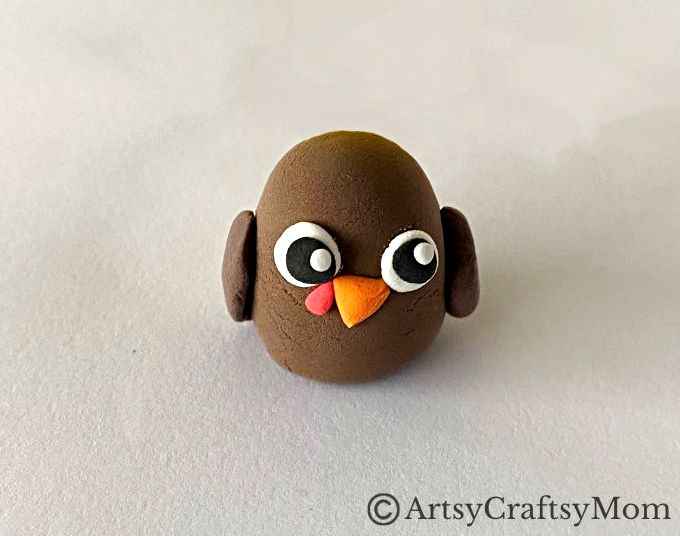
14. For the wattle, take a small piece of red clay, roll it into a ball and flatten it. Then shape it into a tiny teardrop and attach it to the side of the beak, as shown below.
15. Put aside the turkey – it’s time to make the tail! Pinch out equal amounts of yellow, orange and red clay – you need five pieces in all. We went with one yellow, and two each of red and yellow. Roll them into balls and flatten them. Then, shape them into teardrops. These are the turkey’s tail feathers.
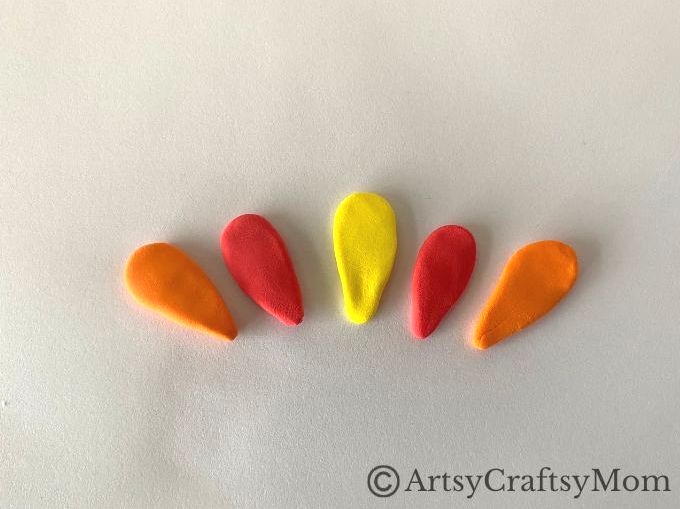
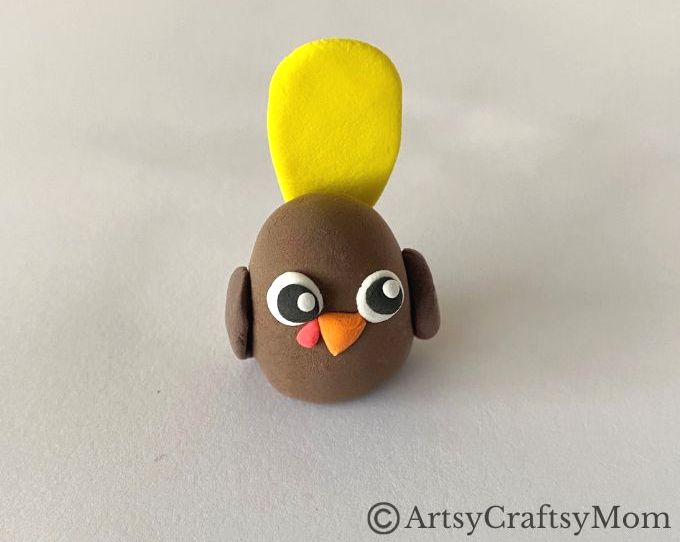
16. Let’s begin setting up the turkey’s magnificent tail. Attach a single tail feather to the back of the turkey’s body so that most of the feather is visible above it.
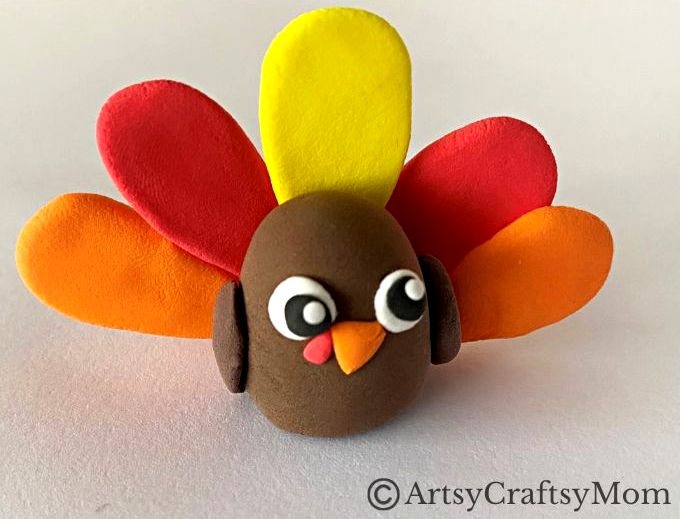
17. Now, arrange the remaining feathers on either side of the previous feather, so you get a symmetric pattern.
18. Almost there! Now pinch out two equal bits of yellow clay and roll them into balls. Flatten them into little thick discs and attach them to the front of the turkey’s body.
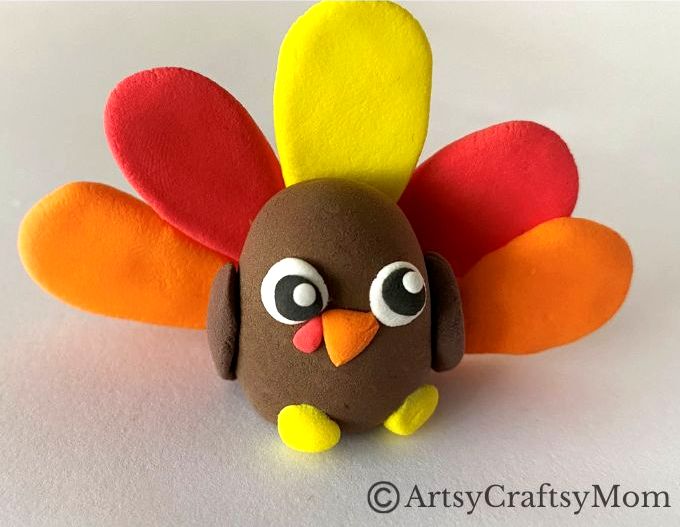
There you go! Your colorful clay turkey craft is ready to celebrate Thanksgiving with you!

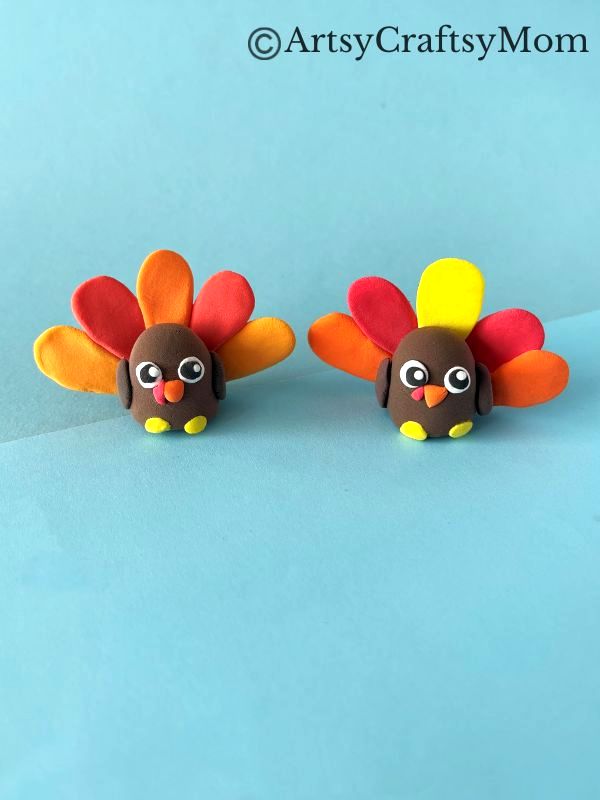
Turkeys aren’t known for being cute, but that’s not the case with this clay turkey craft! These guys are just adorable and would make a fun decor piece for Thanksgiving. They’re also cute gifts to give out to your classmates or friends or as return gifts during a Thanksgiving party!
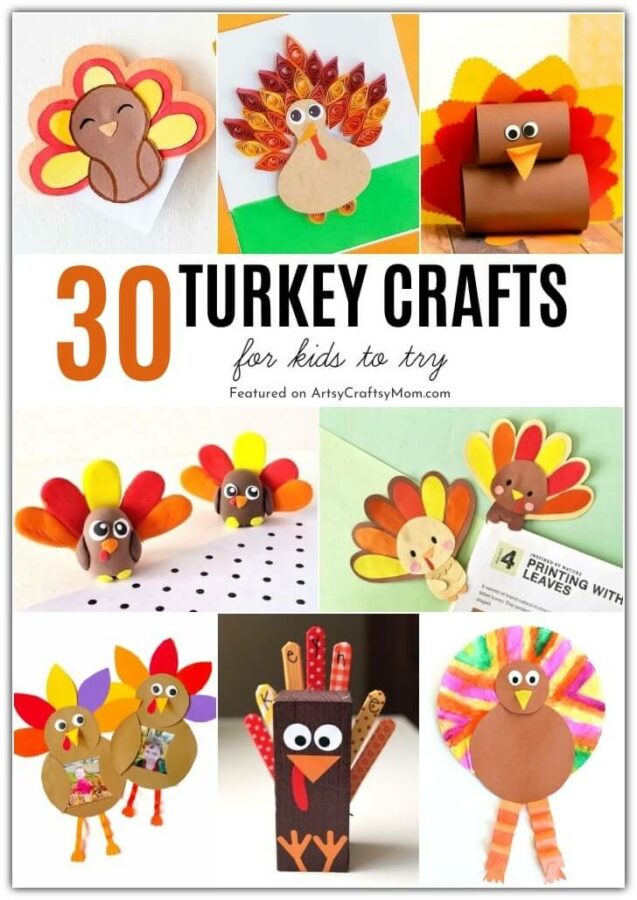
If you’d like more turkey crafts for Thanksgiving, check out these projects:
- DIY Thanksgiving Turkey Pop Up Card
- Paper Quilled Turkey Craft for Fall
- Handprint Turkey Craft for Kids
- Printable Thankful Turkey Headband
- Paper Plate Thanksgiving Turkey Craft







Responses