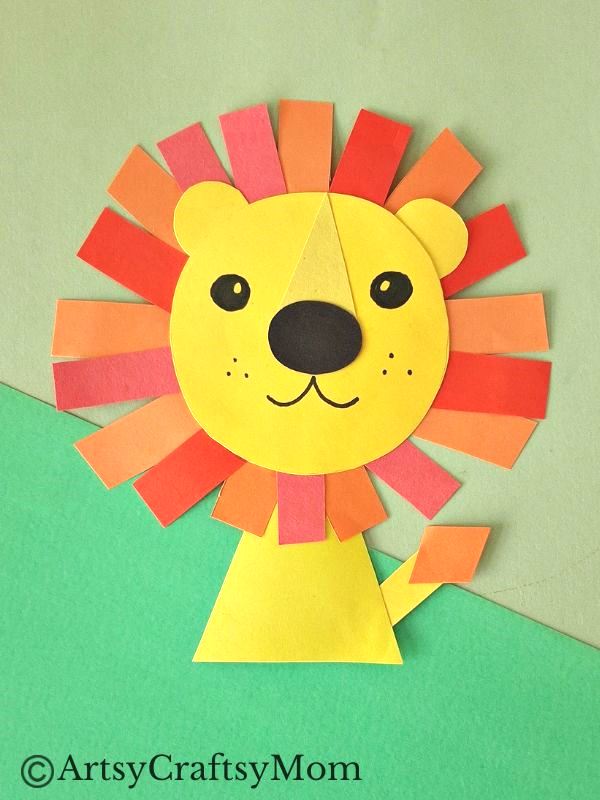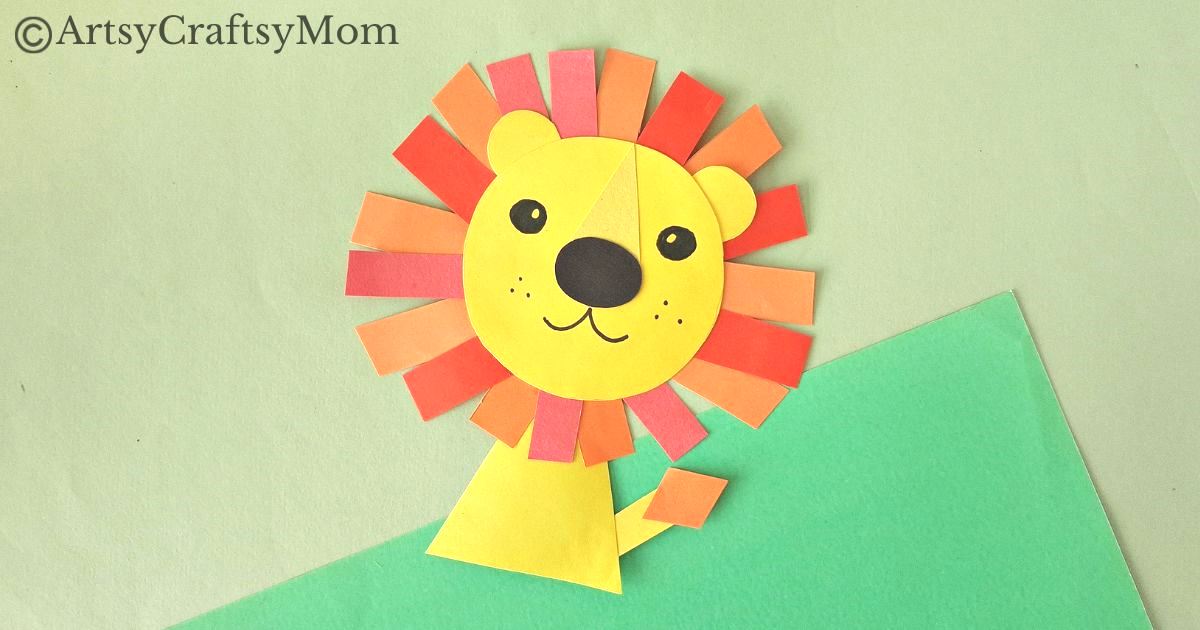
This lion shape papercraft is a two-in-one project for little kids, where they can learn about lions and about shapes, while having fun!
Have you ever tried teaching a toddler the concepts of balance, weight distribution, or gravity? Of course you haven’t! And yet, your toddler is learning all these concepts as they build a tower with blocks – although they don’t know that’s what they’re learning!
That’s the thing about learning through play – kids respond so much better when they’re shown concepts in a relaxed, entertaining atmosphere. This is also why we’re great proponents of learning by crafting!
So if you’ve got a little one who’s learning about shapes right now, we’ve got the perfect craft for them – a cute lion shape papercraft! This craft shows us how to use triangles, circles, ovals, rectangles and even a diamond shape to create a lion craft!
Lion Shape Papercraft for Kids
Supplies required:
- Colored craft paper
- Pencil
- Template
- A pair of scissors
- Craft glue
- Markers
Shop the materials on Amazon.com
The links below are affiliate links. As an Amazon Associate I earn from qualifying purchases.
How to make the Lion Shape Papercraft:
1. Download and print the Lion Shape Papercraft Template. This template includes parts of the lion, such as the ears, nose, tip of the nose, body, tail, the tip of the tail, strips for the mane and two circles for the head and mane.
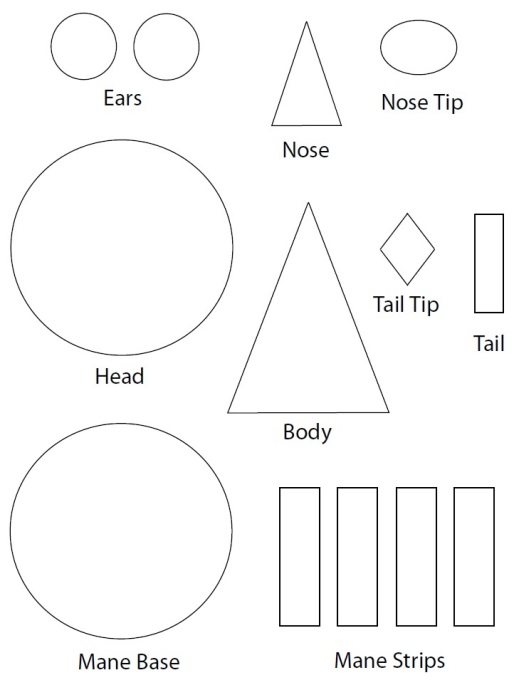
2. Trace the parts of the template on craft paper of the appropriate colors. Since we’d like to add a touch of realism for our lion shape papercraft, we’re going with shades of yellow for the body parts and shades of orange for the mane and tip of the tail. Let the nose tip be black.
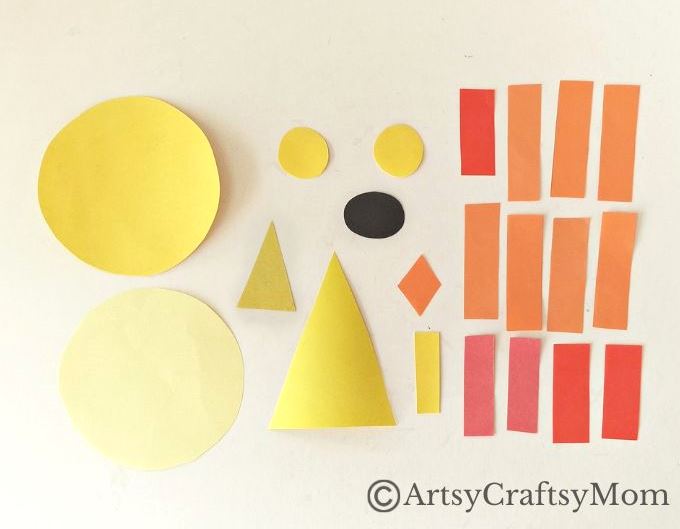
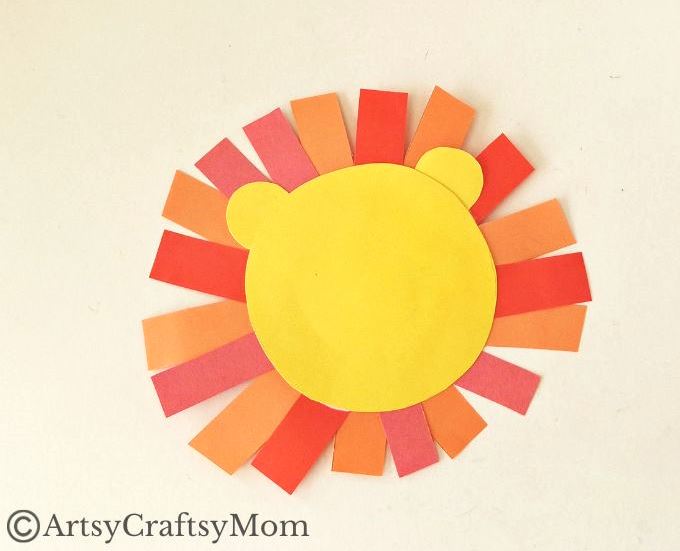
3. Let’s start assembling our lion’s head first: stick the ear cutouts on opposite ends of the head, as shown below. Keep this head aside for now.
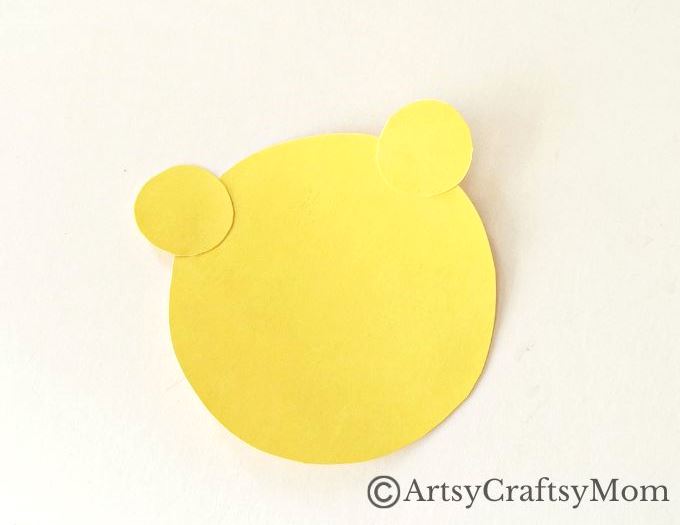
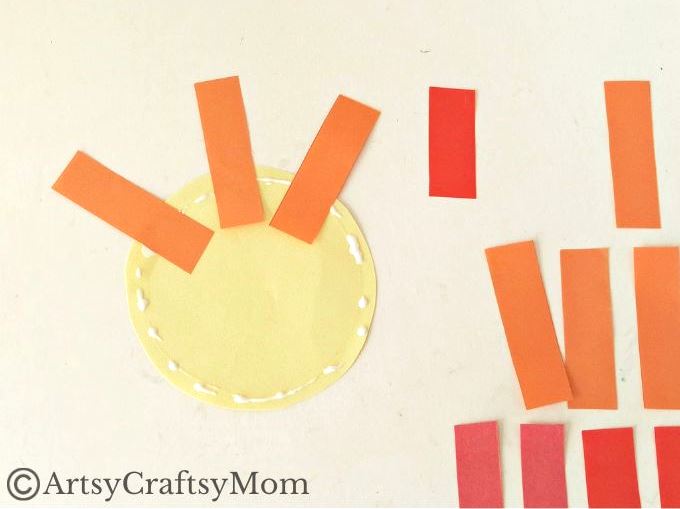
4. Let’s move on to the part that makes the lion so special – its mane! Take the mane base cutout and apply glue around the border.
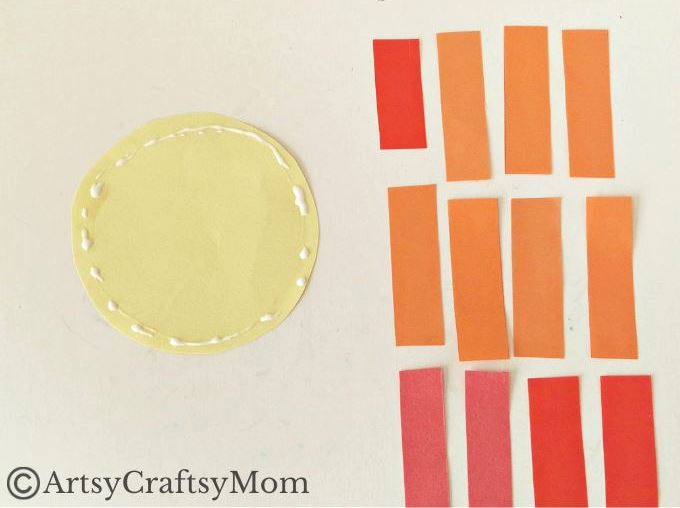
5. Stick the mane strips on the glued border, attaching them so that the strips don’t overlap, and the longer ends of the strips are outside the circle.
6. Now apply another line of glue all along the border, this time over the strips as well.
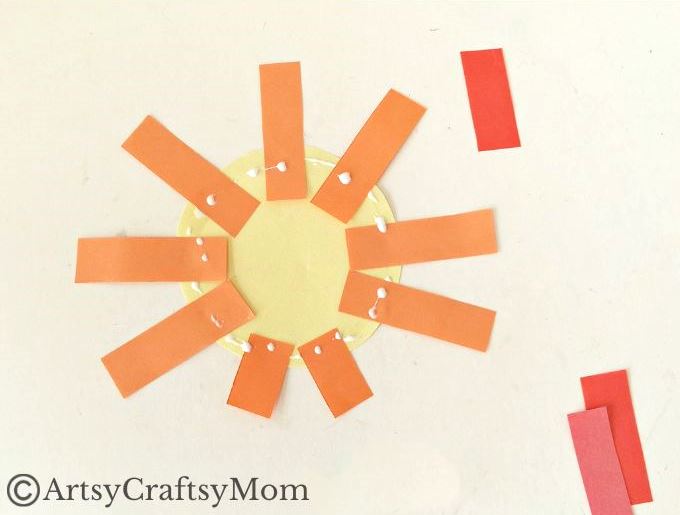
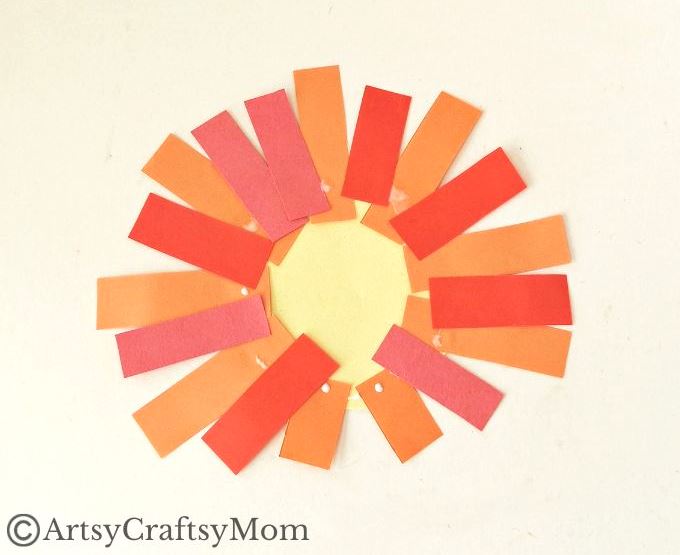
7. Take strips of another shade and now stick them on the glue applied in the previous step. This time, you can stick over the earlier layer of strips as well as in between them. Continue till you are satisfied with your mane.
8. Now, take the head you assembled in Step 3 and apply glue to the back of the pattern.
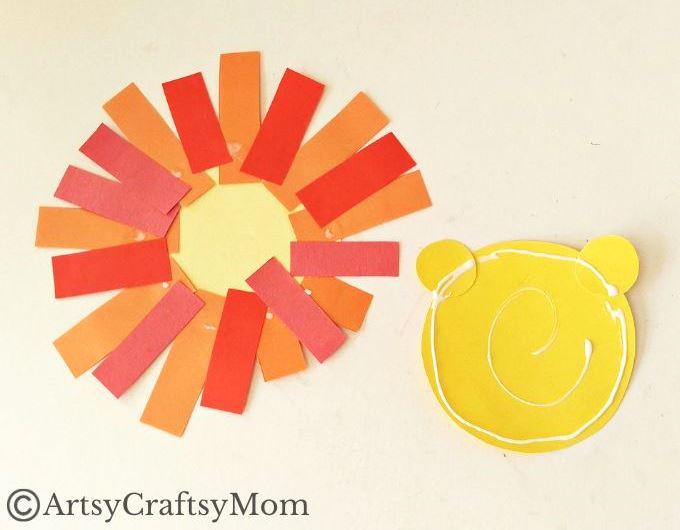
9. Stick the glued side of the head on the mane base. The head of your lion shape papercraft is complete!
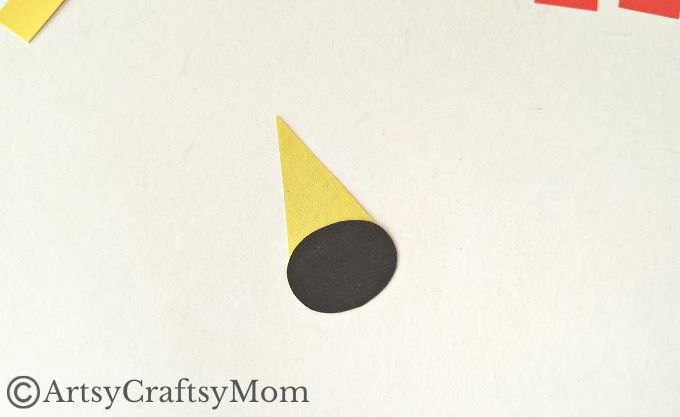
10. Attach the nose-tip cutout to the wide end of the triangle nose.
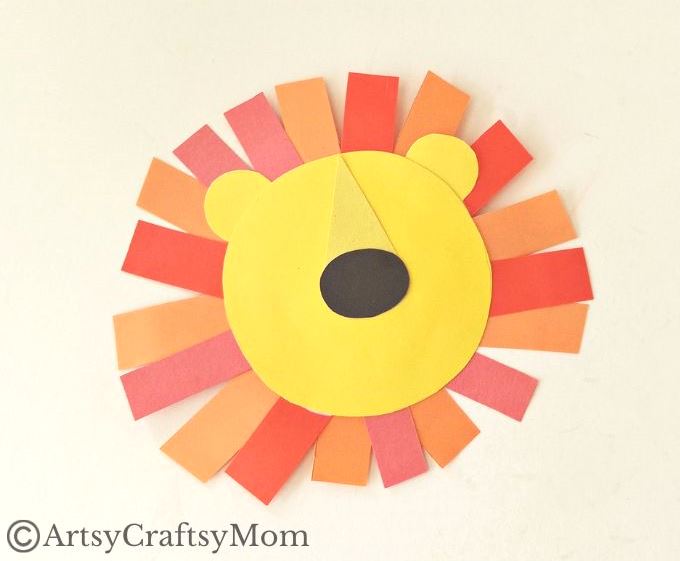
11. Stick the nose in the center of the lion’s head, so that the pointy end lies on the upper edge of the head.
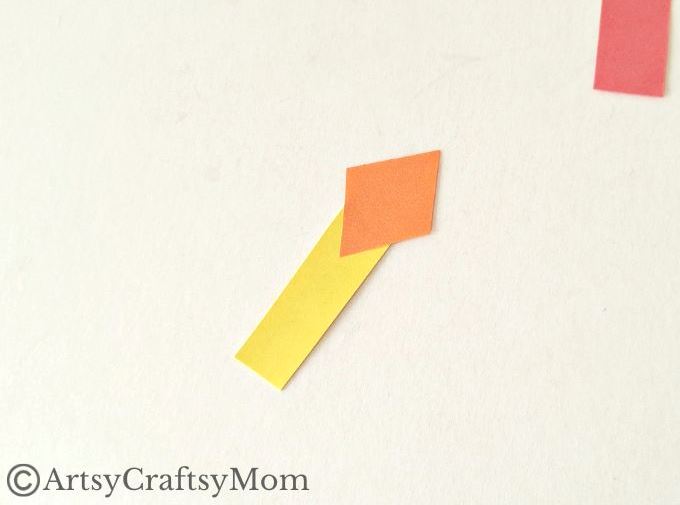
12. Glue the diamond-shaped tail tip to one end of the tail cutout.
13. Attach the tail to one side of the triangle body cutout, making sure to apply glue behind the triangle.
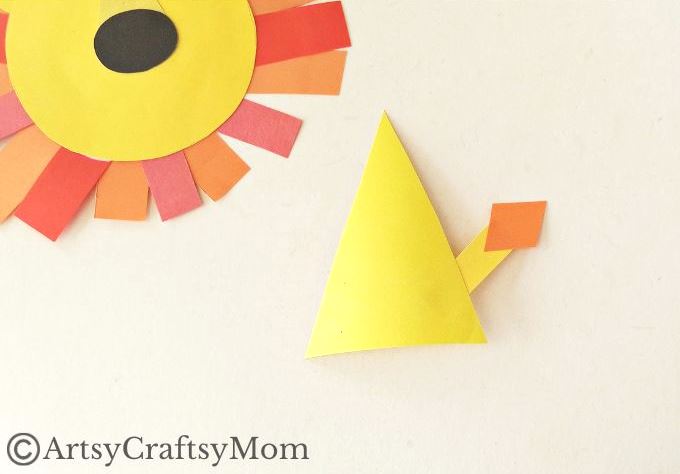
14. Apply glue to the pointy top end of the triangle body and attach the head here.
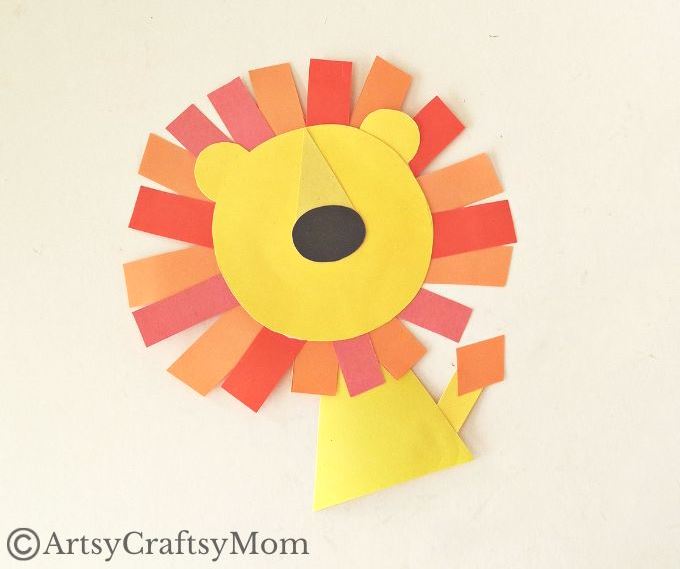
15. Almost done! Take a black marker and draw eyes, a mouth and some dots on the lion’s face.
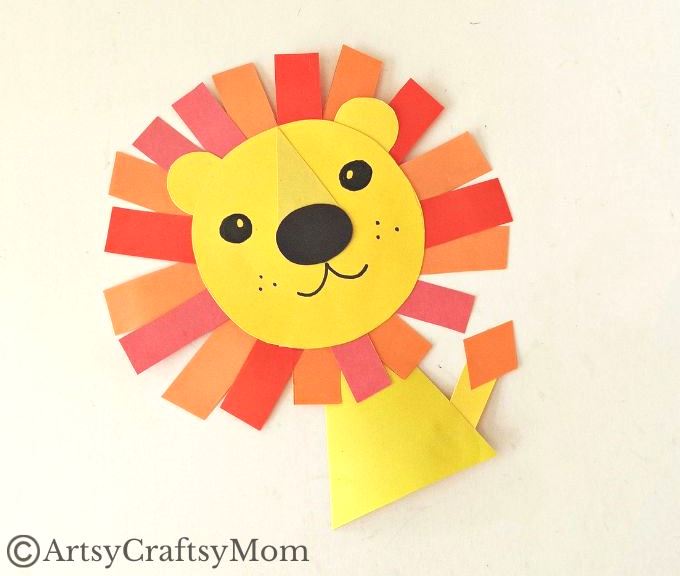
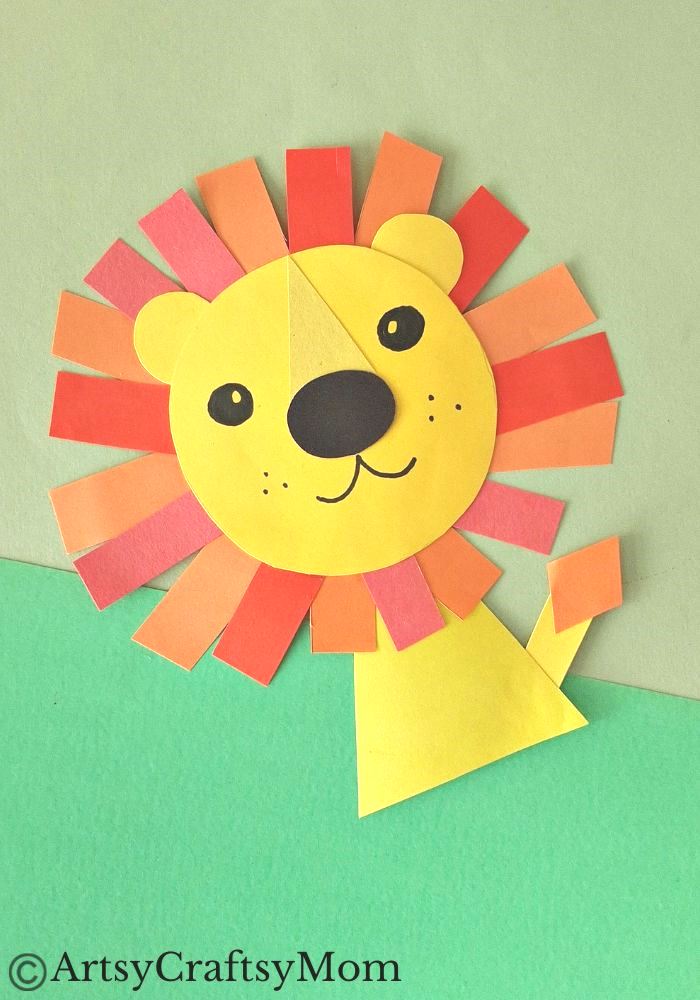
That’s it – your lion shape papercraft is done and ready!
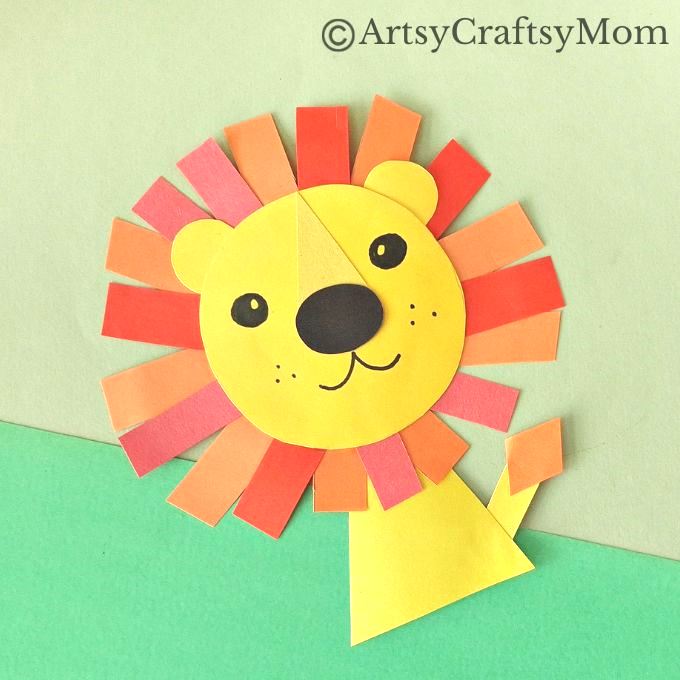
I’m pretty sure you were wondering how you could turn some straight shapes and curved shapes into the King of the Jungle! Well, we’ve shown you that it can be done, so maybe you can try and experiment with some other wild animals!
If you like lion crafts and are looking for more, check these out:
- L for Lion Recycled CD Craft with Template
- Lion Bookmark Paper Craft for Kids
- Cute and Easy Handprint Lion Craft
- Easy Crumpled Paper Lion Craft for Kids
- Printable African Lion Headband Craft