Dreamy Paper Snow Globe Craft for Christmas
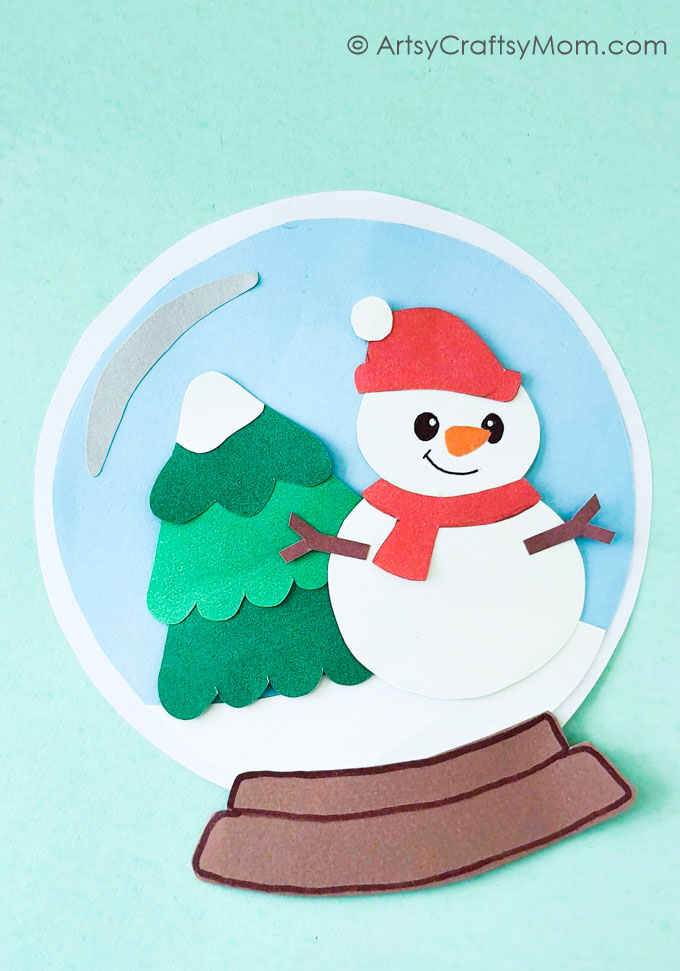
Love snow globes? Then you’ll love this Paper Snow Globe Craft that’s absolutely dreamy! What’s more, it’s super easy for kids to make themselves!
When we think of toys, we generally refer to them in the context of children, as playthings for entertainment or learning. As we grow older, we outgrow these and move on to more ‘grown up’ (expensive) versions like mobile phones or X-boxes! However, there are some childhood toys that never lose their charm no matter how old we get, and one of the most popular among them is the snow globe!
Did you know that the snow globe originated when an Austrian inventor was trying to create a bright lamp to use for surgeries? Yes, it’s true! Erwin Perzy found that the particles in the flask he was using to focus the light moved about and reminded him of snowfall. The rest, is history, as Perzy soon opened up a store to sell his newly patented snow globes!
Perzy’s store still sells handmade snow globes, and the manufacturing is kept top secret! Well, today we’re going to share something with you that is not secret at all, but is just as pretty as Perzy’s creations – a beautiful paper snow globe craft! This is really easy to make and requires just colored craft paper, so let’s get started!
Dreamy Paper Snow Globe Craft for Christmas
Supplies required:
- Craft paper in multiple colors
- Colored markers
- Pencil
- Scissors
- Glue
How to make the Paper Snow Globe Craft:
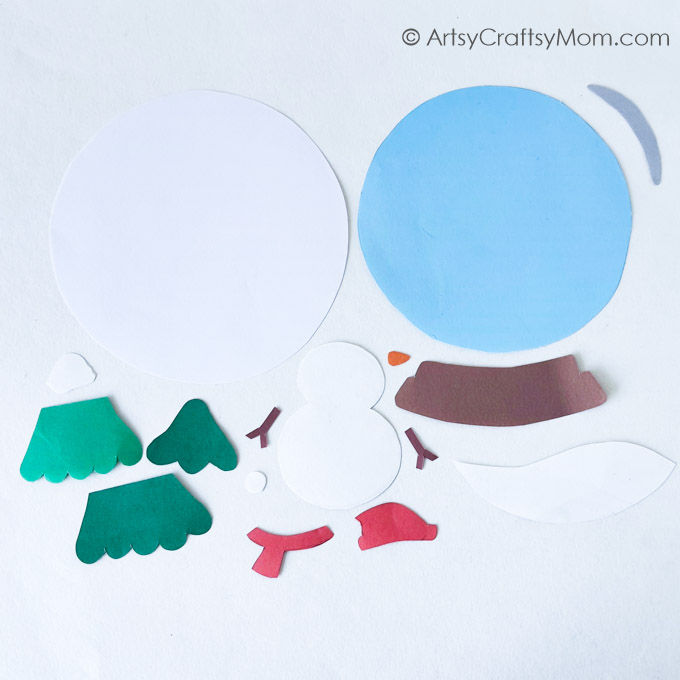
1. Let’s start by creating the pieces of our snow globe. We’ll need a few circles, to begin with. Cut out a large white circle for the globe, and a smaller blue one to go inside it. Then cut out a number ‘eight’ shaped snowman body out of white paper.
2. Now we need some green tree parts, a red hat and scarf for the snowman, an orange nose and a white pom pom. Don’t forget two brown twig arms! We also need a few extra items – a snow cap for the tree, snow for the ground, a curved piece of grey for a 3D effect, and finally, a brown stand for the paper snow globe craft.
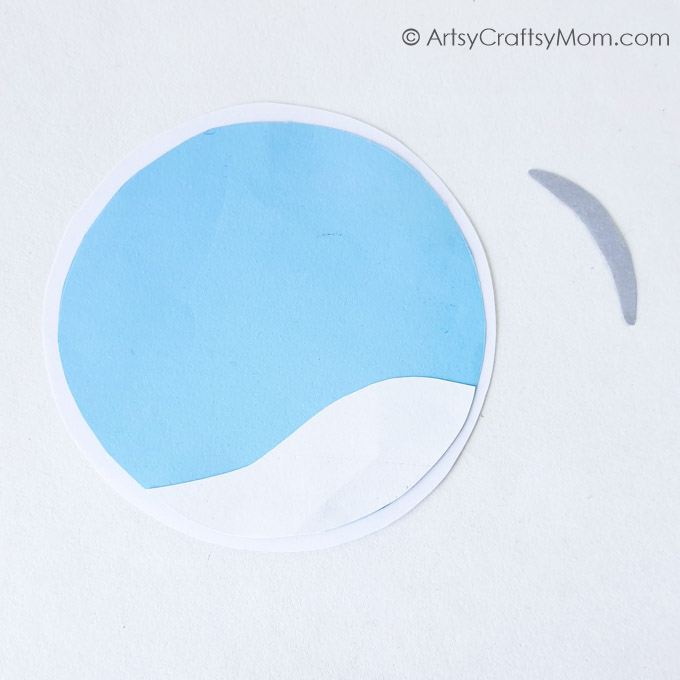
3. Now that we have all the pieces, let’s start setting up the background. Stick the blue globe inside the white one. Now stick the ground snow at the bottom of the blue circle.
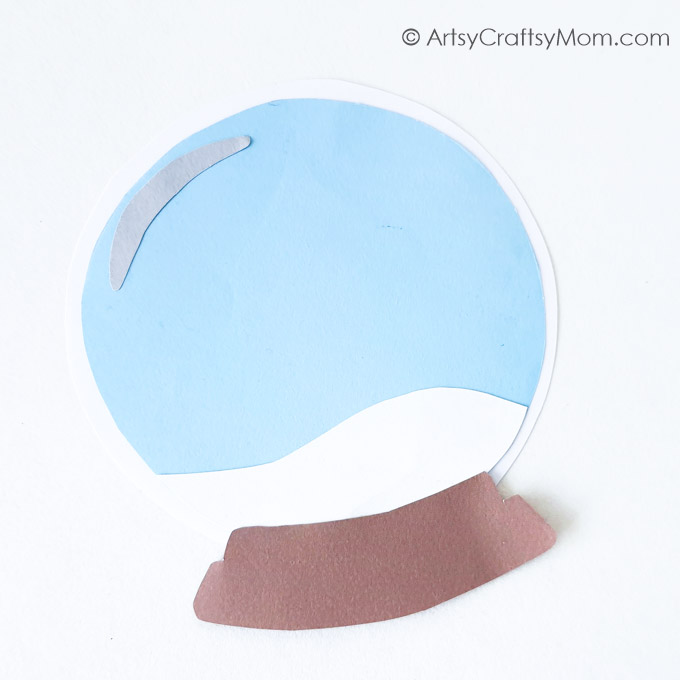
4. Let’s add some 3-D effect by sticking the curved gray piece on one side of the blue circle. Now, it looks like a spherical structure! Stick the brown stand to the base of the paper snow globe craft and our base is ready.
5. Keep the base aside and let’s assemble the tree. Arrange the tree pieces in order, so that the lower portion of one layer overlaps the top portion of the one underneath.
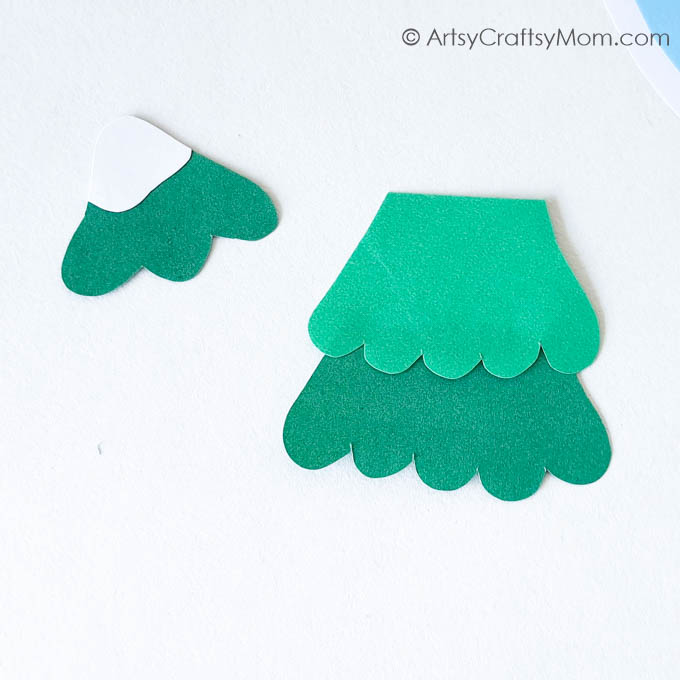
6. Finally, glue on the snow cap at the top of the tree.
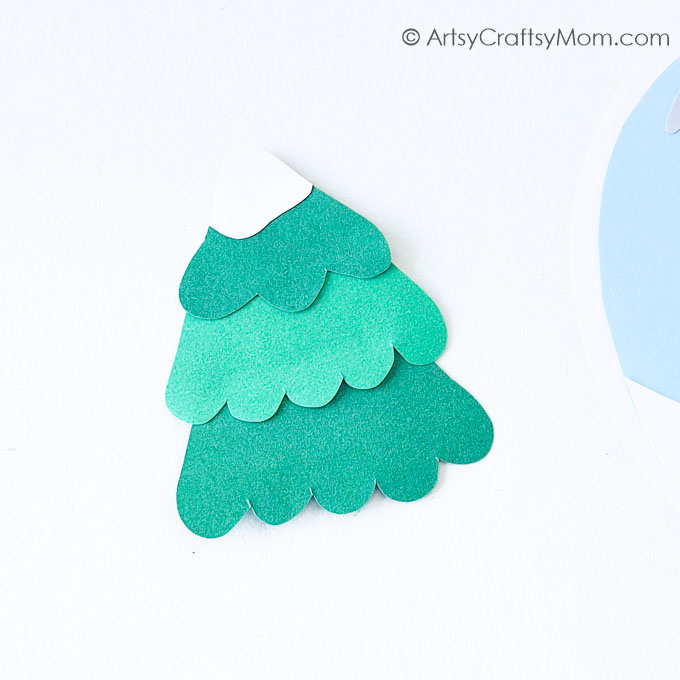
7. Take the snow globe base and now stick the tree on top of the ground snow. Place it to one side of the snow globe so there’s room for the snowman. It’s looking a lot like Christmas now!
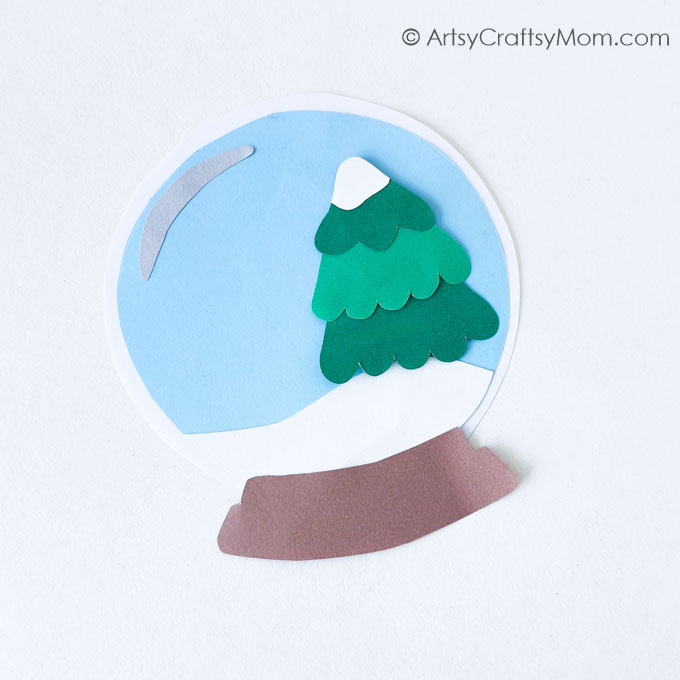
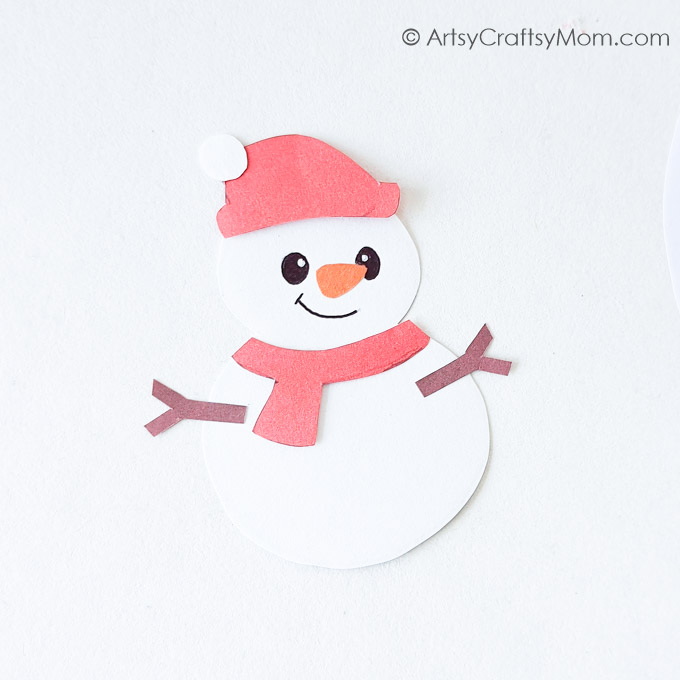
8. Now for the main character – the snowman! Stick the snowman’s nose and arms in the appropriate places. Use your markers or Sharpie pen to draw some eyes and a smile.
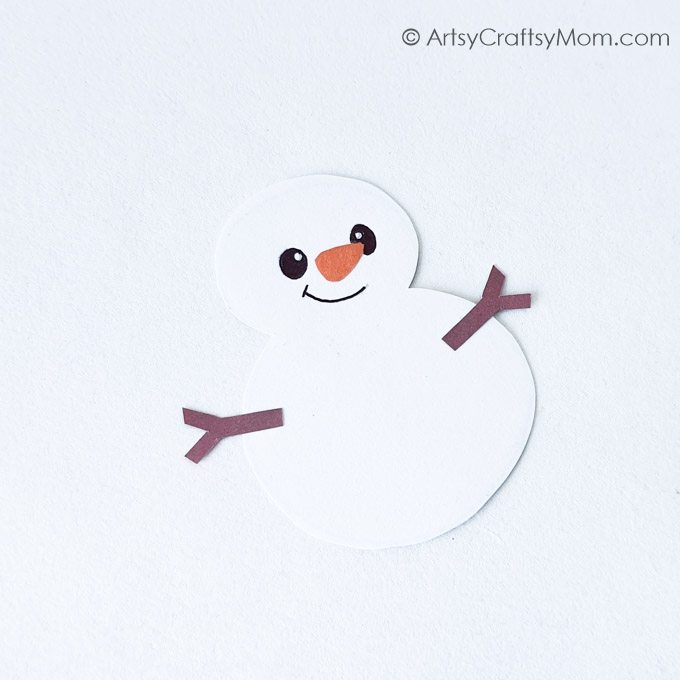
9. Wait, we’re not done yet – the snowman is cold! Fix this by sticking on his hat and scarf; don’t forget the pom pom on the hat!
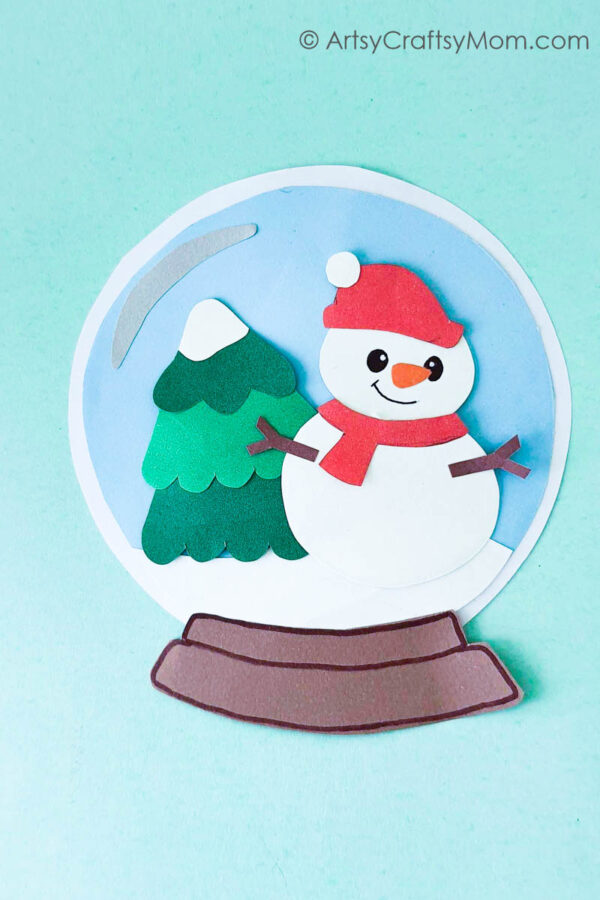
10. It’s time to finally put everything together! Place your snowman in the remaining space on the blue circle, and that’s it – your paper snow globe craft is ready!
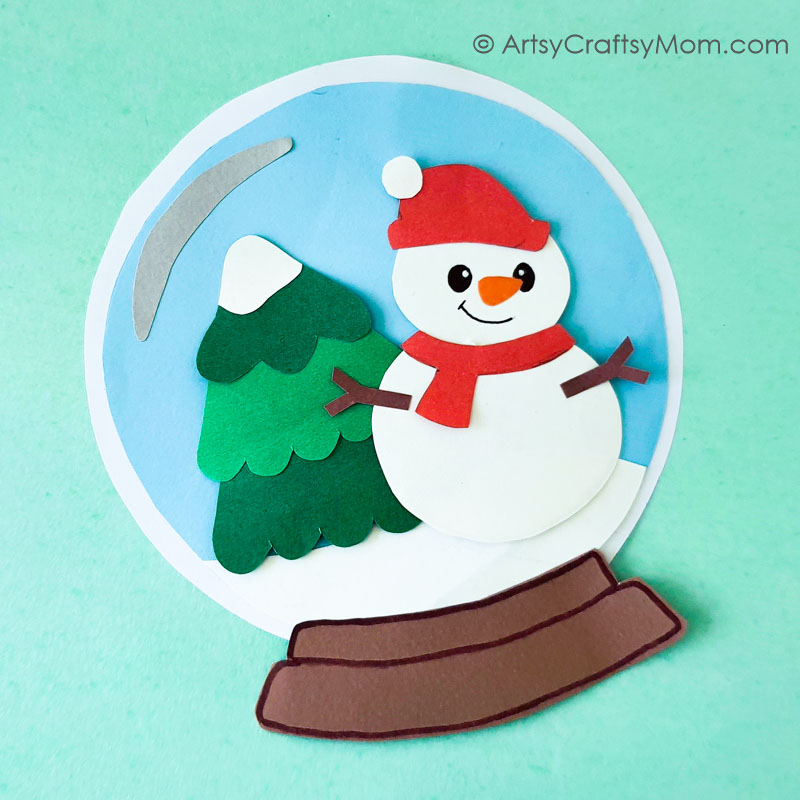
You can go ahead and use your markers to add some details to the snow globe, the stand, the scarf, or the tree. You can also add some silver or white glitter to make it look like it’s snowing – just like a snow globe looks when you shake it! This would look lovely on a Christmas card or simply as decor for your room – it’s sure to bring on the festive spirit!
If you liked this craft, you may also like these:
- Adorable Olaf Puppet Craft
- Paper Cup Snowman Craft
- Paper Quilled Snowman
- Easy Popsicle Stick Snowman Craft
- Felt Snowman Ornament




Responses