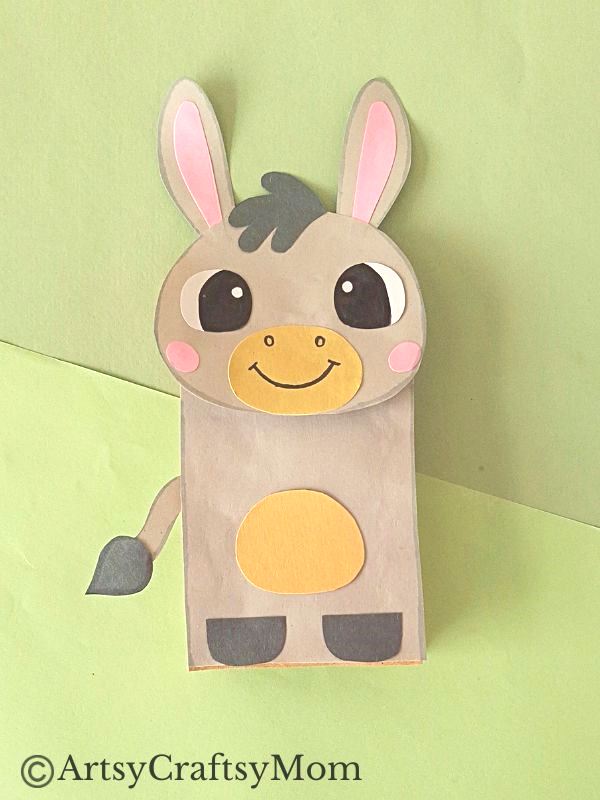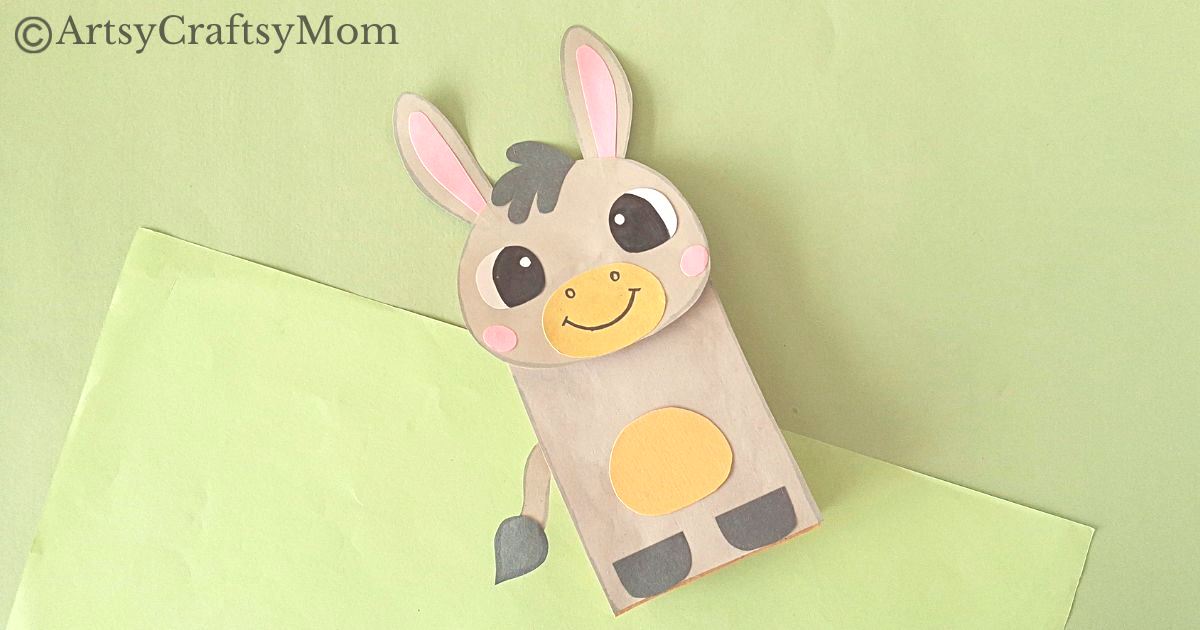
Donkeys are adorable and hard-working – a rare combination! Today we celebrate these industrious creatures with a cute paper bag donkey puppet.
“The donkey heard the book gives wisdom and ate it.”
This quote is just one example of how donkeys are treated in literature and popular culture around the world. They are often depicted as silly animals, as useful sidekicks to the hero, but unable to handle anything on their own.
Well, this couldn’t be farther from the truth! Donkeys have been quite respected for centuries – here are a few instances.
Donkeys in Religions and Legends
- Ancient Egyptians considered the donkey a symbol of the Egyptian sun god Ra
- In Greek myth, the wine god Dionysus’ companion Silenus used to ride a donkey
- Greek mythological King Midas was cursed with the ears of a donkey by Apollo
- The New Testament talks about Jesus entering Jerusalem riding on a donkey
- In Hinduism, the goddess Kalaratri’s vehicle is shown as a donkey
Sounds like the donkey is a much more interesting character than we first thought! Since that’s the case, let’s have some fun of our own – with an easy DIY Paper Bag Donkey Puppet for Kids!
DIY Paper Bag Donkey Puppet for Kids
Supplies required:
- Colored craft papers
- Paper bag
- Pencil
- A pair of scissors
- Craft glue
- Markers
Shop the materials on Amazon.com
The links below are affiliate links. As an Amazon Associate I earn from qualifying purchases.
How to make the DIY Paper Bag Donkey Puppet:
1. Download and print the Paper Bag Donkey Puppet Template. This template has all the parts of the donkey, including the head, inner ears, outer ears, muzzle, cheeks, eyes, tail, hooves, belly and mane.
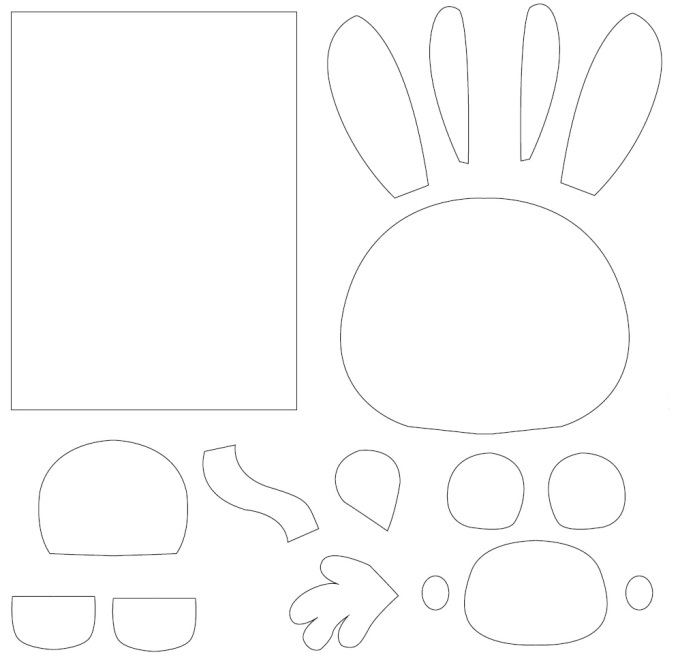
2. Trace the patterns of the template on craft papers of the appropriate colors and cut them out. You can use a light brown, beige or grey for the donkey’s body, head, outer ears and tail. The mane, hooves and tail end can be black, while the inner ears and cheeks can be pink. We’ve used a bright orange-yellow shade for the belly and muzzle.
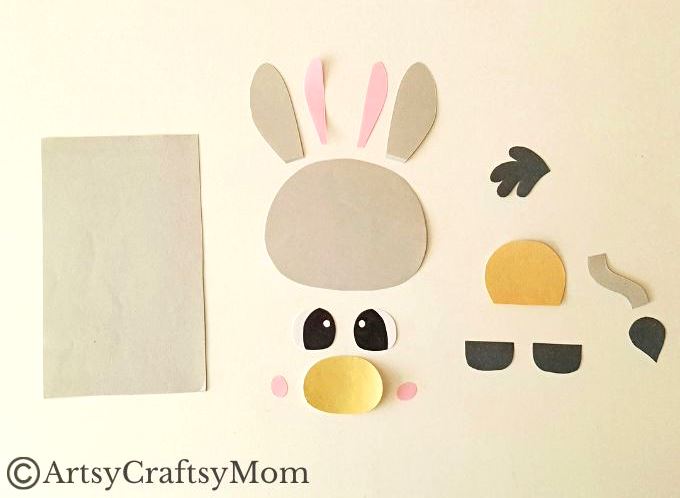
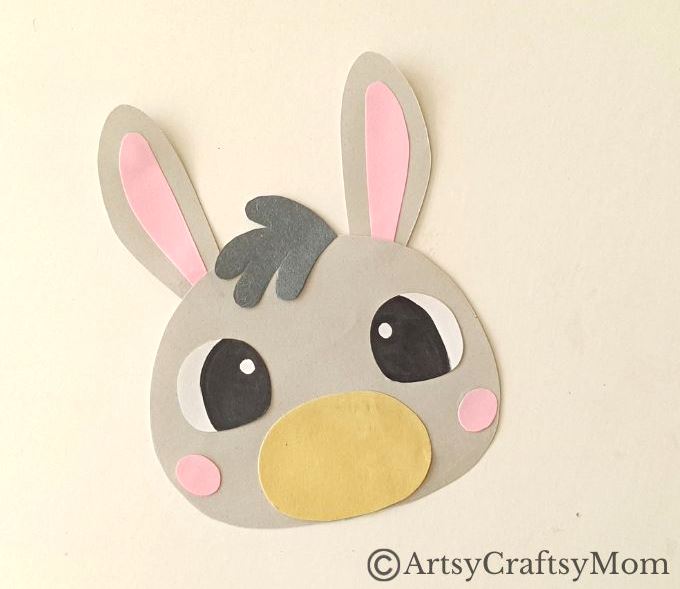
3. Let’s start our paper bag donkey puppet craft by assembling the head first. Stick the inner ear cutouts inside the outer ear cutouts with glue.
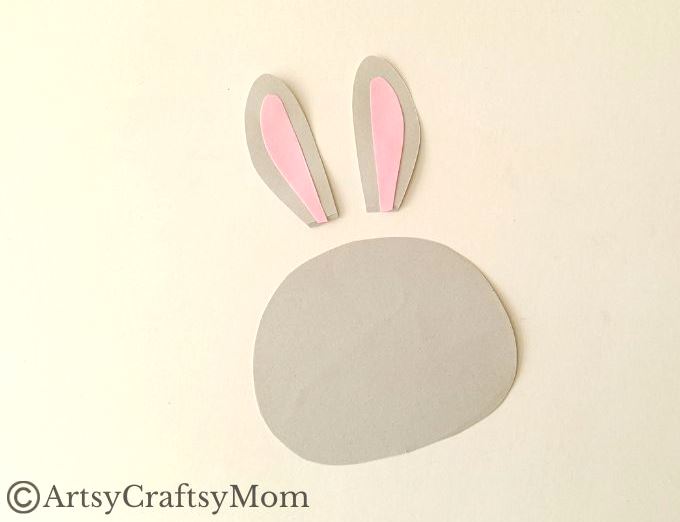
4. Attach the completed ears to the top of the donkey’s head, as shown below.
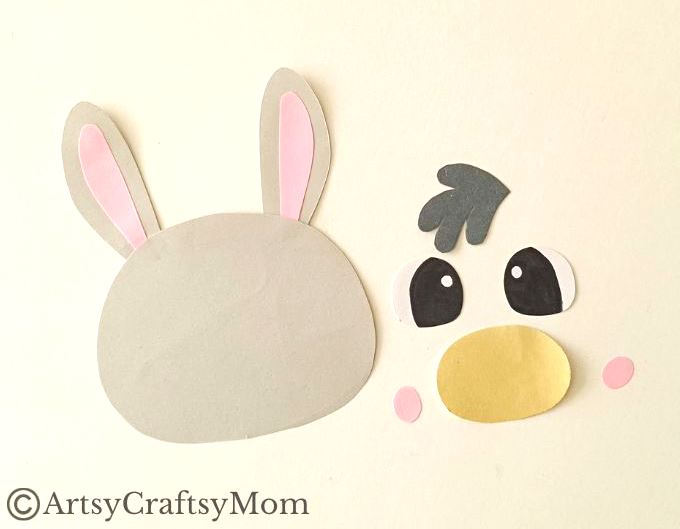
5. Stick the mane to the top of the donkey’s head, in between the ears. Stick the muzzle towards the bottom edge of the donkey’s face.
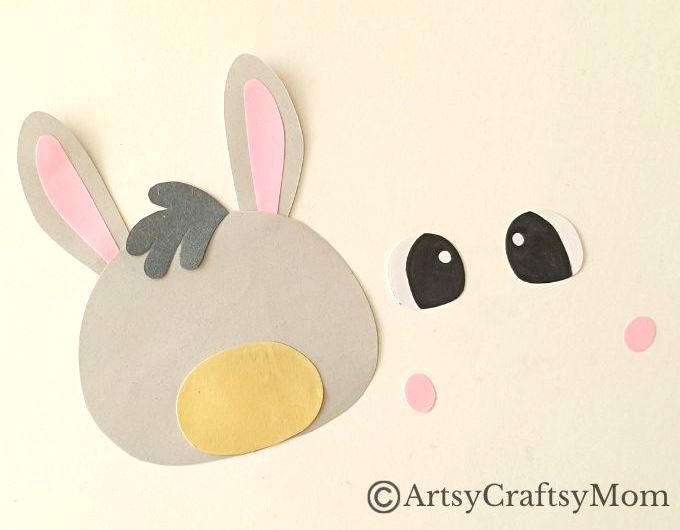
6. Use glue to stick the eyes on the donkey’s face, above the muzzle. Stick the cheeks on either side of the muzzle.
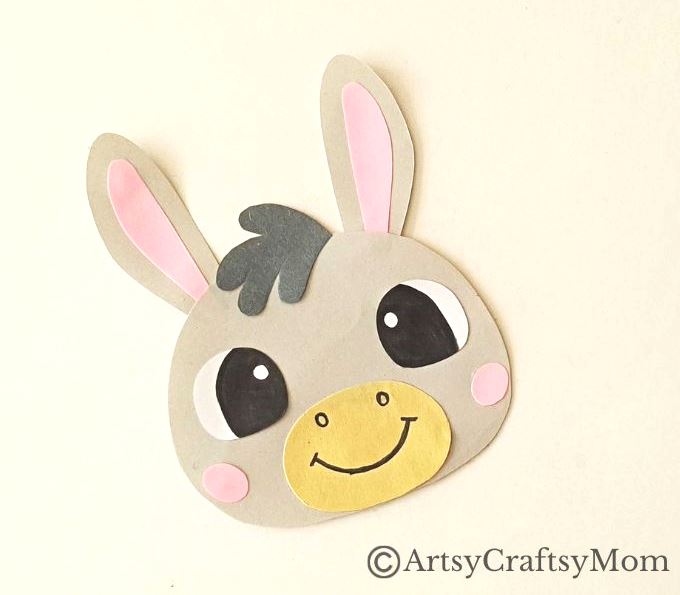
7. Take out your black marker and draw nostrils and a smile. Our paper bag donkey puppet has to be happy! Put the donkey head aside for now.
8. Let’s move on to the body of our paper bag donkey puppet. Stick the tail tip to the end of the tail pattern.
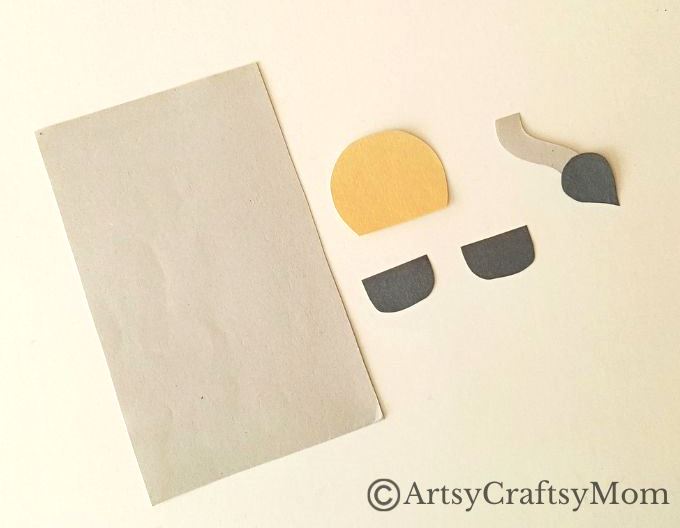
9. Take the large rectangle (it should be the same size as the front of your paper bag). Attach the hoof cutouts along the bottom edge of the rectangle and stick the belly slightly above.
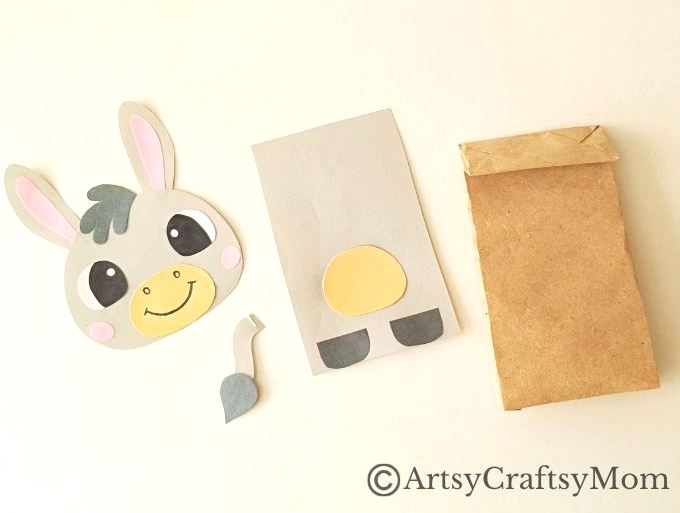
10. Time to put it all together! Flatten the bottom of the paper bag. Apply glue on this flap and attach the head to it.
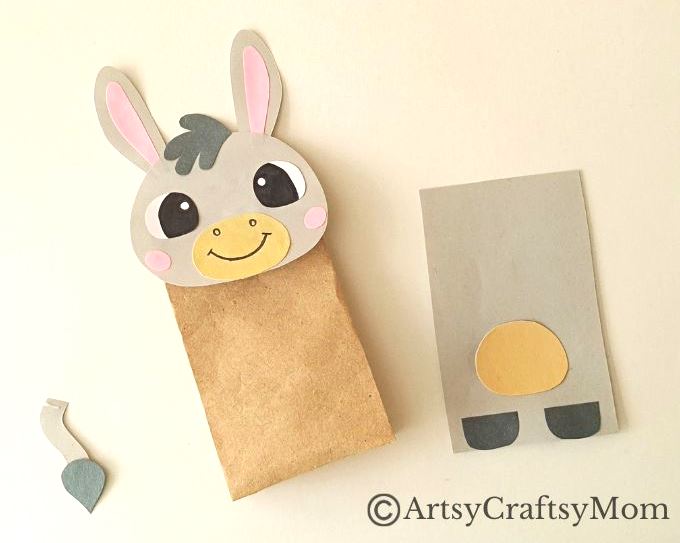
11. Stick the body pattern on the paper bag below the head.
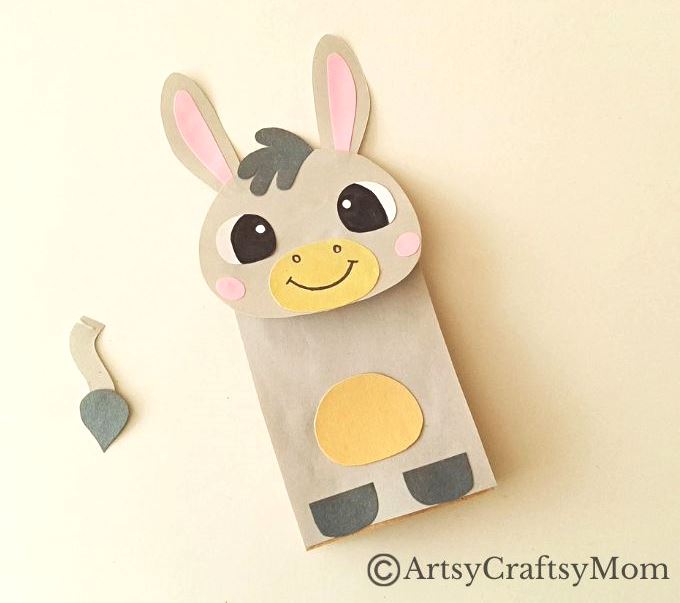
12. Attach the tail on any side of the paper bag.
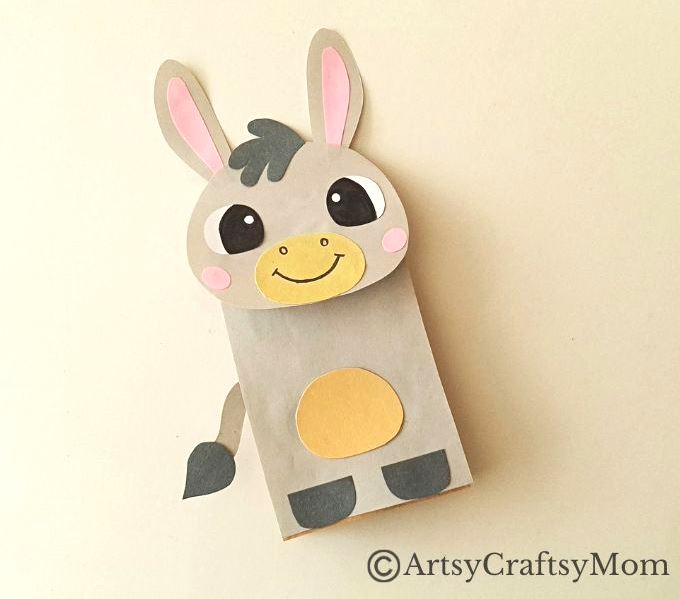
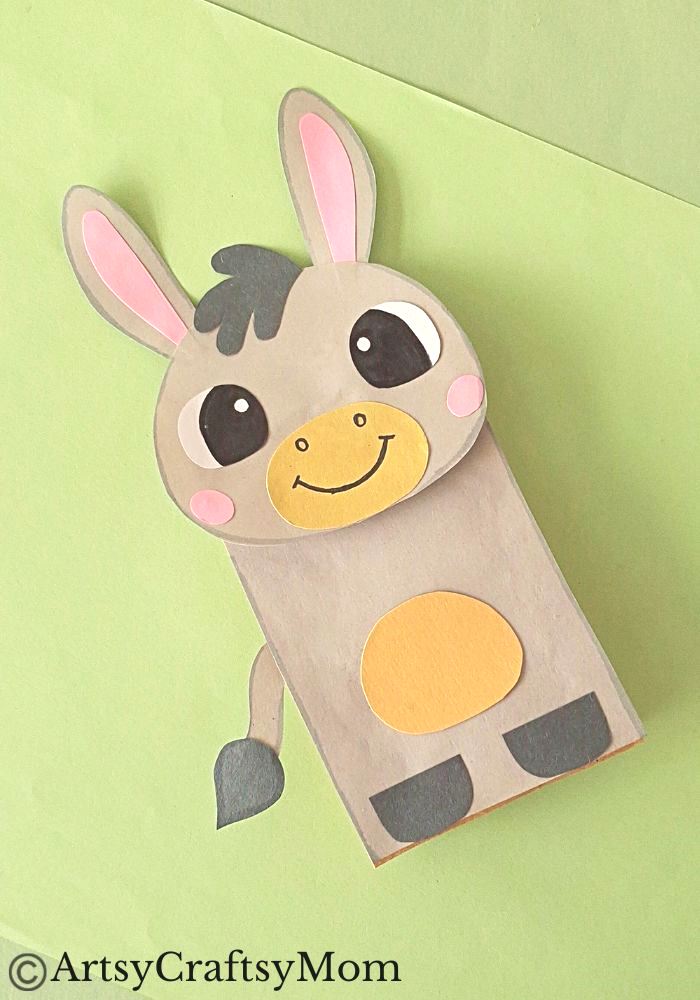
Now look at that – your paper bag donkey puppet is complete!
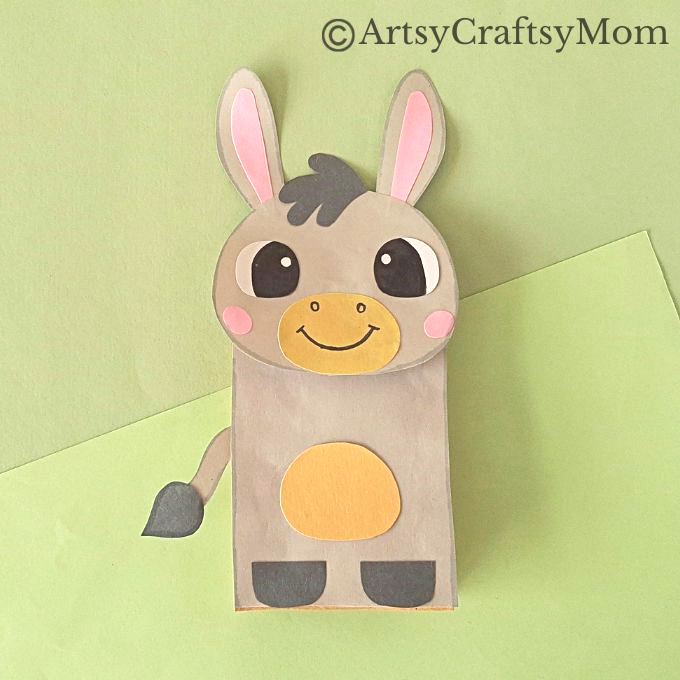
How easy was that? If you’d like to create a puppet show starring a donkey, this paper bag donkey puppet is perfect for the job! Combine it with other animal paper bag puppets and you have a set of motley characters!
If you’re looking for more animal-themed paper bag crafts for kids, here you go:
- Simple and Cute Paper Bag Badger Craft for Kids
- Cute and Easy Paper Bag Dinosaur Puppet
- Adorable Paper Bag Beaver Puppet Craft
- Cute Paper Bag Red Panda Puppet for Kids
- Easy Paper Bag Kangaroo Craft for Kids