DIY Felt Cat Plushie + Free Template
This DIY Felt Cat Plushie is the perfect gift for a cat lover in your life! With a free downloadable template, you can turn this into an ornament or charm.
Many people who have cats divide the world into two parts – cat people and the rest of the world! I think cats have a similar division for humans too!
There isn’t a person alive who hasn’t wasted at least a few minutes at work watching a funny cat video – the ones with babies are the cutest! Since kids love cats so much, they’ll have fun making a cute little pet for themselves – a felt cat plushie!
This felt project is basically simple, the only thing to look out for is that the template contains small pieces. Younger kids can take the help of Mom or Dad or an older sibling for handling the little pieces, so little kitty here becomes family pet!
DIY Felt Cat Plushie + Free Template

List of Supplies:
- Felt fabric in brown, white, pink and black
- Pencil or fabric marker
- Scissors
- Needle and thread
- Cotton or scrap felt fabric

How to make the DIY Felt Cat Plushie:
1. Download and print the free template for the felt cat plushie. The template includes a cat body, cat head, half body, tail, tail end, nose, ears, eyes and fur. Cut out the patterns neatly.

2. Select felt fabrics for the cat plushie and trace the patterns on the selected felt fabric. Cut out the traced patterns.

3. Start with the cat head. Stitch on the black eye circles and stitch on a mouth with black thread using a simple back stitch.

4. Stitch a small twinkle on the eyes with white thread. Attach the ears and nose on the face. Stitch the tail end piece at the tip of one of the tail patterns. Stitch the fur piece on the front of the half body piece.

5. Place the base body pattern on a flat surface. Place the two tail cutouts together by keeping the stitched one on the top. Place the straight side of the tail on the base pattern by overlapping a small amount from that end.

6. Place the lower body pattern on the bottom of the body base. Place the head cutout on the top of the base pattern, this should slightly overlap the lower body part.

7. Start to stitch around the sides of the felt patterns to attach them together. Do a flat blanket stitch around the sides. Use a running stitch to join the overlapped part between the head and lower body cutout.

8. Keep a small opening for stuffing the cat plushie. Keep the needle and thread attached while stuffing. You can use cotton or felt scraps for stuffing the cat plush.

9. Once the stuffing is done, stitch the small opening to secure the stuffing. Tie a knot or two and then draw the needle inside the plush. Draw the needle outside again and cut off extra thread.

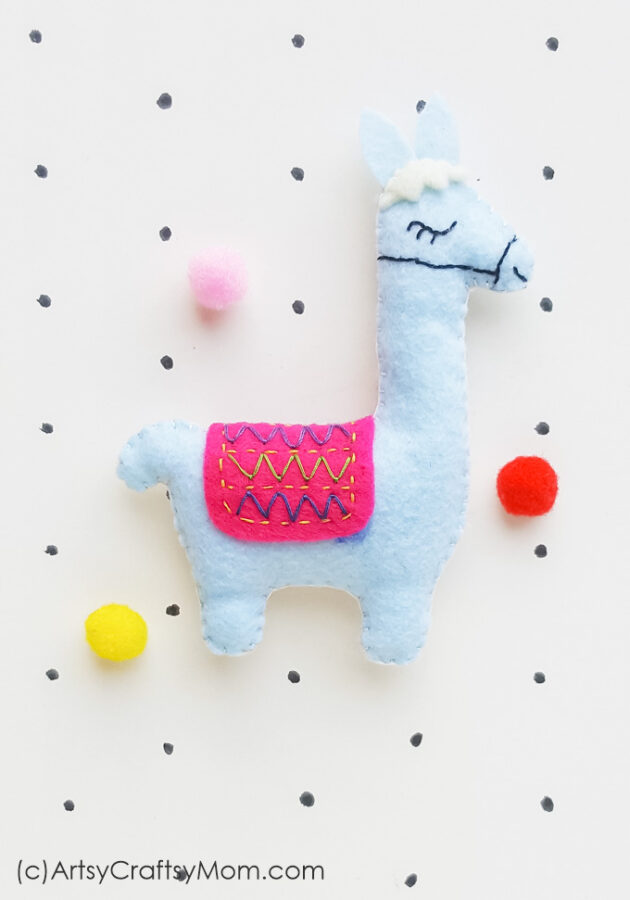
Your little plush kitty is ready! Add this to your collection of other felt creatures, like a felt llama, felt dinosaur, a felt owl and a felt flamingo. Hand out a different one to each member of your gang, depending upon each person’s favorite animal. Turn it into a charm and wear it with pride!


Love it!!! THANK YOU!!!
Can you please tell me how to download the cat crafting template please? Thank you
How do we access the template?
Its added as an image – https://artsycraftsymom.com/content/uploads/2019/05/Felt-Cat-Plushie-Craft-Template-1.jpg
I will add the pdf template to the Freebies section and update this comment soon.