DIY Papercraft Insect Puppets | Spring Craft for Kids
This DIY Papercraft Insect Puppets Craft for Kids is the perfect spring craft for kids! Use it as a bookmark or use them in your own puppet show!
When you think of insects, we almost always associate them with terms like ‘creepy crawlies’ or something similar that evokes feelings of disgust. We would most certainly not think of them as amazing or even interesting!
However, the truth is that insects are among the most interesting creatures out there – it’s just that we miss out on all the cool stuff they do because it all goes unnoticed by us! For instance here are a few fun facts:
- Butterflies taste not with their mouths – but with their feet!
- A single bee produces one teaspoon of honey throughout her life
- Caterpillars eat so much that they become 100 times bigger than how they started out
- Snails have been around for 500 million years – that’s a VERY long time!
Yes, insects are awesome, aren’t they? I hope this has got you interested in learning more about them, and we’ve got the perfect thing to help you out – a DIY Papercraft Insect Puppets Craft!
DIY Papercraft Insect Puppets Craft for Kids

Supplies required:
- Craft paper in assorted colors
- Popsicle sticks or craft sticks
- Black marker
- Pencil
- Scissors
- Glue

How to make the DIY Papercraft Insect Puppets:
1. Download and print the papercraft insect puppets template. The template contains parts of the different insect puppets: butterfly, bee, caterpillar and snail.
2. Trace the parts of the papercraft insect puppets template onto colored paper and cut them out. Since this is a spring craft, go with bright colors or pastel shades. We’ve used pink/peach for the butterfly, yellow for the bee, green for the caterpillar and brown for the snail.

3. To keep things simple and easy for young kids to follow, we’ve used a similar assembly style for each of the papercraft insect puppets. Start by taking out their ‘antennae’ and fix them on the heads, applying glue on the back. This needs to be done for all four puppets.

4. For the butterfly and the bee, stick the body below the head of each puppet. Use the marker to draw horizontal stripes on the body, as shown below. Go for black stripes for the bee and a body-colored marker for the butterfly.

5. Still with the butterfly and the bee, stick the cheeks on the puppet’s face. Draw in some eyes and a happy smile with a black marker.

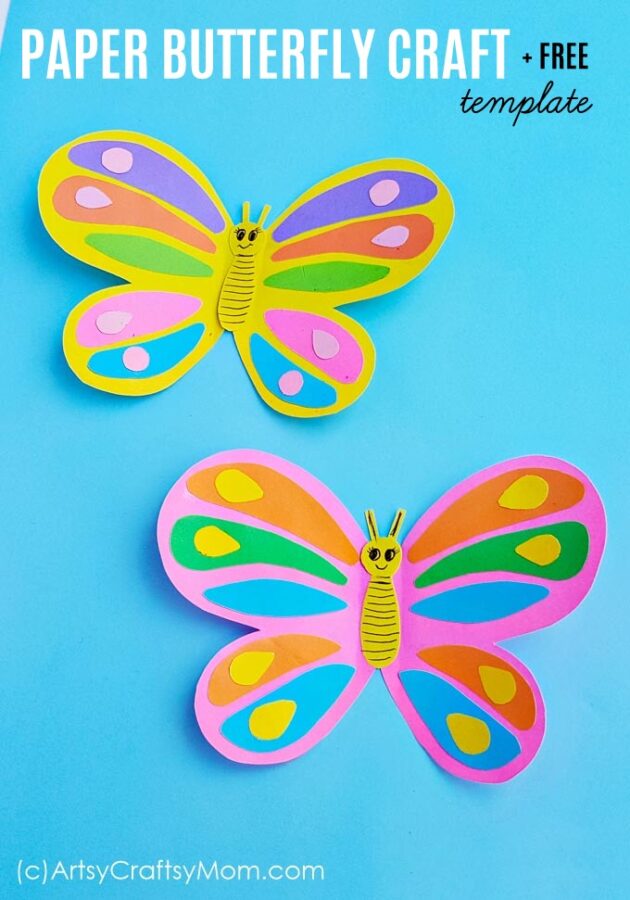
6. Time for some wings! For the bee, all you need to do is to stick the wings on either side of the body, applying glue at the back. The butterfly’s wings need a little more work, however. Stick the little circles and teardrop shapes on the wings to make them more decorative. Once the wings are ready, stick them to the butterfly as you did with the bee.

7. Let’s move on to our remaining creatures, the snail and the caterpillar. These don’t have separate bodies like the bee and butterfly did, so we’ll need to do things a little differently. For the snail, stick the shell on its back and draw in a swirl with a marker. Finish it up by sticking the cheeks and drawing in facial features.

8. For the caterpillar, stick the body circles one after the other behind the head. Then, stick their tiny legs under the body, assigning two legs to each body circle. As with the other puppets, stick the cheeks and draw the eyes and smile with a black marker.
9. Finally, stick a Popsicle stick under each insect. For the caterpillar, stick it under the first body part. That’s it – your papercraft insect puppets are ready!

9. To use these as bookmarks, simply insert the stick part behind the page and let your insect ‘sit’ on top of it, as shown below.

These papercraft insect puppets are multipurpose – use them as bookmarks for your spring reading, or turn them into puppets for your very own spring-theme puppet show. Or you could simply give them to your classmates, as a fun Back to School gift!
If you enjoyed this craft, you might also like these Popsicle stick puppet crafts:
- Printable Farm Animal Puppets
- DC Superhero Paper Puppets
- Olaf Papercraft Puppet
- Alien Stick Puppet Bookmarks
- Gingerbread Cookie Puppets


Responses