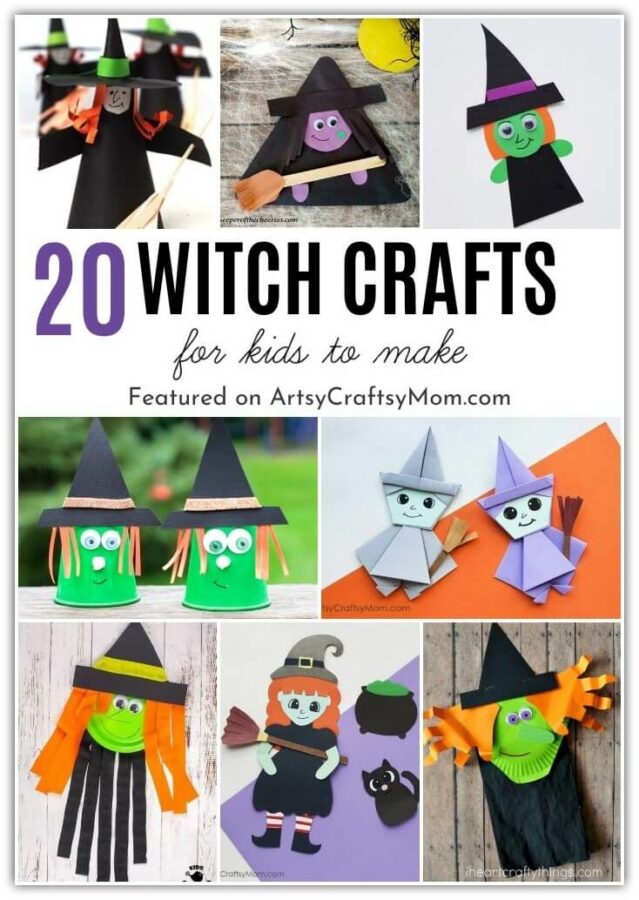
Easy Origami Witch Craft For Kids | Halloween Craft
Get drawn into the magic of the season with this cute Easy Origami Witch Craft For Kids! Make them in different colors and share with your friends!
I have had mixed feelings about witches when growing up. On one hand, you have fairy tales with evil witches, while on the other hand you have some really cool personalities like Sabrina the Teenage witch! Quite a confusing world, the world of fantasy!
Today, witches are being recognized as feminist symbols, probably because in the old days, any woman who didn’t conform to the ‘traditional woman’ mould was branded a witch. In short, it’s cool to be a witch these days, which explains the rise in popularity of shows like ‘A Discovery of Witches’, ‘Charmed’ and ‘Good Witch’.
Well, looks like you’ve got enough of movie recommendations for this Halloween! Let’s add some more fun to it by making an easy Origami witch craft, shall we? Just follow our step by step tutorial and you’re all set!
Easy Origami Witch Craft For Kids | Halloween Craft

Supplies Required:
- Colored Origami Paper
- Colored Markers
How to make the Easy Origami Witch Craft:
1. Take a square piece of Origami paper. Turn it so that the corners face the top and bottom.
2. Fold the left and right corners towards the center so the two sides meet.
3. Unfold the paper. You now get two new creases on either side.

4. Fold the corners inwards to meet the new creases on both sides.
5. Fold the two sides inwards again, along the creases from Step 3.
6. Fold the top corner all the way down to meet the bottom corner so you get an inverted triangle.
7. Fold the bottom corner of the triangle up along the points the triangle touches the folds from Step 5. Now you get a smaller triangle.

8. Fold this triangle backwards to create a smaller triangle.
9. Turn the entire paper over so the folds are now underneath.
10. Fold the bottom corner upwards.

11. Fold both sides of the paper to meet inside along the center.
12. Turn the paper over so the new folds are now underneath. Draw on facial features for the witch.
13. Time to make the rest of the witch! Take another square piece of Origami paper.
14. Fold the paper down in half to get a rectangle.

15. Fold the two top corners of the rectangle downwards so you get a triangle.
16. Fold back the two new flaps so they extend outwards.
17. Turn the Origami paper over so the folds are underneath.
18. Fold the two flaps downward along the center.

19. Open the two flaps out on either side.
20. Turn the Origami paper over so the folds are underneath.
21. Fold the edges of the bottom corners.

22. Cut out a broom from brown paper. Cut fringes to create the end of the broom.
23. Time to assemble the witch! Stick the head on the body and glue the broom on the side of the body. Your witch is ready!

Aren’t these the cutest witches you’ve ever seen? If you liked this craft, you’ll enjoy our Origami ghost craft as well. Actually, why stop there? Why not go the whole hog by making our full set of Halloween crafts, including Frankenstein treat bags, quilled bats and giant spiders?


Responses