DIY Paper Penguin Bookmark
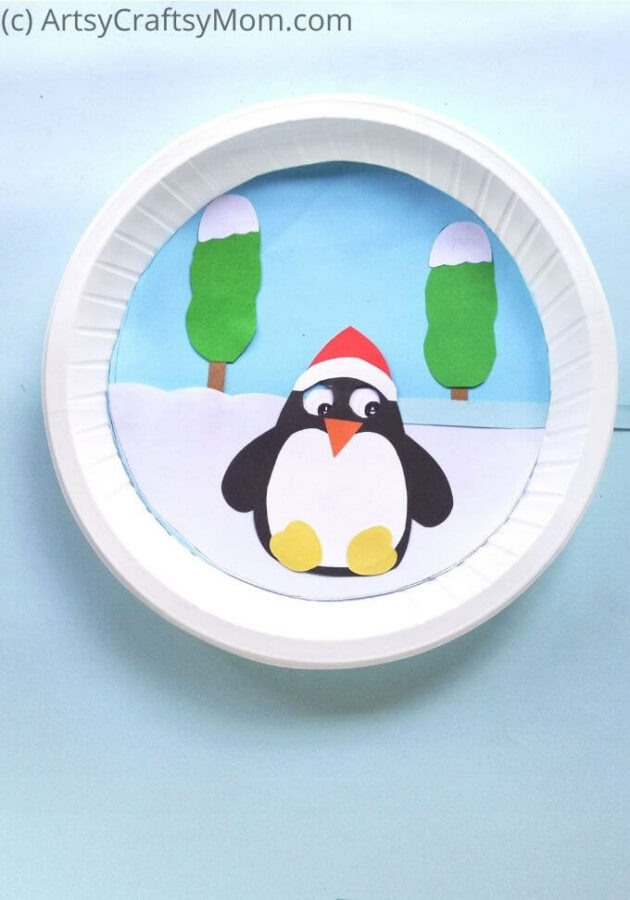
Need company while you read? This DIY Paper Penguin Bookmark gives you a cute little friend who’ll hold your place – while smiling all the time!
We’re all familiar with the various benefits of reading for young kids, and how it helps cultivating a lifelong reading habit. We do loads of research on the best books for kids and end up building quite a collection. Now comes the hard part – actually getting kids to open the book and read!
It’s harder for us than our parents, considering they didn’t have to compete with shiny gadgets and screens. It can be quite hard to cut down on screen time and lead kids towards books. The first thing to remember here is that it shouldn’t turn into a contest. Developing a reading habit is something that should grow organically, with a slight nudge from our end.
Of course, any activity can be made more attractive to kids by inserting a few fun elements. When it comes to reading, cute bookmarks are the perfect way to get them interested – like this adorable little paper penguin bookmark. And when they make the bookmark themselves, they’re likely to feel more invested in sticking to their reading habit!
DIY Paper Penguin Bookmark

Supplies required:
- Colored craft papers
- Craft glue
- Pencil
- Sharpie
- Scissors

How to make the DIY Paper Penguin Bookmark:
1. Download and print the template for the DIY Paper Penguin Bookmark. The template contains the penguin’s body, tummy, wings, feet, beak, hat and pom pom.

2. Trace and cut out the patterns on papers of the appropriate colors. Select grey or black colored craft paper for the body base and wings of the penguin bookmark, white paper for the front side of the body, orange or yellow paper for the feet and beak and any colored craft paper of your choice for the hat.

3. We’ll start by assembling the hat. Attach the small circle to the top end of the hat pattern to make the pom pom. You can use colorful sharpies to draw patterns on the hat pattern. Stick the white pattern on the grey body cutout of the penguin bookmark.

4. Attach the feet on the bottom of the body and stick the beak on the head. Glue the feet to the bottom, sticking on the back side so the feet pop out in the front.

5. Apply glue along the outer edge of the wings (the straight sides) and attach them on the left and right of the body. Keep the inner side of the wings free from glue and fold them inside the penguin’s body.

6. Attach the hat pattern on the top of the head. Use a sharpie to draw eyes and cheeks for the penguin. That’s it – your paper penguin bookmark is done!

7. To use the penguin bookmark, slide a page under the wings.

What we love about this DIY penguin bookmark is that you can make the template bigger or smaller to make a whole family of penguins. You can also change the color of the hat, and also make penguins with a black or a grey base. With so many customization options, this is one project that can give you hours of fun! You can also create a full set of animal bookmarks by making this along with our panda bookmark, quokka bookmark, lion bookmark, monkey bookmark and hedgehog bookmark. For someone starting a reading habit, it would make the cutest gift ever!
If you like penguins, you’ll also enjoy making these Origami penguins, a toilet roll penguin or these potato penguins. If you know someone who loves penguins, consider making them a penguin photo holder. Or you can just check out our full collection of cute penguin crafts!


Responses